

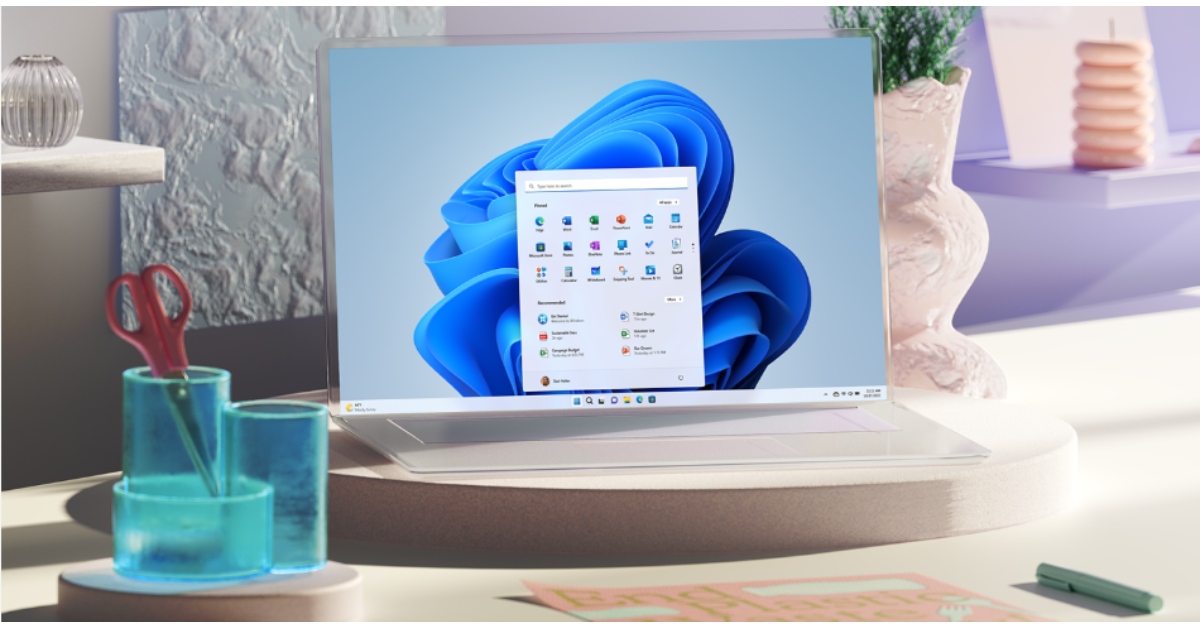
Windows 11’s setup process, also known as out-of-box experience (OOBE), requires you to enter your Microsoft account. While this helps you sync your work across multiple devices, it comes at the cost of Microsoft getting access to your data. Understandably, this is a deal-breaker for a lot of users. Luckily, there are a couple of methods you can employ to get around the account registration process. Here are the top 3 ways to set up and use Windows 11 on your PC or laptop without a Microsoft account.
Read Also: WhatsApp Image Scam: Top 5 Ways to Protect Yourself
In This Article
Is it possible to set up Windows 11 without a Microsoft account?
The OOBE process on Windows 11 demands that you register your Microsoft account while setting up your device. If you’re setting up a new PC or laptop, you will be asked to connect to the internet before registering your account. If you disconnect the internet at any time during the setup process, your PC will throw an error your way. The trick lies in using the Command Prompt to disconnect from the internet.
If you’re using a bootable drive to install Windows 11 on an older device, the process to bypass the account registration page is quite simple. Rufus, which is one of the best tools to set up a bootable drive, gives you the option to remove the requirement for an online Microsoft account while setting up Windows 11 on your device.
Set up Windows 11 without a Microsoft Account using Command Prompt
Step 1: Start the Windows 11 setup process and follow the instructions until you reach the page asking you to add your Microsoft account.
Step 2: Press Shift + F10 to trigger the Command Prompt.
Step 3: Type the following command and hit Enter:
oobe\bypassnro
Step 4: Your PC will restart. Once it has booted, press Shift + F10 again.
Step 5: Type the following command and hit Enter:
ipconfig/release
Step 6: Your PC will be disconnected from the internet. Continue the process of setting up Windows 11 on your PC. When asked to connect to the internet, click on ‘I don’t have internet’.
Set up a local Windows 11 account using Command Prompt

Step 1: Start the Windows 11 setup process and follow the instructions until you reach the page asking you to add your Microsoft Account.
Step 2: Press Shift + F10 to trigger the Command Prompt.
Step 3: Type the following command and hit Enter:
start ms-chx:localonly
Step 4: Enter a username and password in the ‘Create a user for this PC’ box.
Step 5: Hit Next and finish setting up Windows 11 on your PC.
Set up Windows 11 without an account using Rufus
Step 1: Download a Windows 11 ISO file from Microsoft’s website.
Step 2: Insert a USB drive into your PC.
Step 3: Download and install Rufus on your PC.
Step 4: Launch Rufus and select the USB drive from the drop-down menu under Device.
Step 5: Click Select next to Boot selection and choose the ISO file you just downloaded.
Step 6: Hit Start.
Step 7: In the Windows User Experience dialog box, hit the checkbox next to Remove requirement for an online Microsoft account.
Step 8: Hit OK.
Frequently Asked Questions (FAQs)
Can I set up Windows 11 without an account?
There is no native way to install and set up Windows 11 without an account. However, you can use tricks like disconnecting the internet while setting up the OS or using Rufus to install it.
How do I use Windows 11 without an account?
Press ‘Shift + F10’ when you reach the page asking for your Microsoft account. Enter oobe\bypassnro in the Command Prompt. Once your PC has restarted, press ‘Shift + F10’ again and enter ipconfig/release to disconnect your PC from the internet. Finish the setup process without adding your Microsoft account.
How do I use Rufus to set up Windows 11 on my PC without an account?
Download the Windows 11 ISO file from Microsoft’s website and insert a flash drive into your PC. Launch Rufus and select the flash drive. Choose the ISO file in the ‘Boot selection’ category. Hit ‘Start’ and select the checkbox next to ‘Remove requirement for an online Microsoft account’.
How do I remove my Microsoft account from Windows 11?
First, add a local account to your Windows 11 PC. Next, go to Settings>Accounts>Family & other users, select the local account, go to Account Options, and change its account type to ‘Administrator’. Now, go to Settings>Accounts>Other users, select your Microsoft account, and click on ‘Remove’.
How do I remove my Windows 11 PC’s password?
Go to Settings>Accounts>Sign-in options>Passwords>Add, enter your existing password, and leave the fields for the new password empty.
Read Also: How to move the taskbar on Windows 10 and 11
Final Thoughts
This is how you can set up Windows 11 on your PC without a Microsoft account. Check out new Windows 11 features as well. If you found these methods useful or have any questions related to them, let us know in the comments!
