

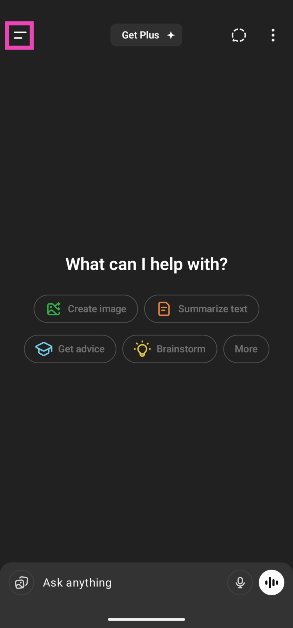
ChatGPT has added a new ‘Library’ section to help you manage and organise your AI-generated pictures. If you find it exhausting to go through old conversations just to extract an image, you will like this new feature. The library section is available on the chatbot’s webpage as well as Android and iOS apps. Here’s a quick explainer on how to use ChatGPT’s image library on your phone and PC.
Read Also: WhatsApp Message Translation Feature Coming Soon, Spotted on WhatsApp beta for Android
In This Article
How does it work?
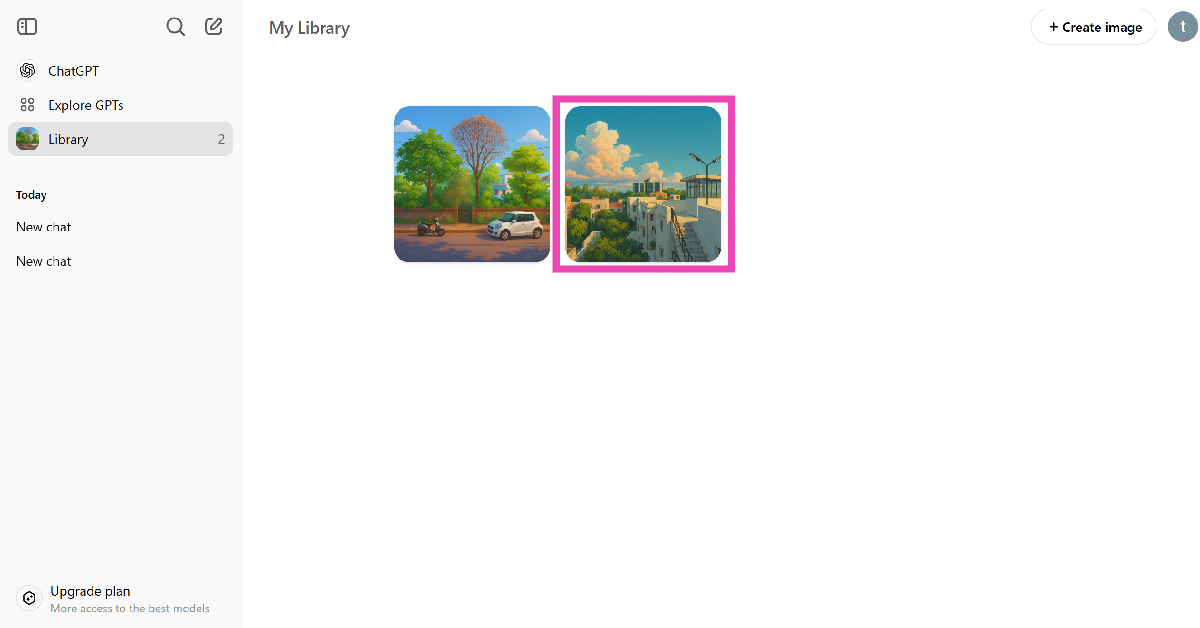
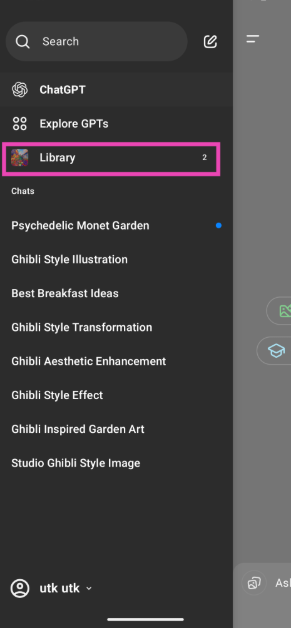
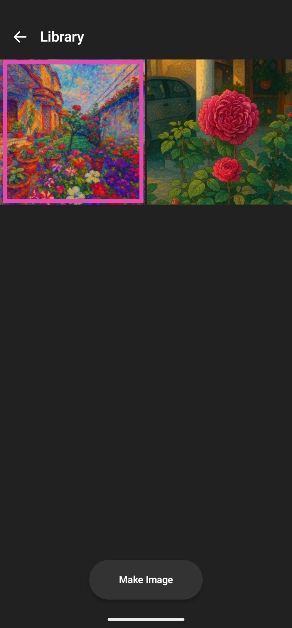
ChatGPT’s image library can be accessed from the sidebar on its webpage and mobile app. It works like every traditional image gallery app. Your images are neatly categorised in a chronological order, and you can browse them by swiping on the screen. Every image is labelled with the title of the conversation in which it was generated. It is also tagged with the date of its creation.
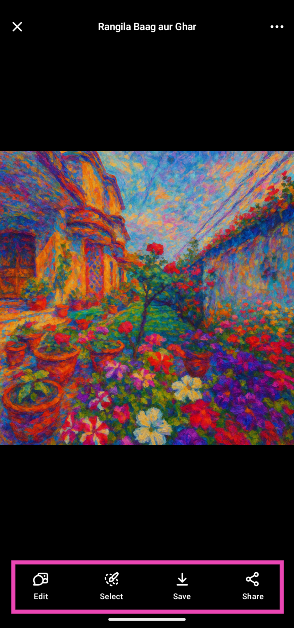
The library section on ChatGPT lets you download, edit, and share your pictures. However, there is no option to delete an image yet. If you want to remove an image from the library, you will need to take the longer route of tracking the conversation thread and deleting it. If you’re using the ChatGPT app on your phone, this task becomes easier because you can go to the conversation from the image. On a PC, you will need to scroll through the sidebar until you find the thread.
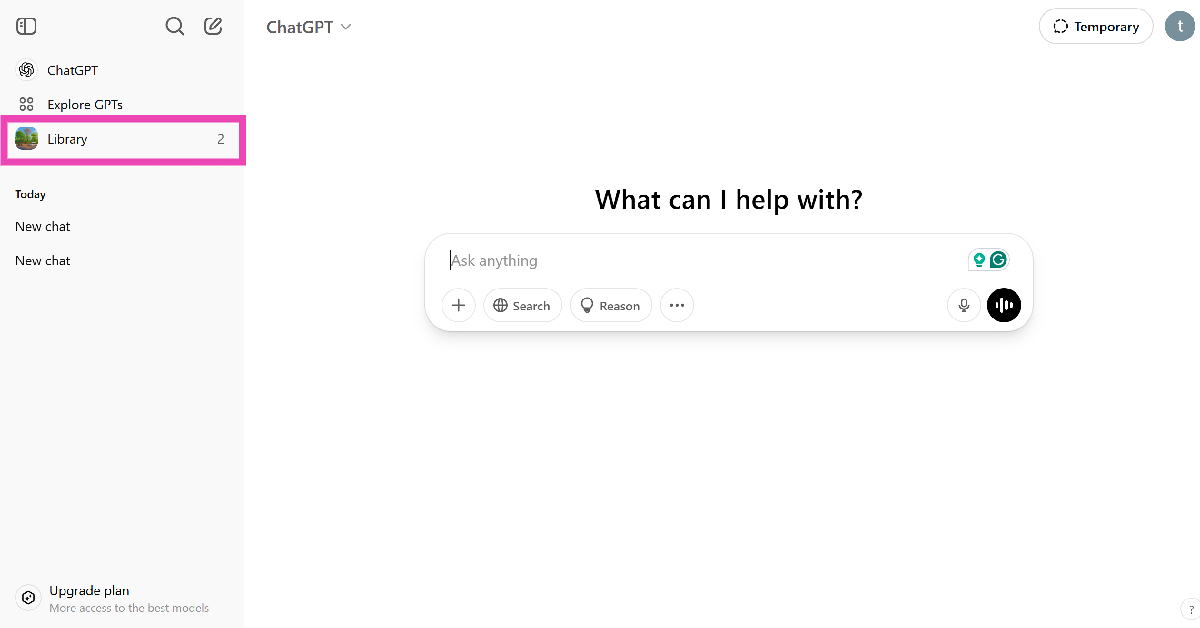
Use ChatGPT’s Image Library on PC
Step 1: Open ChatGPT on your preferred web browser. Log in to your account.
Step 2: Click on Library in the sidebar.
Step 3: Click on an image to open it.
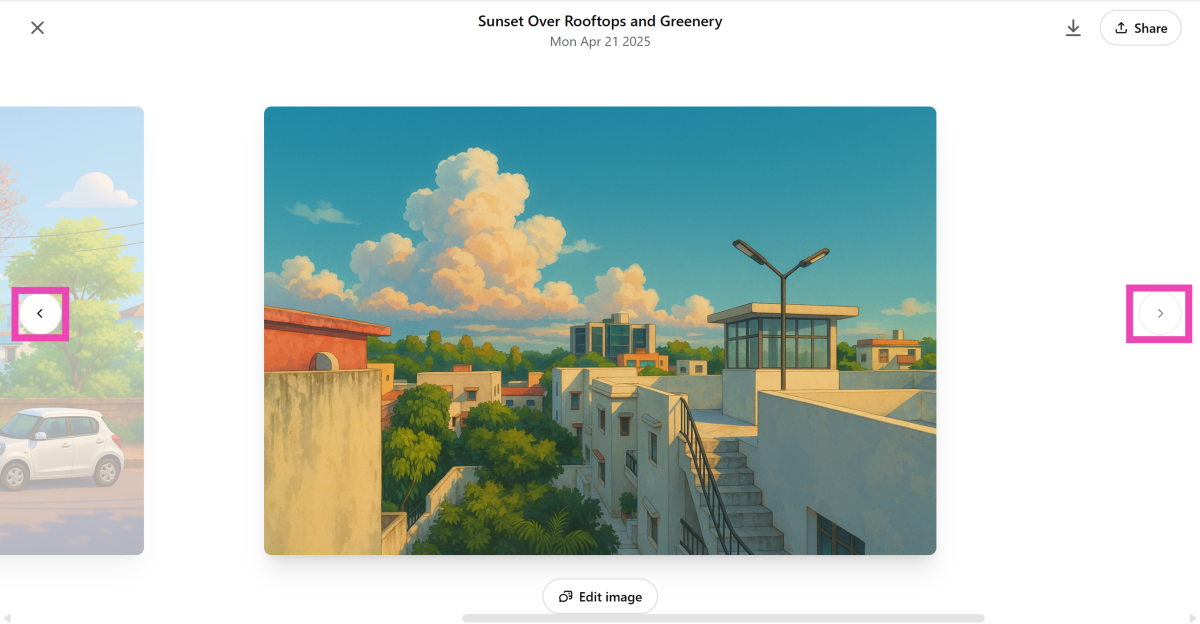
Step 4: When you open an image, you can browse the library by clicking the arrow icons.
Step 5: Hit the arrow icon in the top right corner of the screen to download an image.
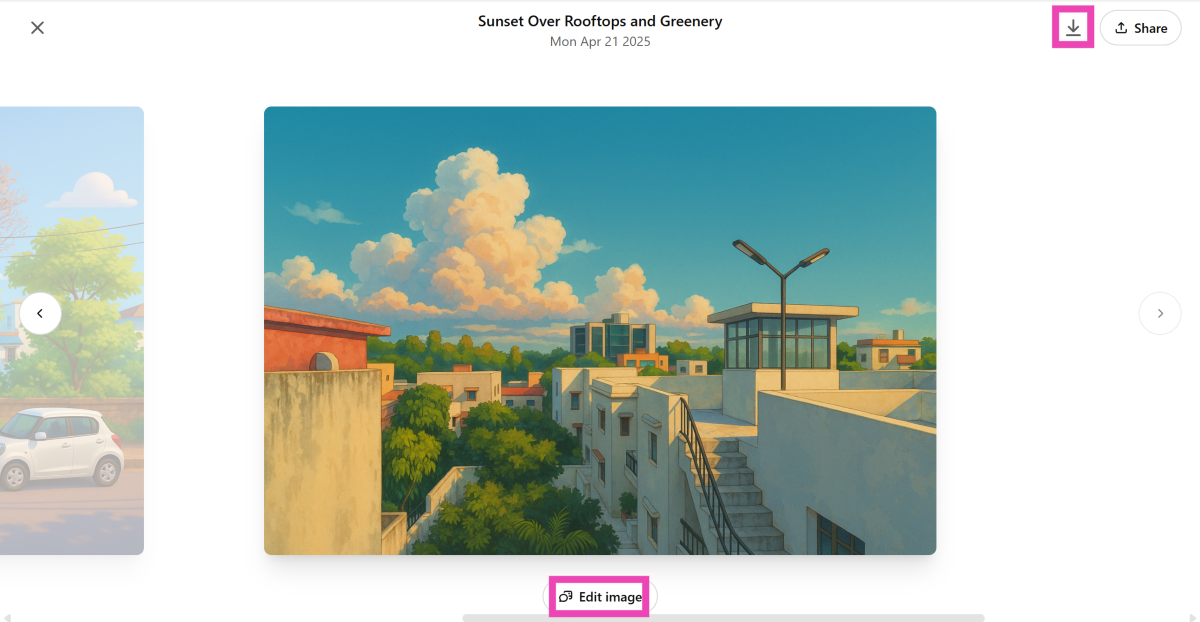
Step 6: Click on Edit image to make further changes to the picture.
Use ChatGPT’s Image Library on Phone
Step 1: Launch the ChatGPT app on your phone.
Step 2: Hit the icon with two lines in the top left corner of the screen.
Step 3: Tap on Library.
Step 4: Tap an image to open it.
Step 5: Swipe left and right to browse the image library.
Step 6: Use the menu at the bottom to save or further edit the image.
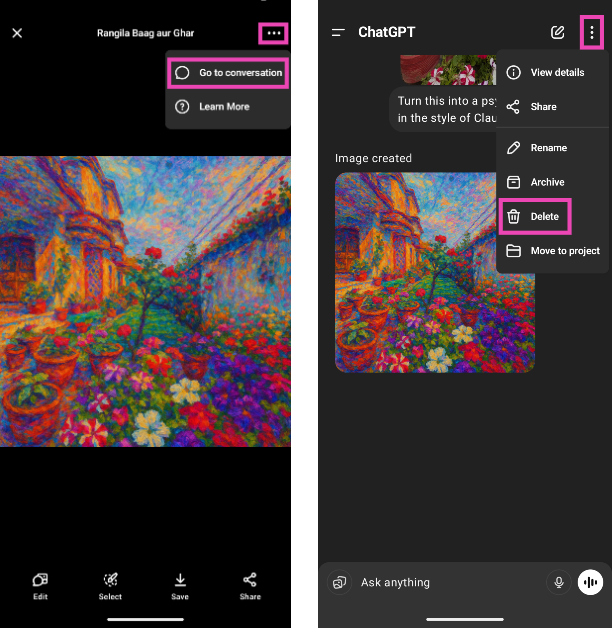
Step 7: To delete the image, tap the ellipses in the top right corner of the screen and select Go to conversation. In the conversation, tap the ellipses again and select Delete.
Frequently Asked Questions (FAQs)
How can I find all the images I have created using ChatGPT?
ChatGPT has added an image library to store all your AI-generated pictures in one place. You can access this library from the sidebar.
Can I delete a picture in ChatGPT’s library?
ChatGPT’s image library does not have an option to delete your pictures yet. Your only option is to go to the thread containing the image and delete it. If you’re on your phone, go to ChatGPT’s image library, open an image, click the ellipses, and select ‘Go to conversation’. Once you’re in the conversation, click the ellipses again and select ‘Delete’.
How do I turn my pictures into Studio Ghibli images?
Go to ChatGPT, hit the plus/pictures icon on the text box and upload the image you wish to edit. Type ‘Ghiblify this’ and hit Enter. Your image will be turned into a Studio Ghibli picture in a few seconds.
Do I need to buy ChatGPT Plus to create Studio Ghibli images?
No, the option to edit your pictures in Studio Ghibli style is available in the free version of ChatGPT and does not require a Plus membership.
How do I change ChatGPT’s voice on my phone?
Launch the ChatGPT app, tap the menu icon in the top left corner of the screen, tap on your name, select ‘Voice’, and tap on ‘Voice’ again. Swipe through the voices and hit ‘Done’ on the one you want to select.
Read Also: How to create an Instagram Reels blend with your friends?
Final Thoughts
This is how you can use ChatGPT’s image library on your phone and PC. While you’re here, check out how you can generate Ghibli-style images on ChatGPT for free. If you have any questions, let us know in the comments!
