

If you’re trying to increase your reach and boost engagements on Instagram, adding subtitles to your Reels is highly recommended. For starters, subtitles help you reach people with listening disabilities. On top of that, a significant portion of users browse Reels with muted or low audio. Having subtitles play throughout the video will make your content more accessible to them. People who are not native English speakers will also appreciate your content more if you supplement it with subtitles. So here are the top 2 ways to add subtitles or captions to your Instagram Reels.
Read Also: Google Pixel 9 Pro XL Review: A splash of AI magic
In This Article
Which method is best for you?
You can either use the native Reel editor on the Instagram app or a third-party service to generate subtitles for your Reels. Using the Instagram editor is easy, accessible, and quick. We would recommend this to people who are just starting out as content creators on the platform. Instagram allows you to change the style and colour of the subtitles and place them anywhere on the screen.
If you want to add your own subtitles to your Reels, you will need to use a third-party editor. The Instagram app lets you edit mistakes in the auto-generated subtitles but not upload a manual file. For the latter option, services like Kapwing and Descript come in quite handy. A third-party editor gives you more editing options for your subtitles as well. There are more fonts, layouts, styles, and sizes to choose from. Some editors even let you add custom animations to the subtitles.
Auto-generate subtitles or captions for Reels on Instagram
Step 1: Launch Instagram on your smartphone and swipe right to access the creation page.
Step 2: Record a Reel and hit Next.
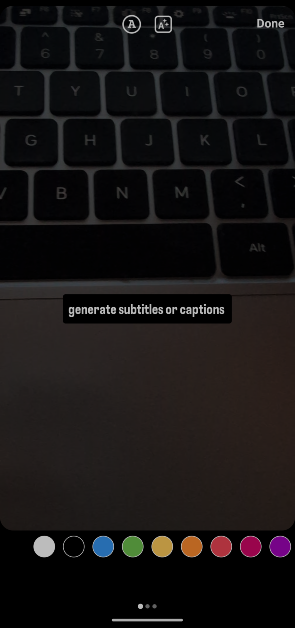
Step 3: Tap the sticker icon on the editing page.
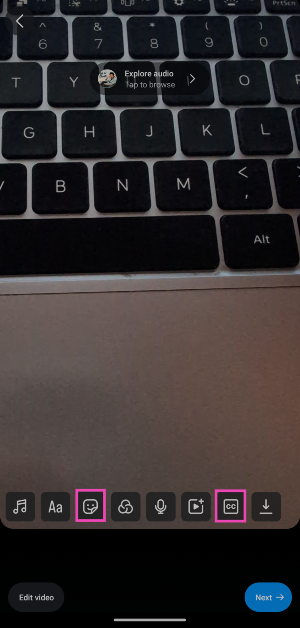
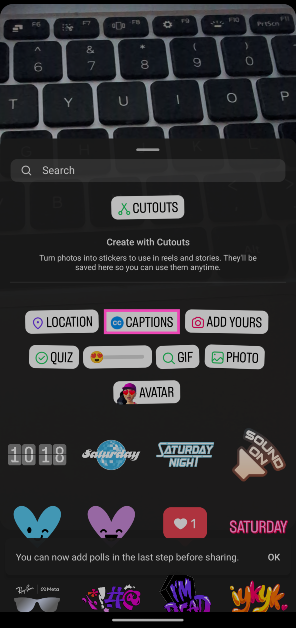
Step 4: Hit Caption. You can also tap the CC icon on the editing page to select this option.
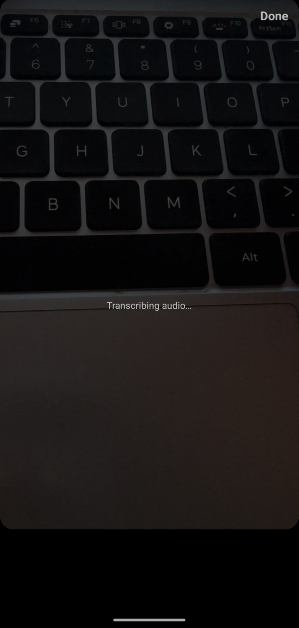
Step 5: Instagram will start transcribing the audio on your Reel.
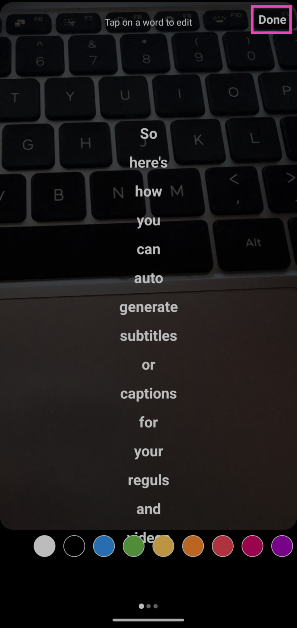
Step 6: Once the Reel has been transcribed, the subtitles will appear on the screen. These subtitles will be synced with the audio.
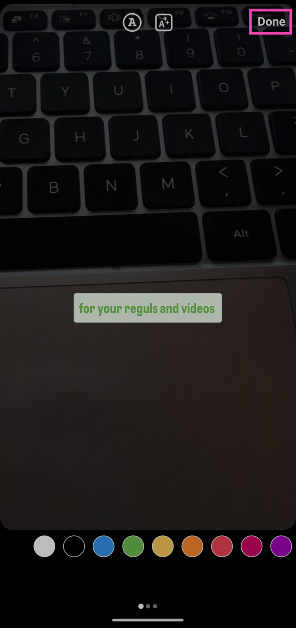
Step 7: Tap a word to edit it. Hit Done to confirm.
Step 8: Tap the two ‘A’ icons up top to change the style and colour of the subtitles.
Step 9: Hit Done.
Step 10: When you’re back on the editing page, long-press the subtitles and drag them to change their position.
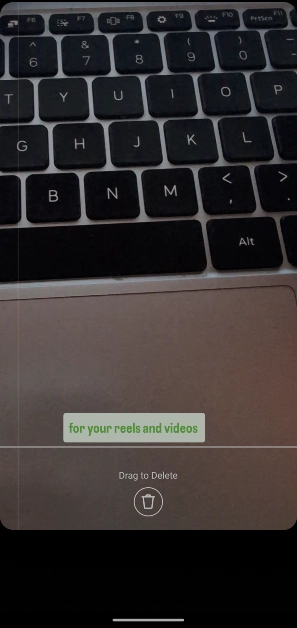
Step 11: Publish your Reel when you’re happy with the results.
Use Kapwing to add subtitles or captions to your Instagram Reels
Step 1: Go to the official Kapwing website.
Step 2: Move the cursor to Tools and select Subtitler.
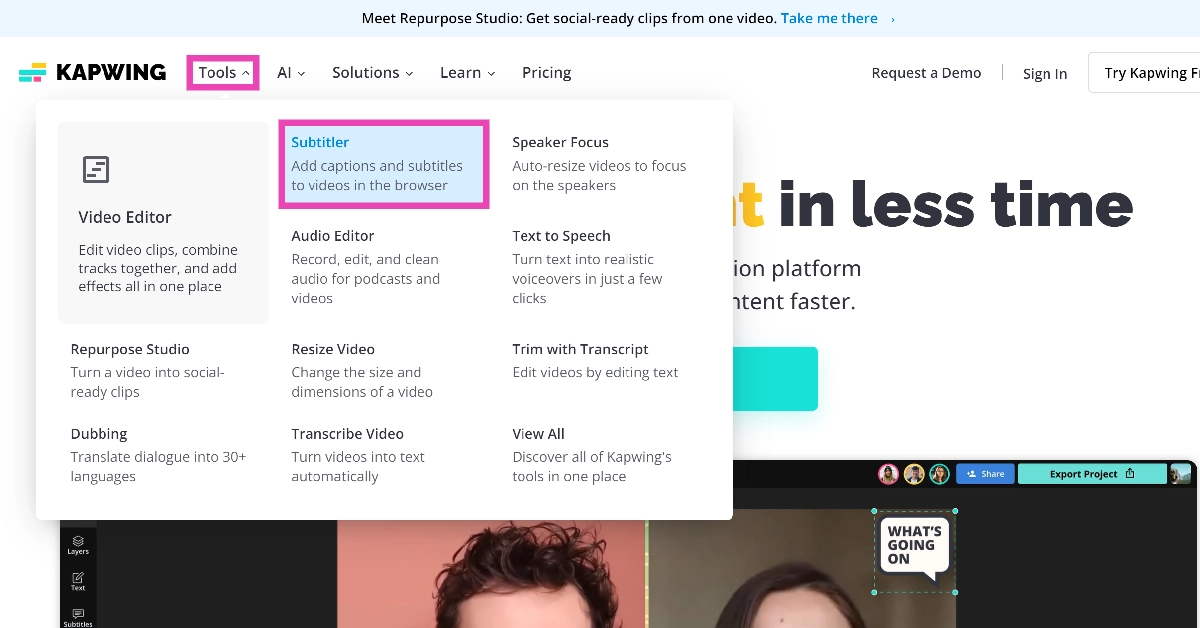
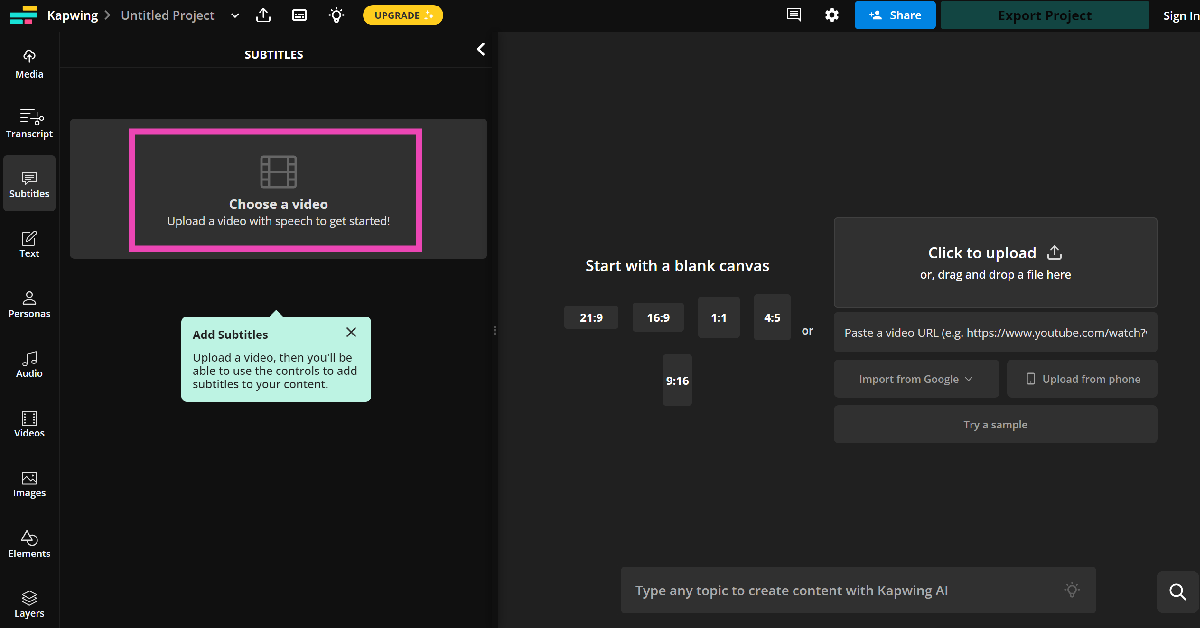
Step 3: Click on Add Subtitles.
Step 4: Click on Choose a video and upload your Reel to the website.
Step 5: Once your video appears in the editor, click on the Subtitles option in the sidebar.

Step 6: You can choose from four options – Auto subtitles, Upload SRT/VTT, Manual subtitles, and Dub video. Choose the first option to automatically generate subtitles.
Step 7: Go through the generated subtitles and rectify any errors.
Step 8: Use the panel on the right to change the style, colour, size, and font of the subtitles.
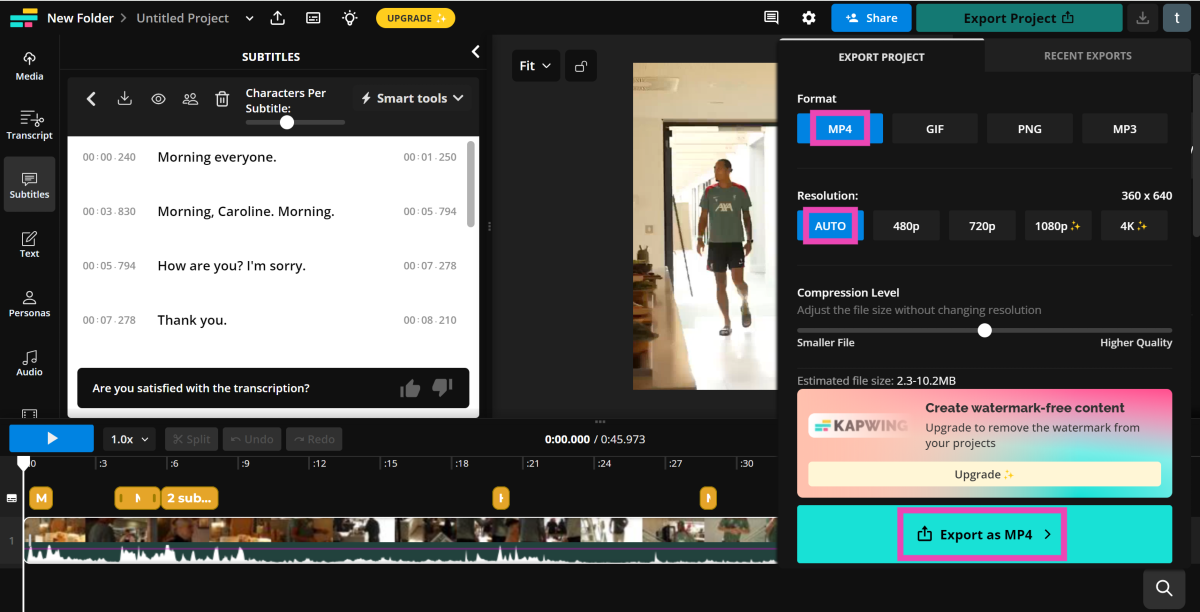
Step 9: Hit Export Project at the top right corner of the screen.

Step 10: Choose the format and resolution. Hit the Export button at the bottom left corner of the screen.
Frequently Asked Questions (FAQs)
How do I auto-generate subtitles for Instagram Reels?
Record a Reel on Instagram and hit the ‘CC’ button in the editor to auto-generate the subtitles. You can also go to Stickers>Captions to access this option.
How do I change the position of the subtitles on my Instagram Reel?
Once you’ve added the subtitle to the video, go to the editing page and drag the text box across the screen. Place it in the position you want.
How do I manually add a subtitle file to my Reel?
Go to Kapwing, upload the Reel, click on ‘Subtitles’, and select ‘Upload SRT/VTT’. Choose the subtitle file from your device and sync it with the audio.
Conclusion
This is how you can add subtitles or captions to your Instagram Reels. The native editor on Instagram lets you add subtitles to your videos as well. If you want more editorial control, we would suggest using a third-party video editing app. If you have any questions, let us know in the comments!
