

Your PC’s webcam is an essential part of the system if your work requires jumping on online meetings every day. Getting the camera to work again can be an uphill battle if you don’t know what’s causing the problem. If your search for solutions has led you to this page, you’ve landed on the right spot. Here are the top 11 ways to fix the ‘camera not working’ issue on your Windows 11 PC or laptop.
Read Also: How to use your external monitor with a closed laptop?
In This Article
Why is my laptop/PC camera not working?
Your computer’s camera can stop working out of the blue due to a variety of reasons. Here are some of the common culprits behind the problem.
- The app you’re using isn’t allowed to use the camera
- Another app is using the camera
- Camera access is restricted by policy (commonly an issue with laptops issued by schools and workplaces)
- Connection issues with external camera
- Outdated camera drivers
- Driver failure
- Camera drivers were not installed correctly
- Antivirus flagging the external camera
Allow camera access to apps
If you can’t get your camera to work on a specific app, make sure that app has access to the camera. Here’s how you can check it.
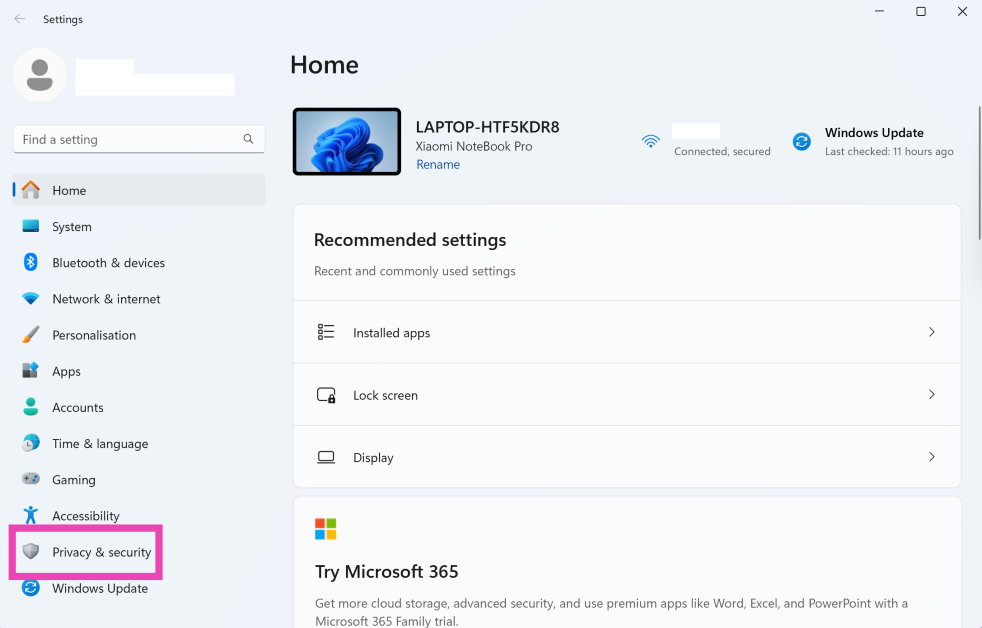
Step 1: Go to Settings and select Privacy & security from the sidebar.
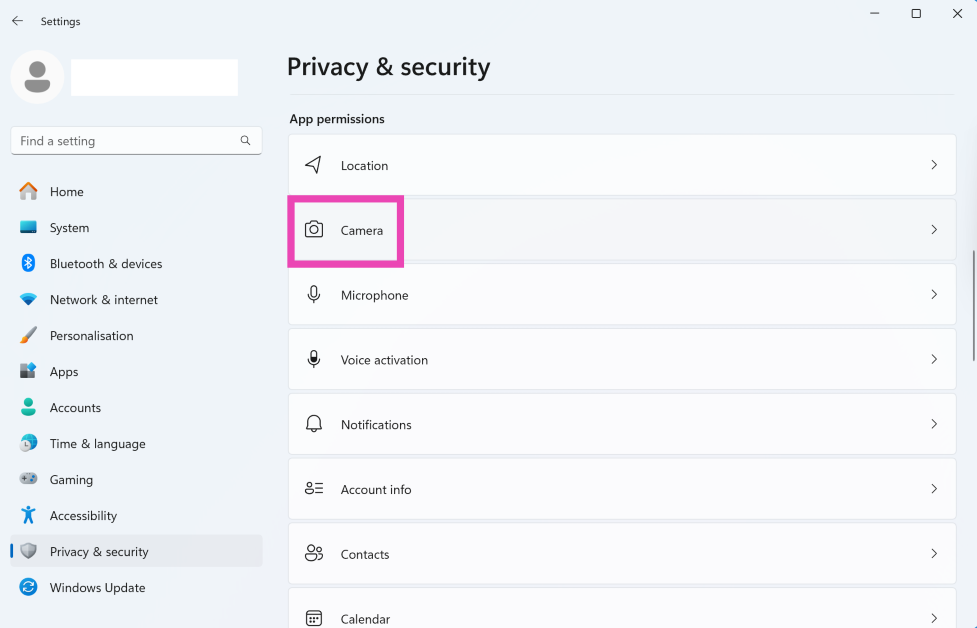
Step 2: Click on Camera under App permissions.
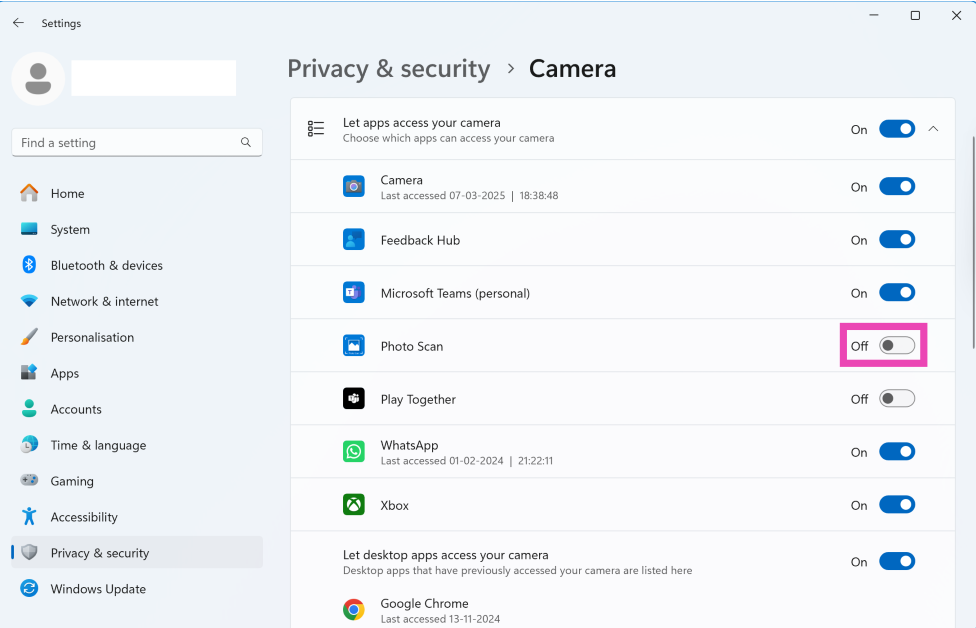
Step 3: Turn on the toggle switch next to the app that you’re currently using.
Check the camera app
If your PC or laptop’s webcam isn’t working for a particular app despite it having access to the camera, launch the native camera app on your phone to confirm whether there is anything with the hardware. If the camera is working fine in the native app, then the problem lies with the app.
Troubleshoot the issues with the camera
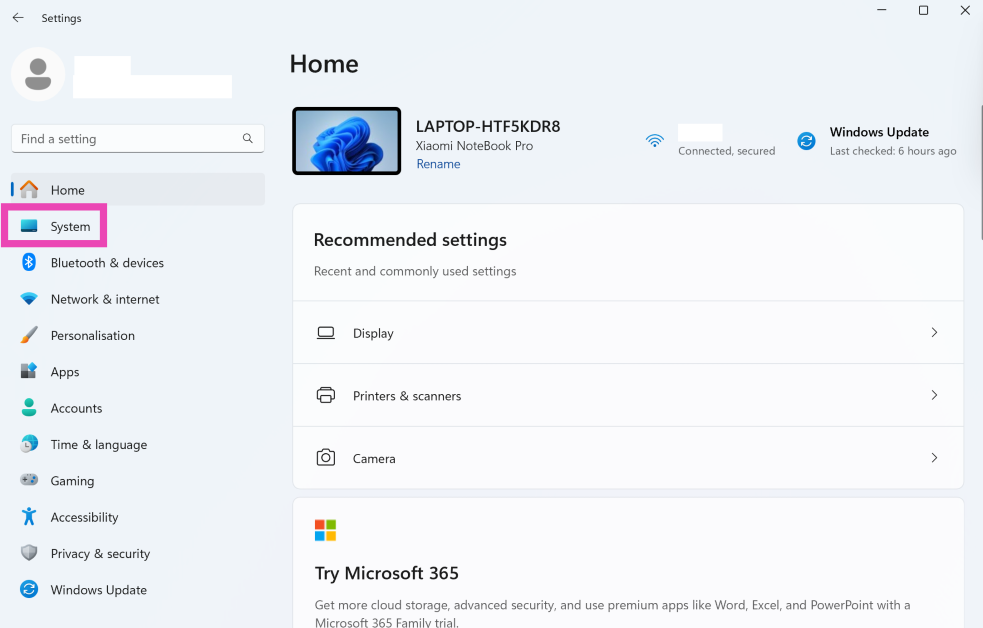
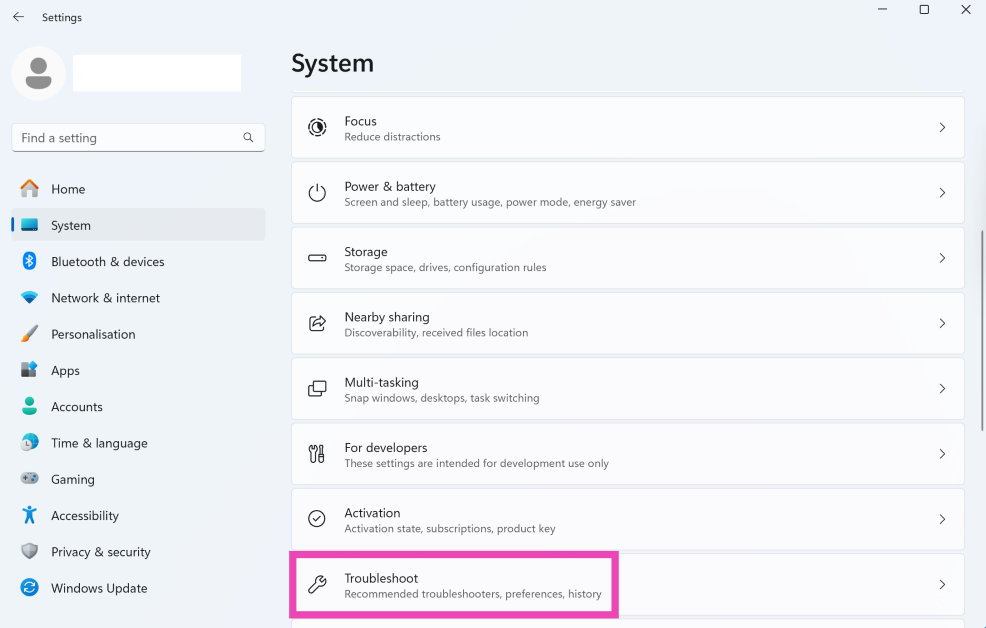
Step 1: Go to Settings and select System from the sidebar.
Step 2: Scroll down and click on Troubleshoot.
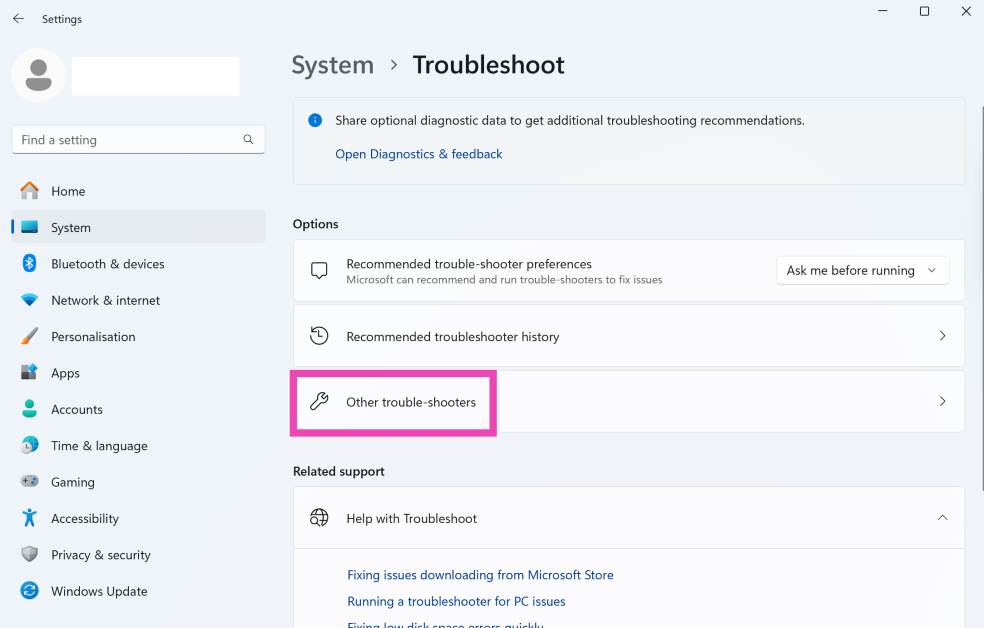
Step 3: Select Other troubleshooters.
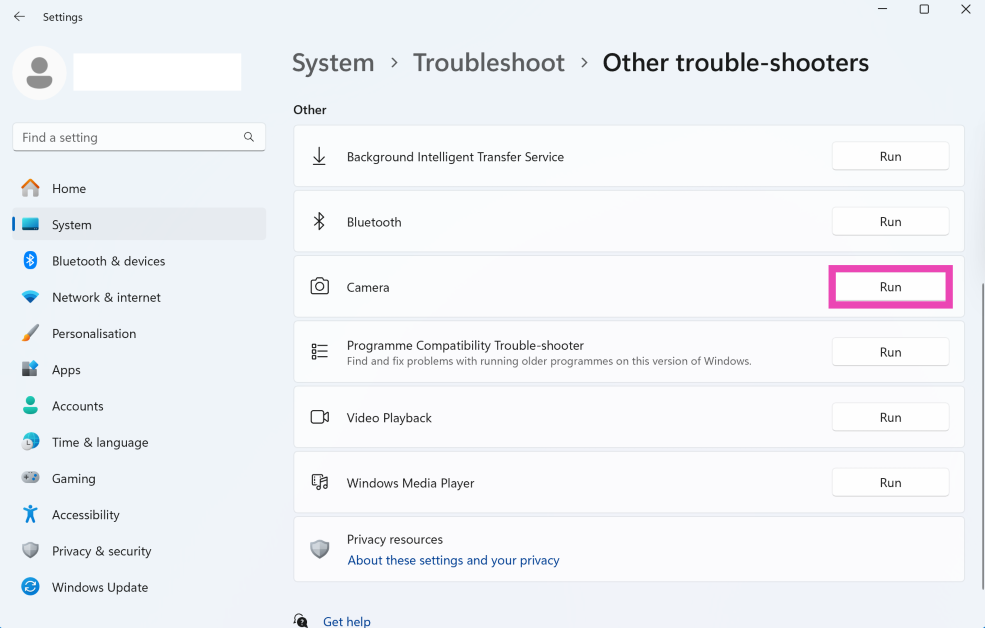
Step 4: Hit the Run button next to Camera.
Using an external camera? Make sure it is connected properly
If you’re using an external camera with your laptop or PC, make sure that it is connected properly. Check the wired connections and ensure that there are no loose ends. Clean the USB port to prevent the collected dust and grime from causing an issue. Plug the camera into another PC to confirm that there’s nothing wrong with its hardware.
Update the camera’s drivers
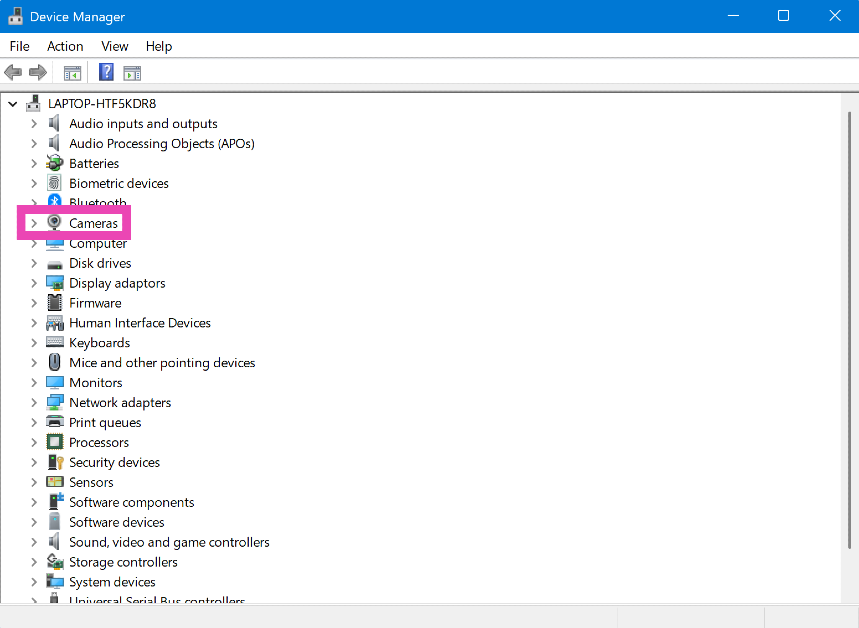
Step 1: Go to Control Panel and select Device manager.
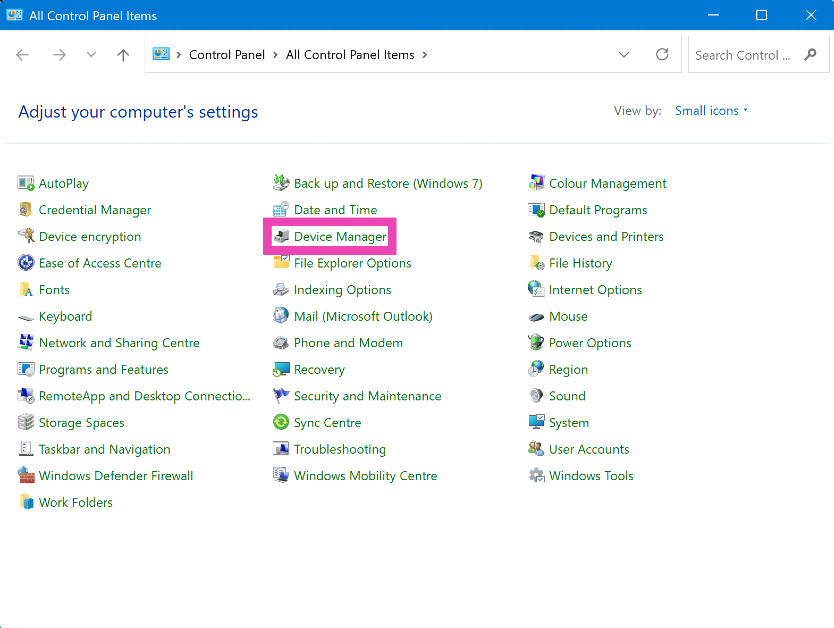
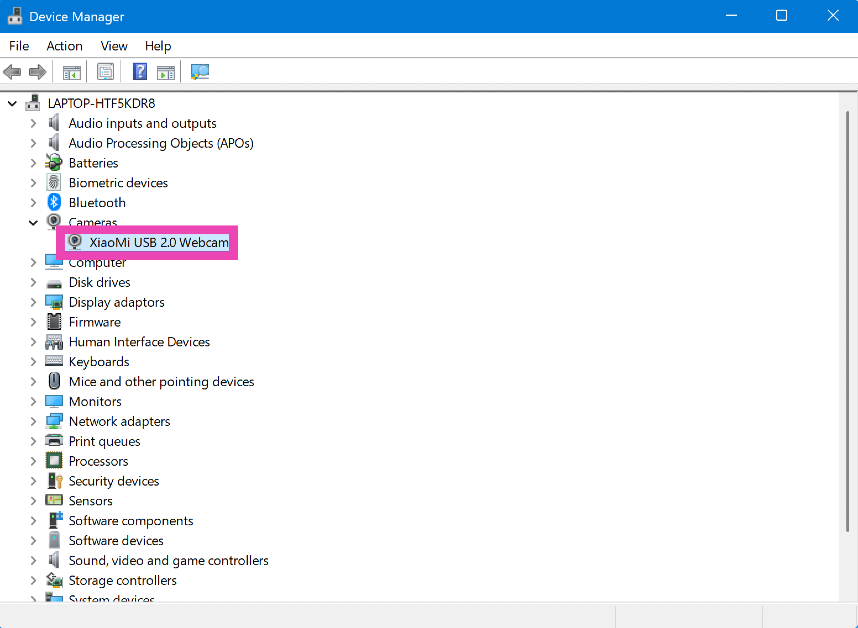
Step 2: Expand the Cameras category.
Step 3: Right-click on the camera and select Update driver.
Switch to the UVC driver
If you’re using an external camera with your PC, switching to the UVC driver might help overcome any issues you’re facing.
Step 1: Go to Control Panel and select Device manager.
Step 2: Expand the Cameras category.
Step 3: Right-click on the camera and select Update driver.
Step 4: Select Browse my computer for drivers.
Step 5: Click on Let me pick from a list of available drivers on my computer.
Step 6: Select USB Video Device and install the driver.
Step 7: Select Search automatically for drivers.
Reinstall the camera drivers
Step 1: Go to Control Panel and select Device manager.
Step 2: Expand the Cameras category.
Step 3: Right-click on the camera and select Uninstall device.
Step 4: Click Action in the top menu.
Step 5: Select Scan for hardware changes. This will reinstall the driver.
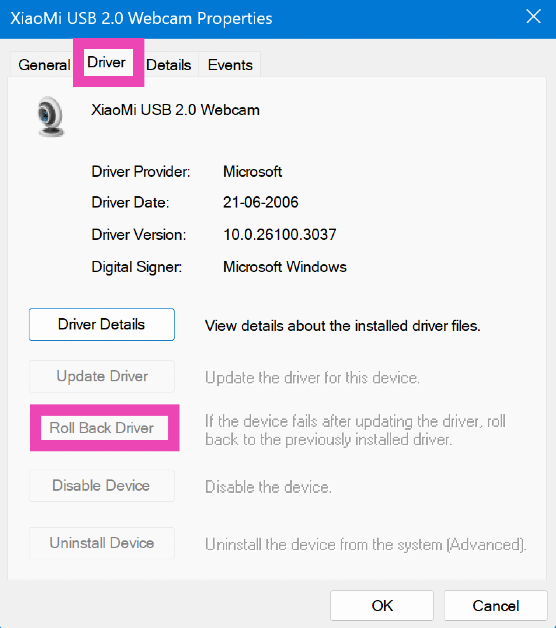
Restore the camera driver to its previous version
If your laptop or PC’s camera stopped working after an OS update, restore its driver to the previous version to fix the issue. Here’s how you can go about it.
Step 1: Go to Control Panel and select Device manager.
Step 2: Expand the Cameras category.
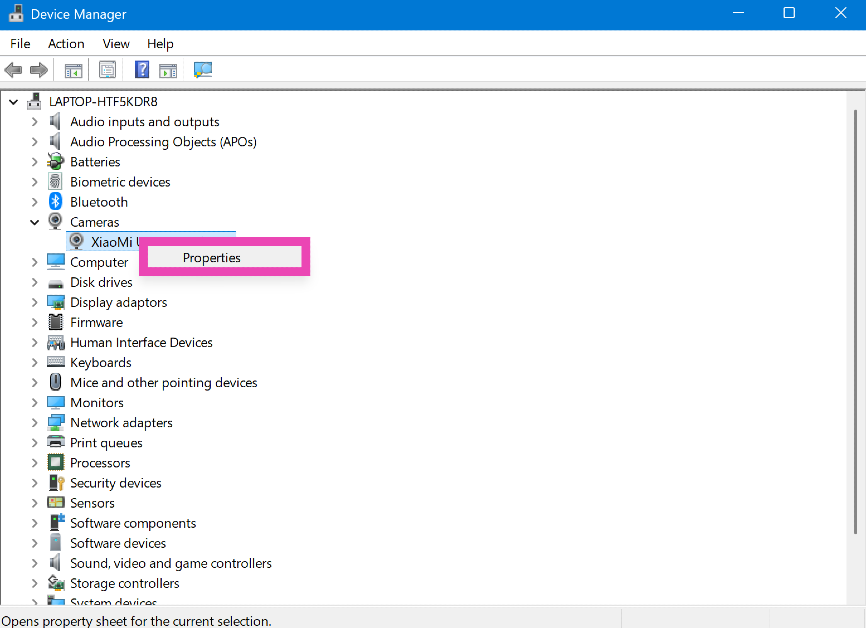
Step 3: Right-click on the camera and select Properties.
Step 4: Switch to the Driver tab and select Roll Back Driver.
Disable the antivirus and firewall
Sometimes, the camera can get flagged by the antivirus software or blocked by the firewall. Temporarily disable these security measures to confirm whether this is the case. If you’re able to use the camera, unblock it from the antivirus software settings and add it to the whitelist.
Restart your PC
Restarting your PC is a quick way to fix any background software issues on the device. This includes issues with the webcam. Hit the Windows icon in the taskbar, click the power icon, and select ‘Restart’. Launch the Camera app once your PC has restarted to check whether the issue has been resolved.
Repair and reset camera
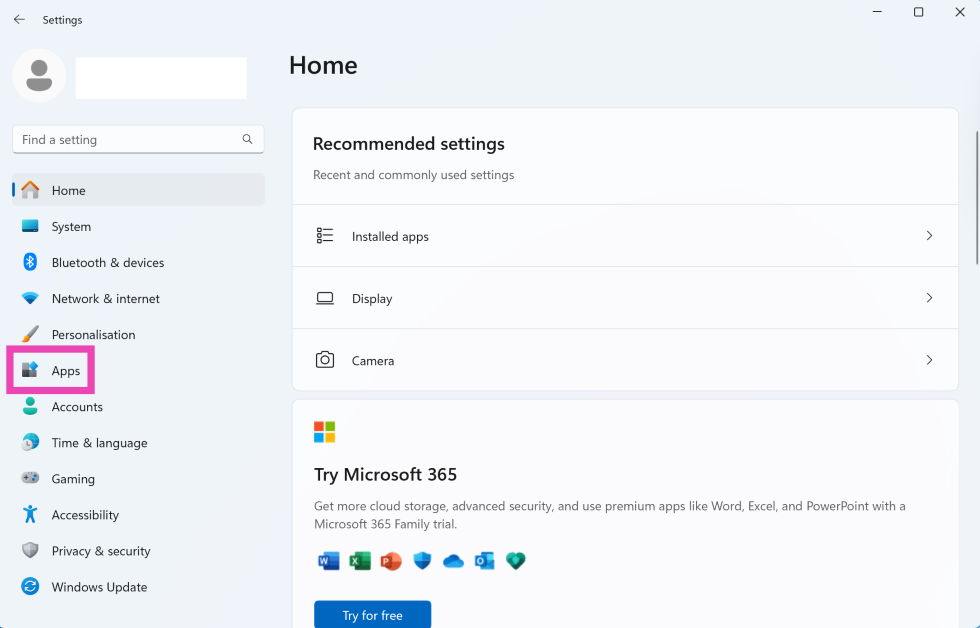
Step 1: Go to Settings and select Apps from the sidebar.
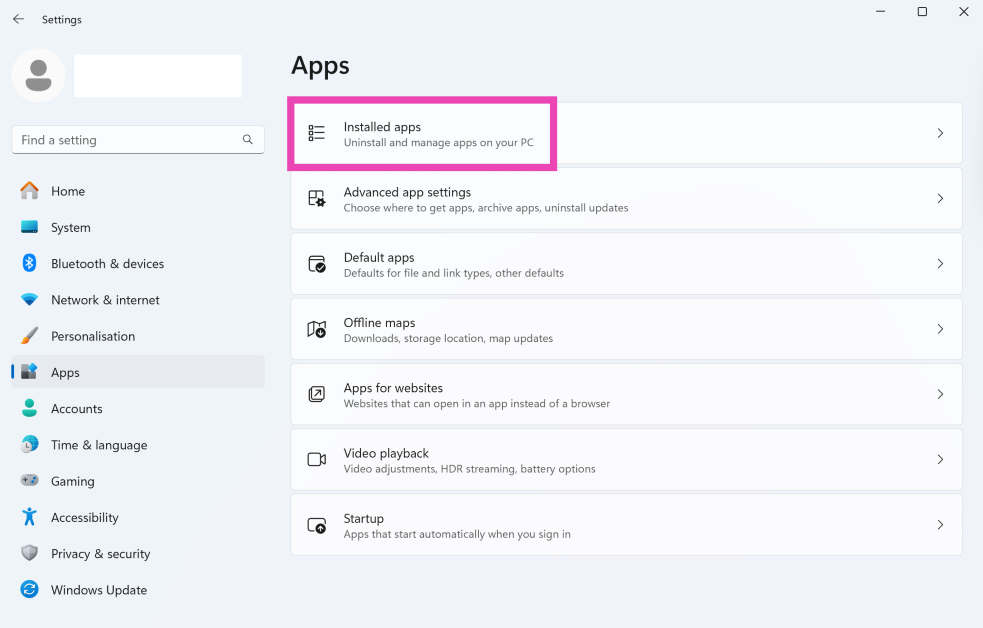
Step 2: Go to Installed apps.
Step 3: Hit the ellipses next to Camera and select Advanced options.
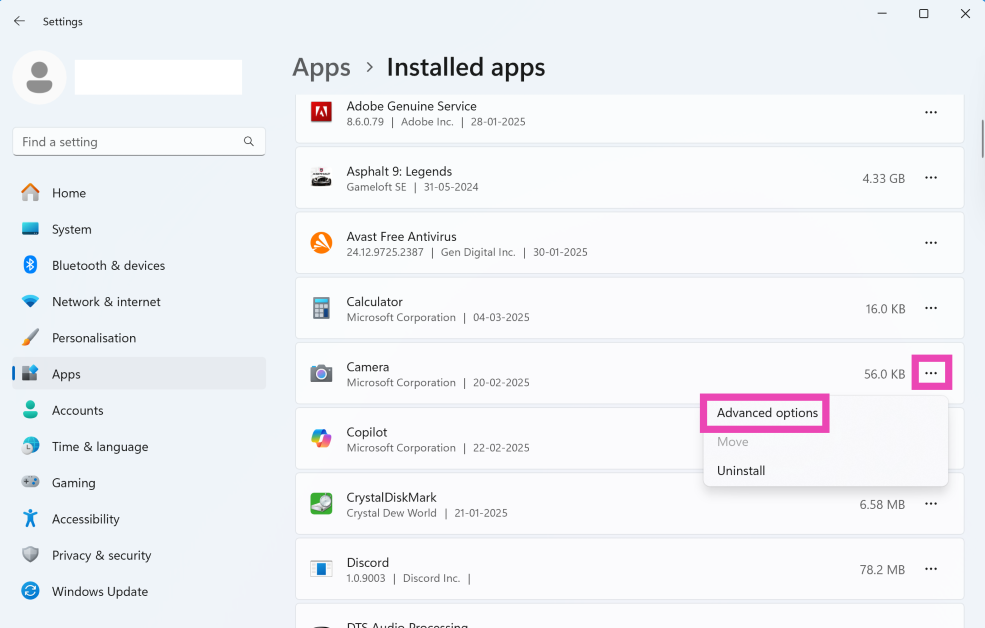
Step 4: Scroll down and select Repair.

Step 5: If repairing doesn’t fix the camera, hit Reset.
Frequently Asked Questions (FAQs)
How do I activate my laptop’s camera?
Your laptop’s camera is activated by default. However, you need to give apps like Google Meet and Zoom camera access to use it. Go to Settings>Privacy & security>Camera and turn on the toggle switch next to the app you want to allow camera access to.
How do I reset the camera on my laptop?
Go to Settings>Apps>Installed apps>Camera>Advanced options and hit ‘Reset’.
How do I fix the camera on my Windows PC/laptop?
You can fix your PC/laptop’s camera by running the camera troubleshooter, updating its drivers, and ‘repairing’ the camera app from app settings.
Why can’t I see anything on my laptop’s camera?
If you can’t see anything on your laptop’s camera, make sure its privacy shutter is open. Additionally, update its driver to the latest version.
How to check if a webcam is working or not?
Launch the native camera app on your Windows PC/laptop to check whether the webcam is working or not.
Read Also: Introductory offers on Samsung Galaxy M16 5G and Galaxy M06 5G announced in India
Final Thoughts
These are the top 11 ways to fix the ‘camera not working’ issue on your Windows 11 PC or laptop. If you can’t get the camera to work after applying these fixes, it is likely that its hardware is damaged. To get around this issue, you can use your smartphone as an external camera. If you have any questions, let us know in the comments!
