

Clearing the DNS cache is one of the quick fixes that always comes up while troubleshooting solutions for a website not loading on your phone or PC. The DNS cache keeps a record of the websites you visited in the past to cut down the load time when you visit them again. If this cached memory gets corrupted, you may not be able to load the website on your browser. So, here are the top 6 ways to clear or flush the DNS cache on your Android phone.
In This Article
How does the DNS work?
Before you go about clearing the DNS cache, it is a good idea to learn how the DNS server works. When you enter the address of a website on your web browser, it contacts the DNS server for the website’s IP address. This address is fed to your browser by the DNS, leading to the website appearing on your screen. This of DNS as a phonebook for IP addresses.
If you visit some websites frequently, their IP addresses are stored in the DNS cache so as to bypass visiting the server entirely. This cuts down on the load time. If this cache becomes outdated or corrupted, your web browser will fail to load the website you requested. In this situation, you must flush the DNS cache.
Use Google Chrome to clear DNS cache
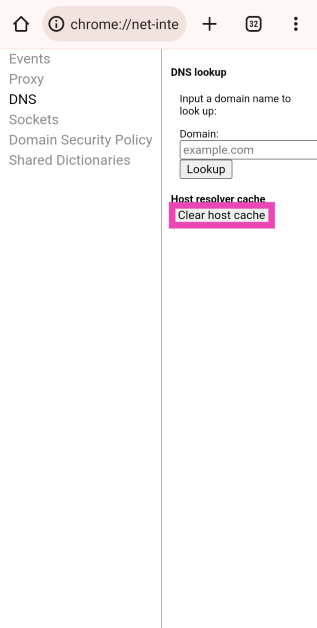
Step 1: Launch Google Chrome on your Android phone and type the following command in the address box:
chrome://net-internals/#dns
Step 2: Tap on Clear host cache.
Clear DNS cache from Chrome’s settings
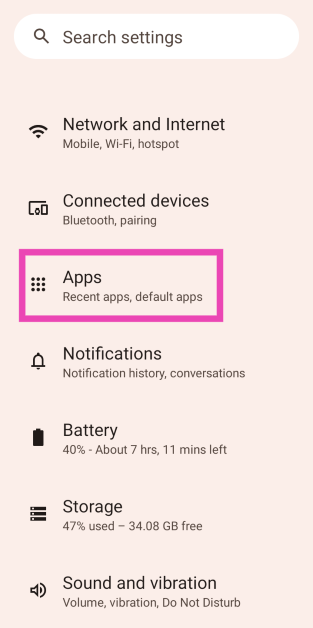
Step 1: Go to Settings and select Apps.
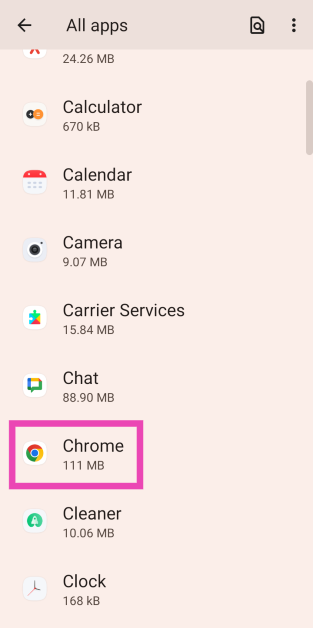
Step 2: Tap on Google Chrome.
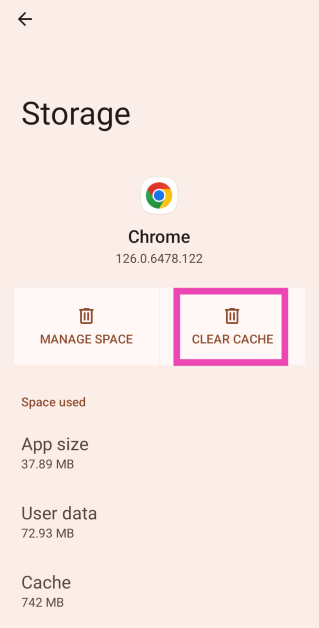
Step 3: Select Storage.
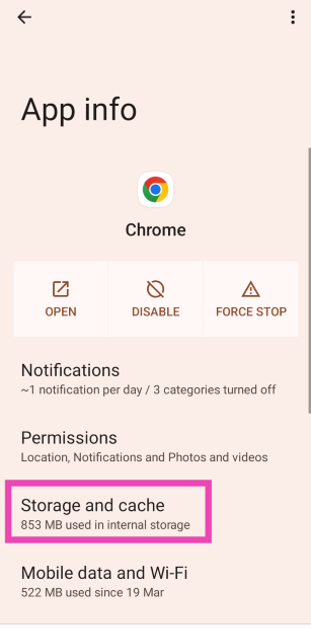
Step 4: Tap on Clear cache.
Change the DNS server
Changing the DNS server on your Android phone flushes its existing cache. Here’s the step-by-step process.
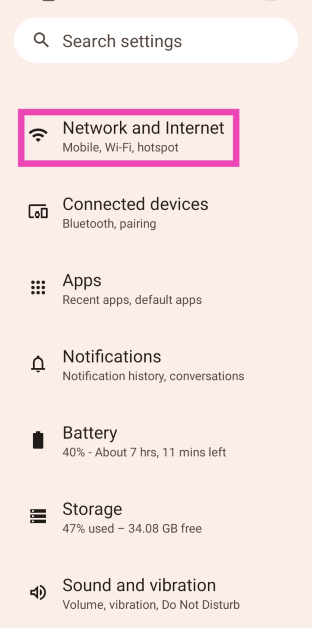
Step 1: Go to Settings and select Network and Internet.
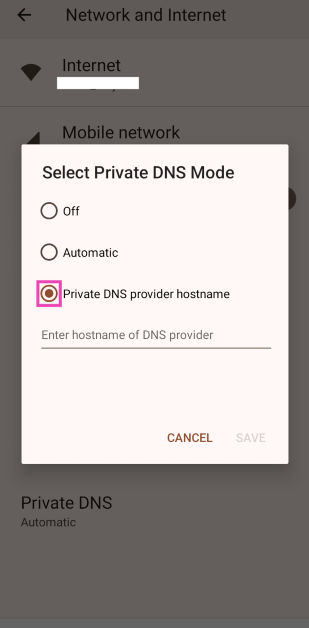
Step 2: Tap on Private DNS.

Step 3: Select Private DNS provider hostname.
Step 4: Type the DNS provider hostname.
Step 5: Tap on Save.
Change the WiFi IP Setting to Static
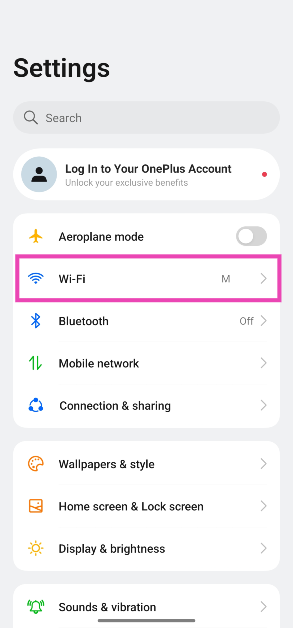
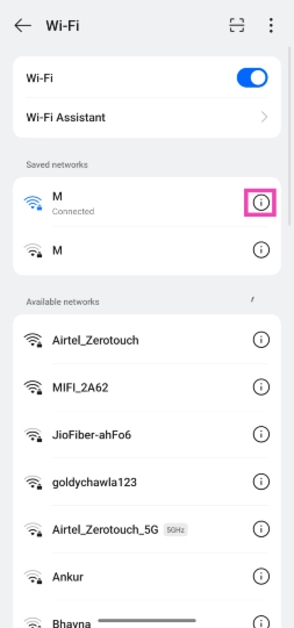
Step 1: Go to Settings and tap on WiFi.
Step 2: Hit the i icon next to the connected network.
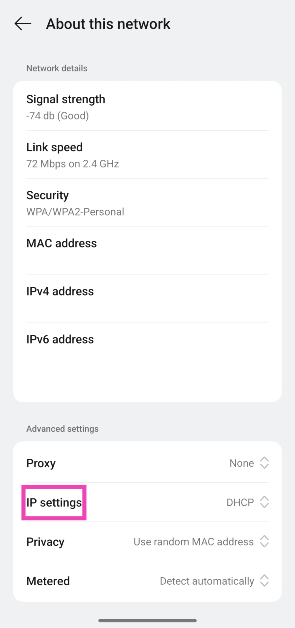
Step 3: Scroll down and tap on IP Settings.
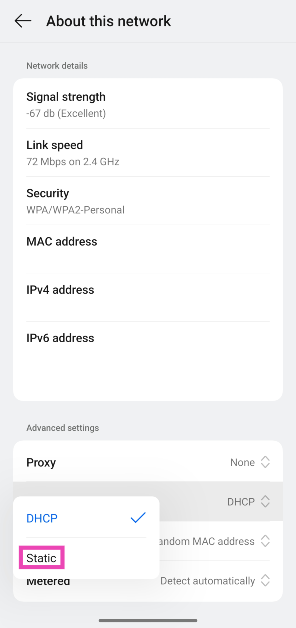
Step 4: Select Static.
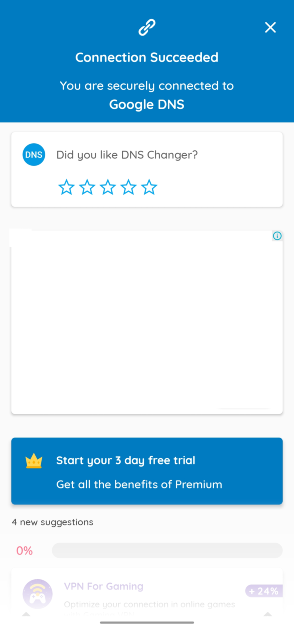
Use a third-party app (DNS Changer)
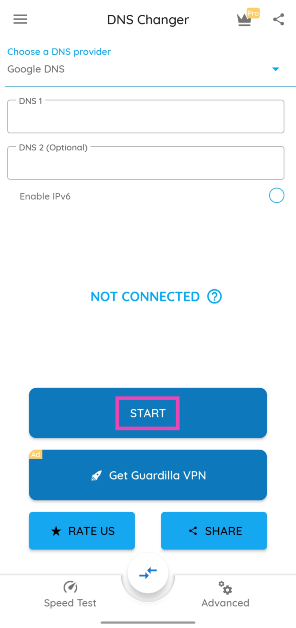
Step 1: Download and install the DNS Changer app from the Google Play Store.
Step 2: Launch the app and hit Start.
Step 3: Approve the connection request.

Step 4: Your current DNS will be flushed out and changed.
Reset network settings
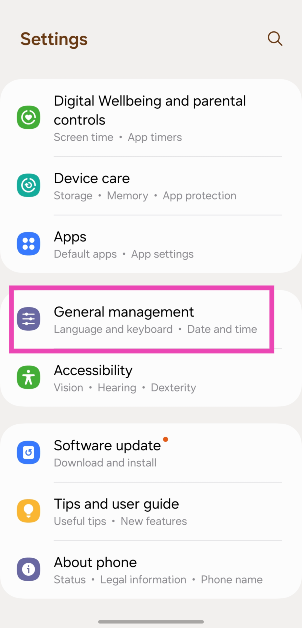
Step 1: Go to Settings and select General management.
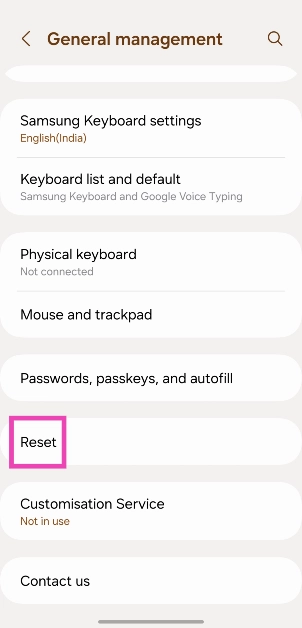
Step 2: Scroll down and select Reset.
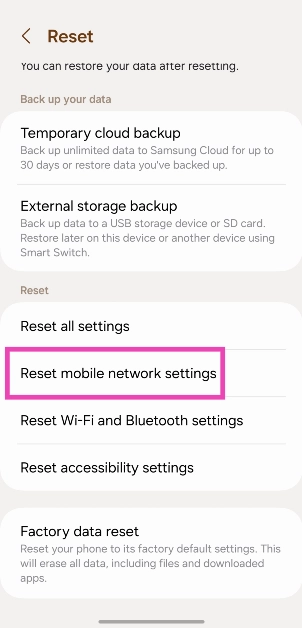
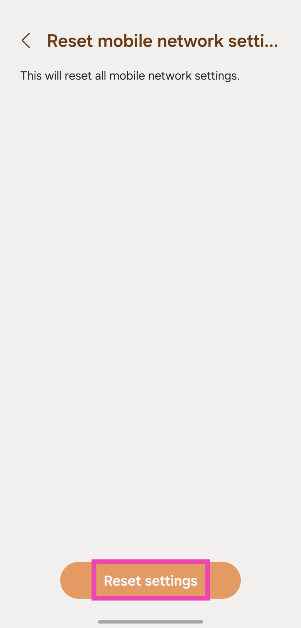
Step 3: Tap on Reset mobile network settings.
Step 4: Select Reset settings.
Step 5: Enter your PIN to confirm your selection.
Frequently Asked Questions (FAQs)
When should I flush the DNS cache on my Android phone?
If you’re unable to load a website on your web browser even when there’s nothing wrong with your internet connection, clearing the DNS cache will help.
How do I clear the DNS cache on my Android phone?
Launch Google Chrome, type chrome://net-internals/#dns in the address box, hit ‘Enter’, then select ‘Clear host cache’.
How do I flush the DNS cache on a Windows PC?
Go to Command Prompt (Windows + R followed by Enter) and ipconfig /flushDNS.
How do I change the DNS server on Android?
Go to Settings>Network and Internet>Private DNS>Private DNS provider hostname, enter the hostname, and hit ‘Save’.
How do I reset the network settings on my Android phone?
Go to Settings>General Management>Reset>Reset mobile network settings, and hit ‘Reset settings’.
Read Also: Vivo Y28s and Y28e with 5,000mAh battery launched in India
Conclusion
These are the top 6 ways to clear or flush the DNS cache on Android. While you’re here, check out how you can flush the DNS cache on a Mac. If you have any questions, let us know in the comments!
