

Password autofill is one of our favourite Android features. It makes life easy by saving you the trouble of remembering your passwords. This allows you to create strong and unique passwords for every account you own. Autofill is seamlessly integrated into your phone’s interface. Whenever you open an app or website, you can access your password from the keyboard itself. If you can’t get it to work, there are some quick fixes you can deploy to maintain smooth sailing. Here are the top 7 ways to fix ‘password autofill not working’ on your Android phone.
Read Also: Sony LinkBuds Fit Review: A Sound Investment in Comfort and Innovation
In This Article
Why is password autofill not working?
If password autofill is not working on your device, it could be due to one of the following reasons.
- Password autofill is disabled on your phone
- The password for the app you’re trying to log into is not saved on your phone
- The app you’re trying to log into does not support autofill
- You have not set your preferred password manager app as the default one
- Your password manager app is not updated
- Your phone’s OS is not updated
Enable Autofill with Google Password Manager
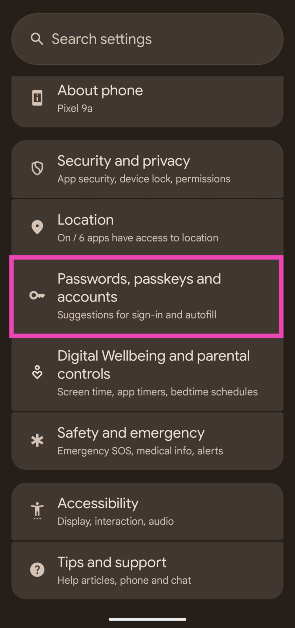
Step 1: Go to Settings and select Passwords, passkeys and accounts.
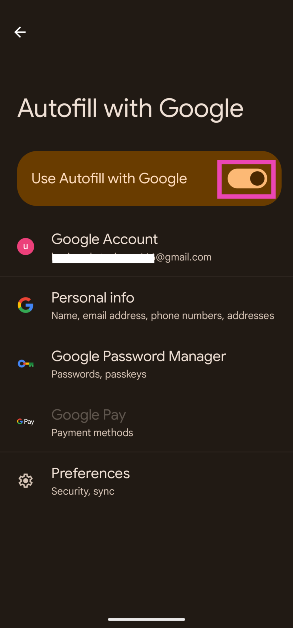
Step 2: Hit Open under Google.

Step 3: Turn on the toggle switch next to Use Autofill with Google.
Select a password manager app
If you use a third-party password manager app, make sure it is set as the default app for autofilling your passwords.
Step 1: Go to Settings and select Passwords, passkeys and accounts.
Step 2: In the Preferred service category, tap on Change under Google.
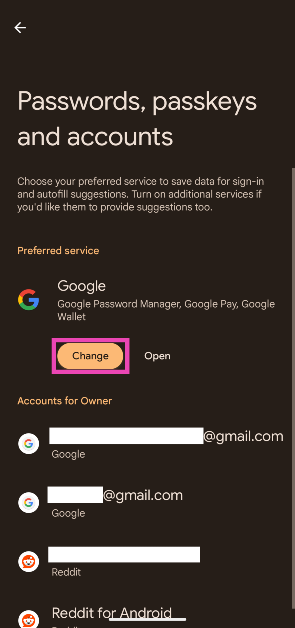
Step 3: Select your preferred third-party password manager.

Use Autofill from the Quick Settings Menu
Third-party password manager apps offer a special tile for the Quick Settings Menu. This feature is not offered with Google Password Manager. Check out how you can add a quick settings tile for your password manager.
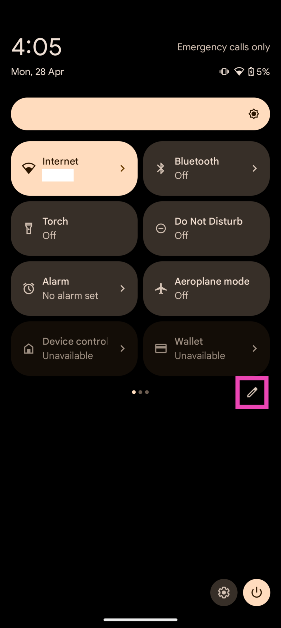
Step 1: Swipe down from the status bar to access the Quick Settings Menu.
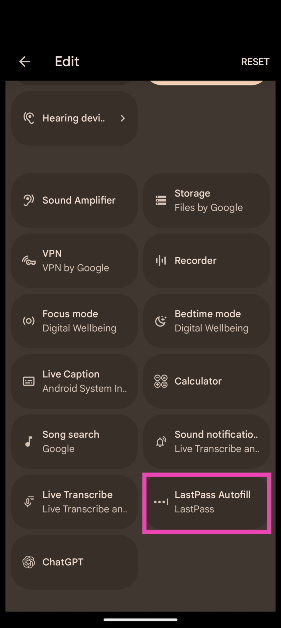
Step 2: Hit the pencil icon to edit the quick settings tiles.
Step 3: Long-press on the autofill tile for your password manager and drag it to your preferred spot.
Clear the password manager’s cache
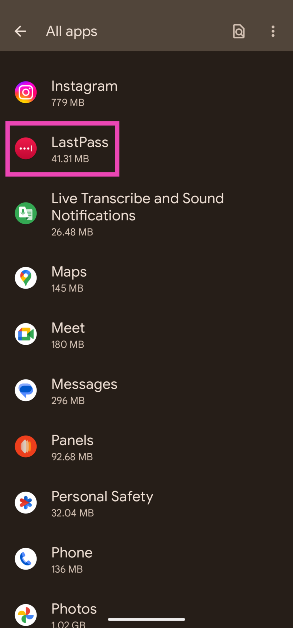
Step 1: Go to Settings and select Apps.

Step 2: Select your password manager app.
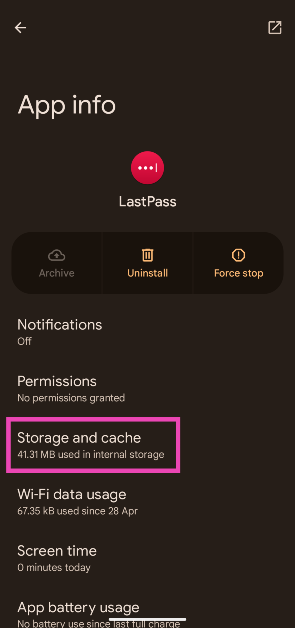
Step 3: Tap on Storage and cache.
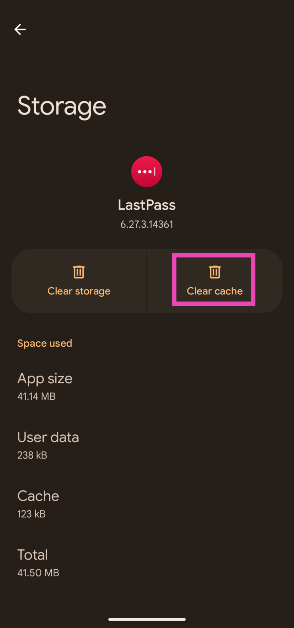
Step 4: Tap on Clear cache.
Update your password manager app
If the issue is bug-related, it is possible that it has been fixed with an update. Go to the Google Play Store, search for your password manager app, and hit ‘Update’. Once the app is updated, restart your phone and check if password autofill has started working.
Stop using the Beta version of the password management app
If you’re a Beta tester for a password management app, chances are that the autofill feature is disabled for you. If you want it back, you need to move to the stable version of the app. Here’s how you can go about it.
Step 1: Launch the Google Play Store and tap your profile picture in the top right corner of the screen.
Step 2: Tap on Manage apps & devices.
Step 3: Go to Beta.
Step 4: Select the app you want to leave. In this case, select the password management app.
Step 5: Go to ‘You’re a beta tester‘ and select Leave.
Update your phone’s OS
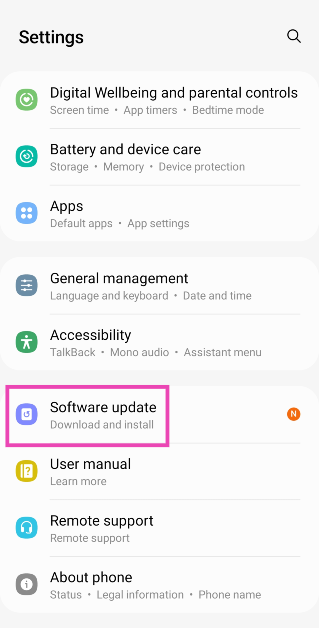
Step 1: Go to Settings and select Software update.
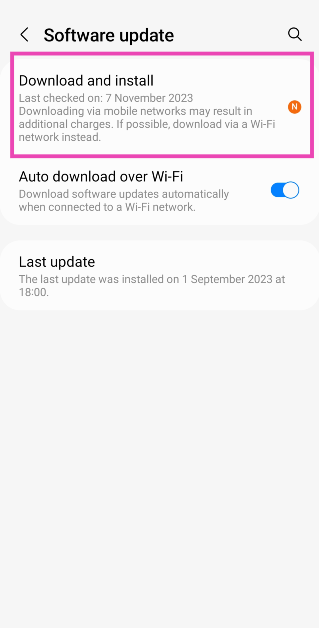
Step 2: Tap on Download and install.
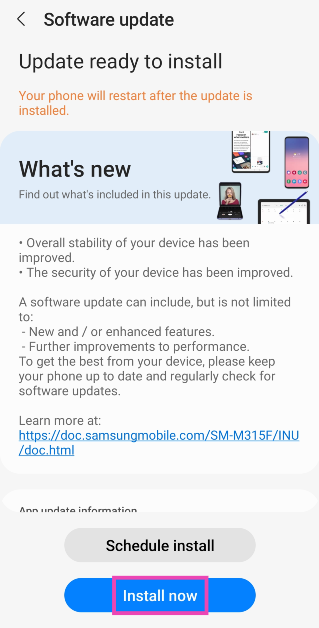
Step 3: Select Install now.
Frequently Asked Questions (FAQs)
How do I check my saved passwords?
Go to Settings>Google>Password manager and tap on a website/app to view your username and password.
How do I remove a saved password?
Go to Settings>Google>Password manager, select an app/service, enter your lock screen password, and hit ‘Delete’.
How do I turn on autofill for passwords on my Android phone?
Go to Settings>Passwords, passkeys and accounts>Google and turn on the toggle switch next to ‘Use Autofill with Google’.
How do I change the default password manager app on my phone?
Go to Settings>Passwords, passkeys, and accounts, hit ‘Change’ under Google, and select your preferred third-party apps.
Can I add an autofill tile in the Quick Settings Menu?
Swipe down from the status bar, tap the pencil icon, long-press the password manager’s tile, and drop it in your preferred spot.
Read Also: Apple App Store Study Reveals ₹44,447 Crore Windfall For Indian Developers
Final Thoughts
These are the top 7 ways to fix the ‘password autofill not working’ issue on your Android phone. While you’re here, check out how you can share passwords using Google Chrome on Android and iOS. If you have any questions, let us know in the comments!
