

One of the major reasons behind Microsoft Word’s popularity is that it is extremely easy to work with. Even though it packs every editing and formatting feature under the sun, it is very accessible to the average user and doesn’t confuse them with a plethora of features. However, sometimes even a simple hang-up can put a wrench in the usability of the software. Users often experience this when they aren’t able to edit a document. So, let’s take a look at what you can do about it. Here are the top 5 ways to remove editing restrictions if you can’t edit a Microsoft Word document.
Read Also: Boat Immortal Katana Blade TWS earbuds with up to 50 hours of playback launched in India
In This Article
Why can’t you edit a Word Document?
There are a couple of major reasons why you may not be able to edit a Word document. Usually, when you encounter something like this, it is because the document author has restricted editing access for the Word file. This is done to preserve the contents of the file and ensure that no one is able to tamper with it. Only users with the password to the document can unlock its editing features.
Users also come across editing restrictions on Word documents that they download from the Internet. This is a precautionary measure taken by Microsoft Word to protect your PC against viruses. It is surprisingly easy to get users to download a Word file since it feels pretty innocuous. However, malicious entities can still manage to find their way into your system. Microsoft Word’s ‘Protected View’ feature prevents this from happening by opening the file in Read-only mode.
Remove editing restrictions in Microsoft Word

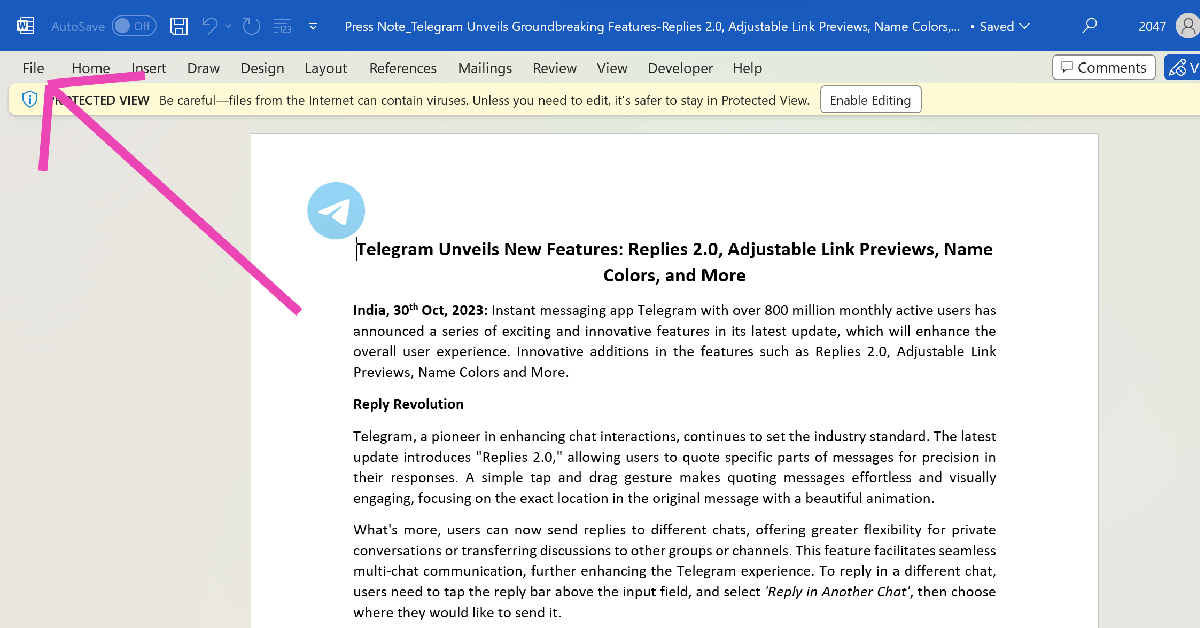
Once a read-only Word document opens in Protected View, you get a banner message letting you know that the file was downloaded from the Internet and that it may contain viruses. If you need to edit it still, simply click on the ‘Enable Editing’ option within this message. It’s that easy. If you don’t see this message at the top of the screen, check out the other methods below.
Enable Editing in Protected View
Step 1: Select File from the top menu.
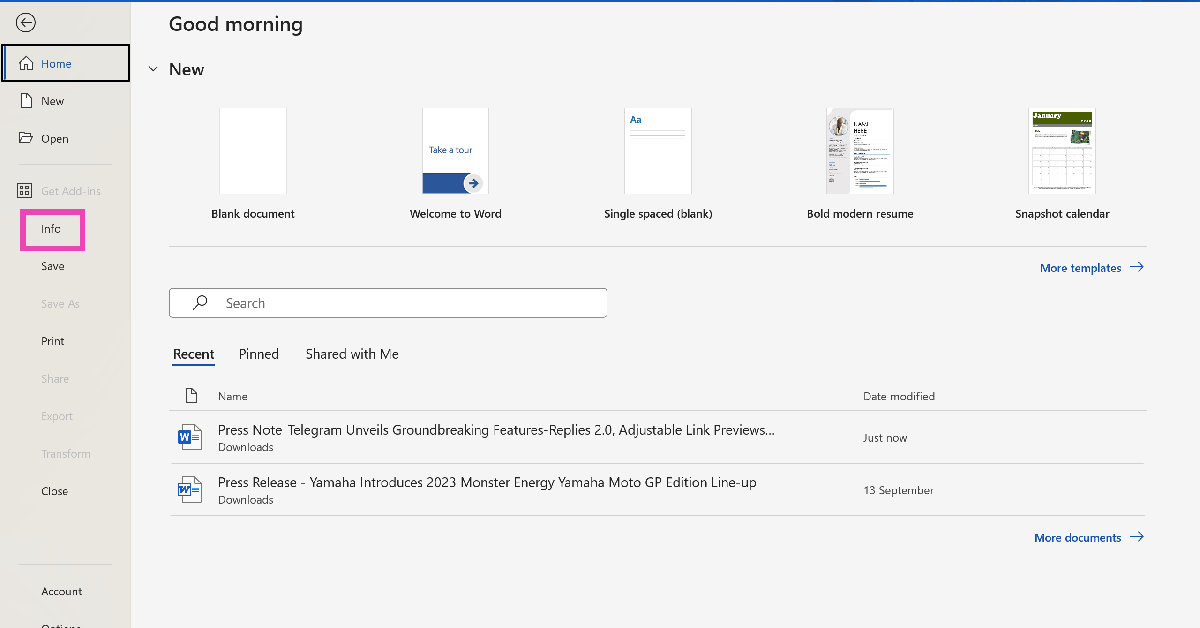
Step 2: Hit Info.
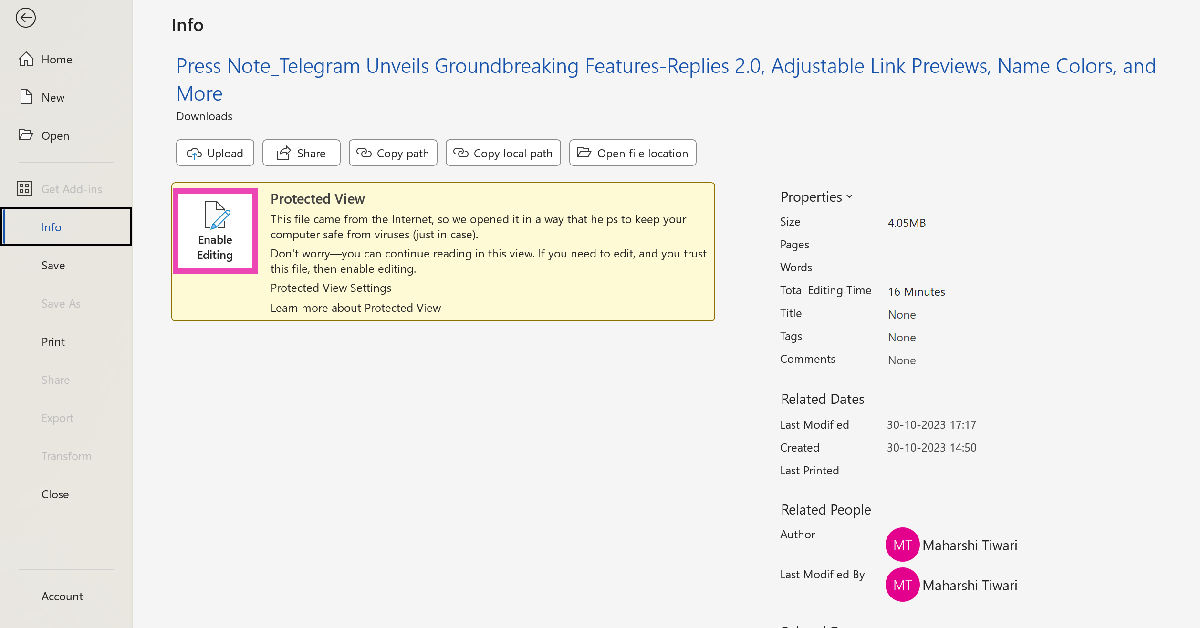
Step 3: In the Protected View box, select Enable Editing.
Remove editing restrictions in Word by changing the file properties
Step 1: Locate the Word file on your PC. Right-click on it and select Properties.
Step 2: Uncheck the box for Unblock in the General tab. Make sure the box for Read-only is not selected either.
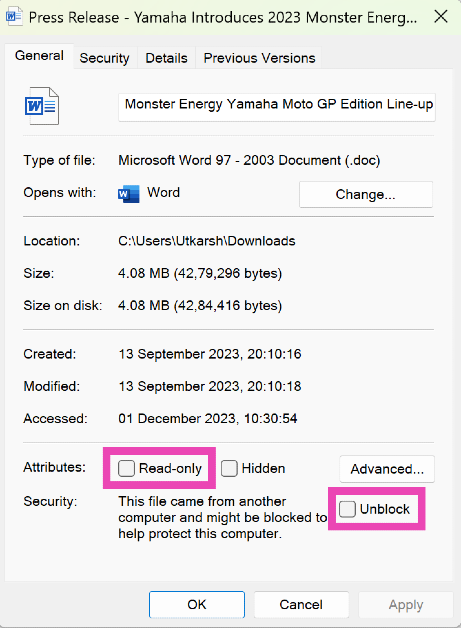
Step 3: Switch to the Security tab and make sure you are allowed all permissions for the file.

Step 4: Click on OK.
You will now be able to edit the Word document.
Edit a Restricted document
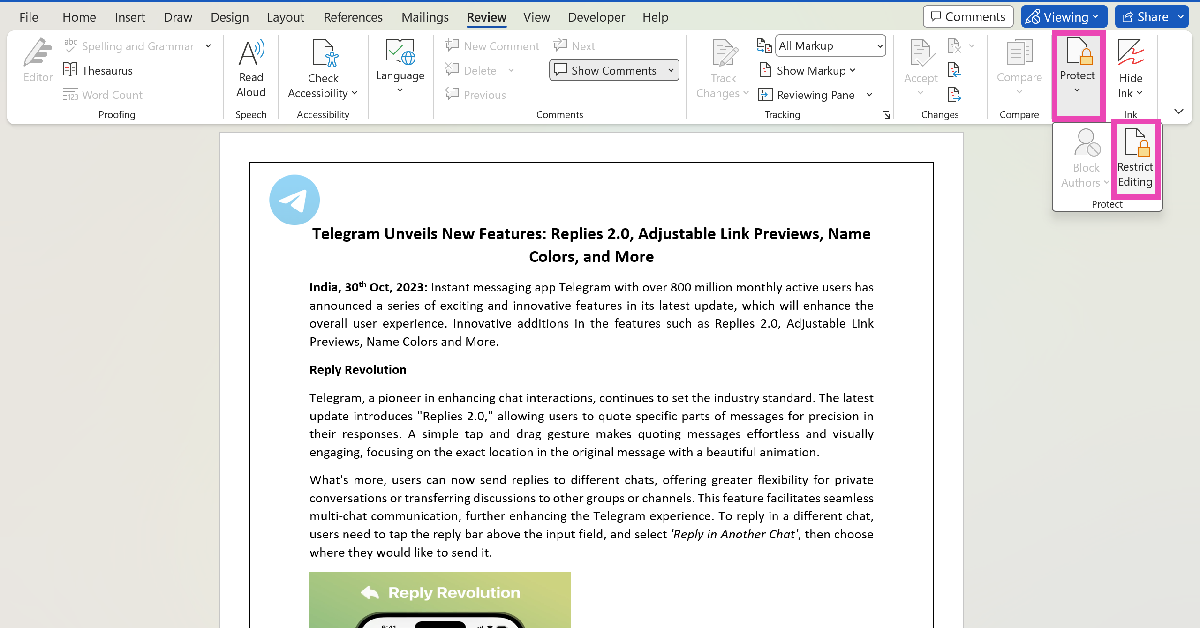
Step 1: Open the Word document and go to the Review tab.
Step 2: Click on Protect and select Restrict Editing.
Step 3: Click on Stop Protection.
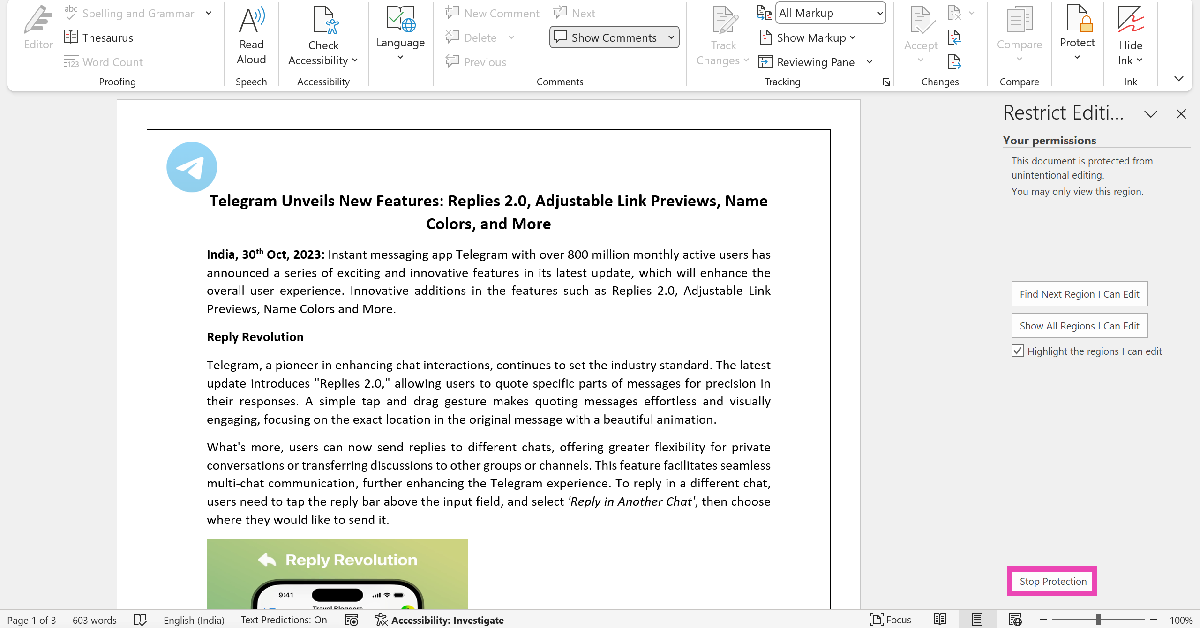
Step 4: Enter the password for the document to begin editing it.
Copy and paste the text to another document
If the methods mentioned above didn’t work for you, you can simply copy the text of the Word document and paste it into a new document. You can also choose to edit the text in Notepad or any other text editor of your choice. There are some universal keyboard shortcuts you can use to make your job easier. Press Ctrl+A to select the entire text in the document and Ctrl+C to copy it to the clipboard. Open a fresh document by pressing Ctrl+N, then press Ctrl+V to paste the text.
Frequently Asked Questions (FAQs)
How do I edit a password-protected Word document?
It is easy to edit a password-protected Word document if you know its password. Go to the Review tab, select Protect>Restrict Editing, and click on Stop Protection. You will need to enter the password to the document to edit it. If you don’t know the password, simply copy and paste the text into a new document to edit it.
How do I remove editing restrictions in Microsoft Word?
Microsoft Word restricts editing on documents downloaded from the web by opening them in Protected View. This is done to protect your PC against viruses. To remove editing restrictions in Word, go to File>Info and hit Enable Editing in the Protected View box.
How do I disable Read-only mode on a Word file?
Right-click on the Word file and uncheck the box for Read-only. Switch to the Security tab and make sure you have access to all the permissions.
Read Also: OnePlus Nord CE 3 5G price reduced, gets a price cut of Rs 2,000
Conclusion
These are the top 5 ways to remove editing restrictions if you can’t edit a Microsoft Word document. While enabling editing in Protected View mode, ensure that the Word file was downloaded from a trustworthy source. If that isn’t the case, your PC may be exposed to harmful viruses, malware, or ransomware. You can also choose to disable Protected View altogether from Trust Center Settings.
