

Windows 11 has a handy on-screen keyboard which comes in clutch when some of the keys of the physical keyboard are not working. You can click the letter and symbol icons on this virtual keyboard to type whatever you want. Stringing key combinations using the on-screen keyboard is surprisingly easy, too. Here are the top 4 ways you can enable the on-screen keyboard on your Windows 11 PC or laptop.
Read Also: Top 10 smartphones you can buy right now (May 2025)
In This Article
On-screen vs Touch Keyboard: What’s the difference?
While the on-screen and touch keyboards are overlaid on your laptop’s display and serve as virtual keyboards, they are designed for different machines. An on-screen keyboard is an essential part of every Windows 11 device, be it a PC or a laptop. It is an alternative to the regular keyboard and helps you out when you can’t get certain keys to work.
In contrast, the Touch keyboard is especially designed for touchscreen laptops. It occupies a larger part of the screen since it is supposed to take touch input. The Touch keyboard springs into action whenever you use your touchscreen laptop as a tablet. You can change the size of this keyboard to accommodate single-handed use. It also offers a bunch of layout options like split, gamepad, traditional, and more.
Enable the On-screen keyboard from settings
Step 1: Go to Settings and select Accessibility from the sidebar.

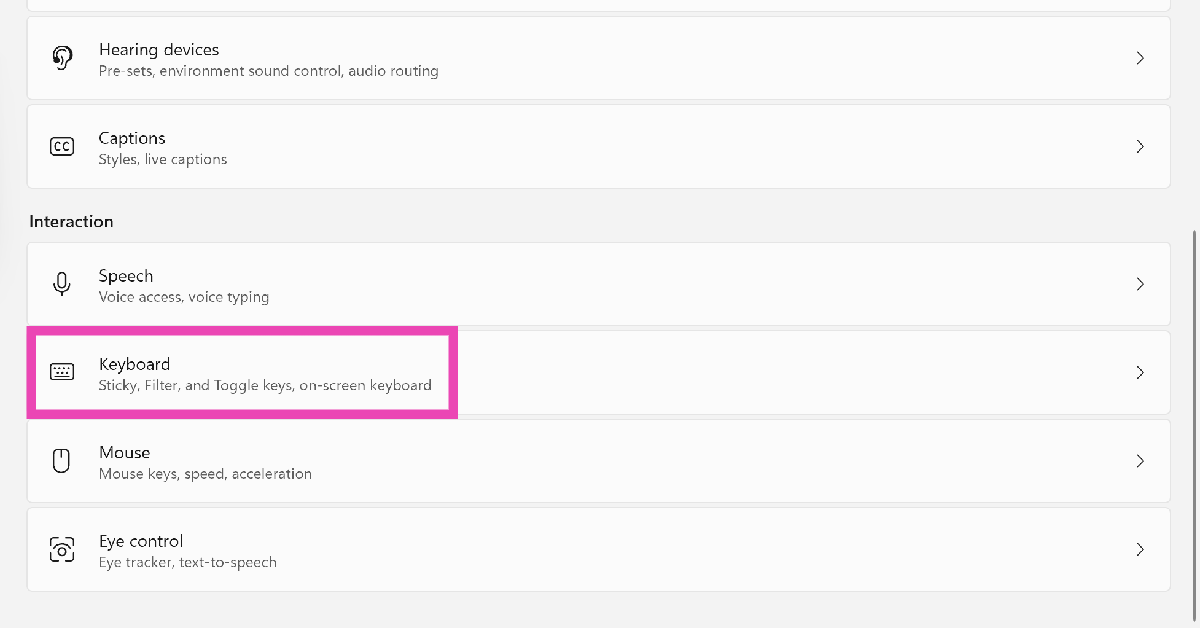
Step 2: Scroll down and select Keyboard.
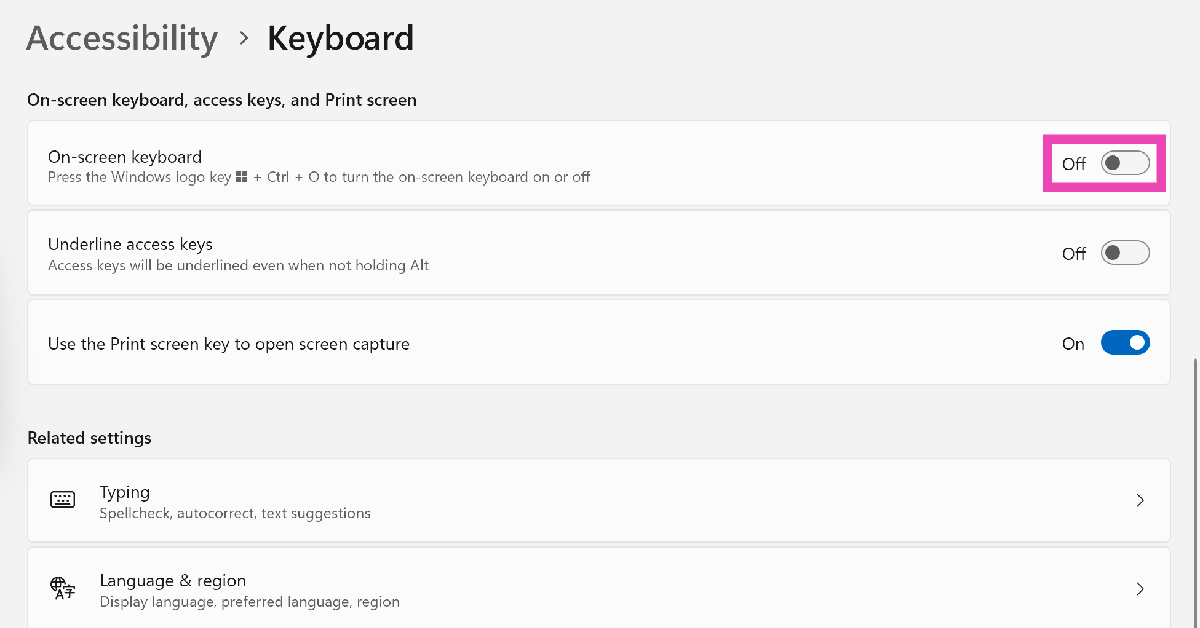
Step 3: Turn on the toggle switch next to On-screen keyboard.
Enable the On-screen keyboard from the Control Panel
Step 1: Go to the Control Panel.
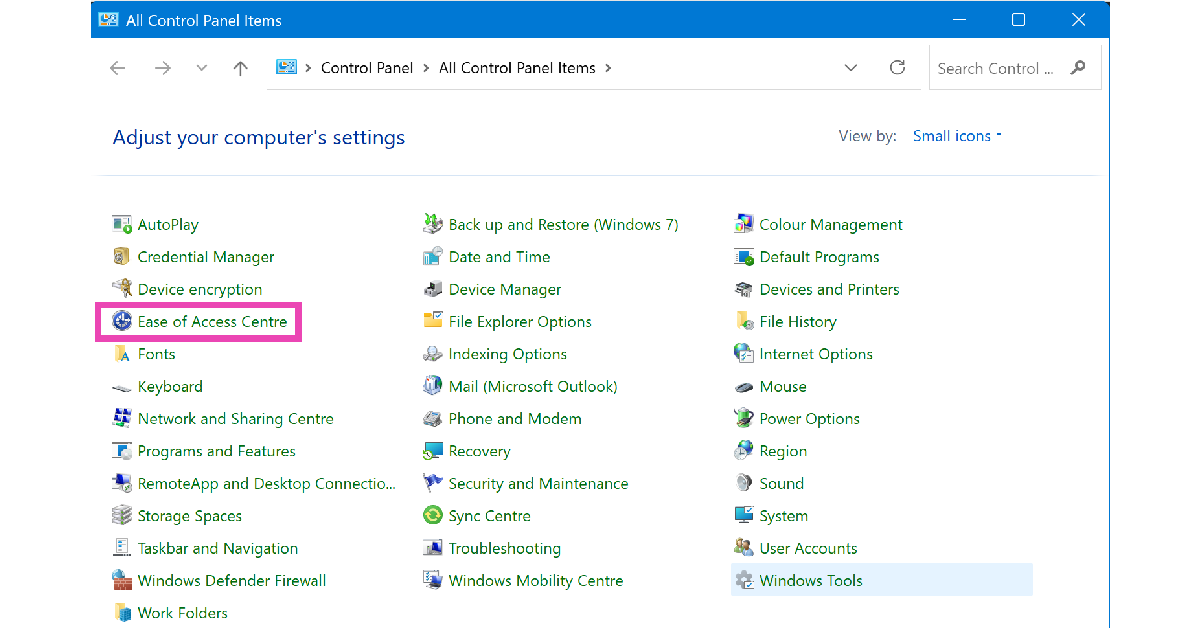
Step 2: Select Ease of Access Centre.
Step 3: Click on Start On-Screen Keyboard.

Use keyboard and taskbar shortcuts to launch the On-screen keyboard
You don’t need to go to Settings every time you want to access the on-screen keyboard. You can press Windows + Ctrl + O on the physical keyboard to launch it. Alternatively, you can pin it to the taskbar for instant access. Here’s how.
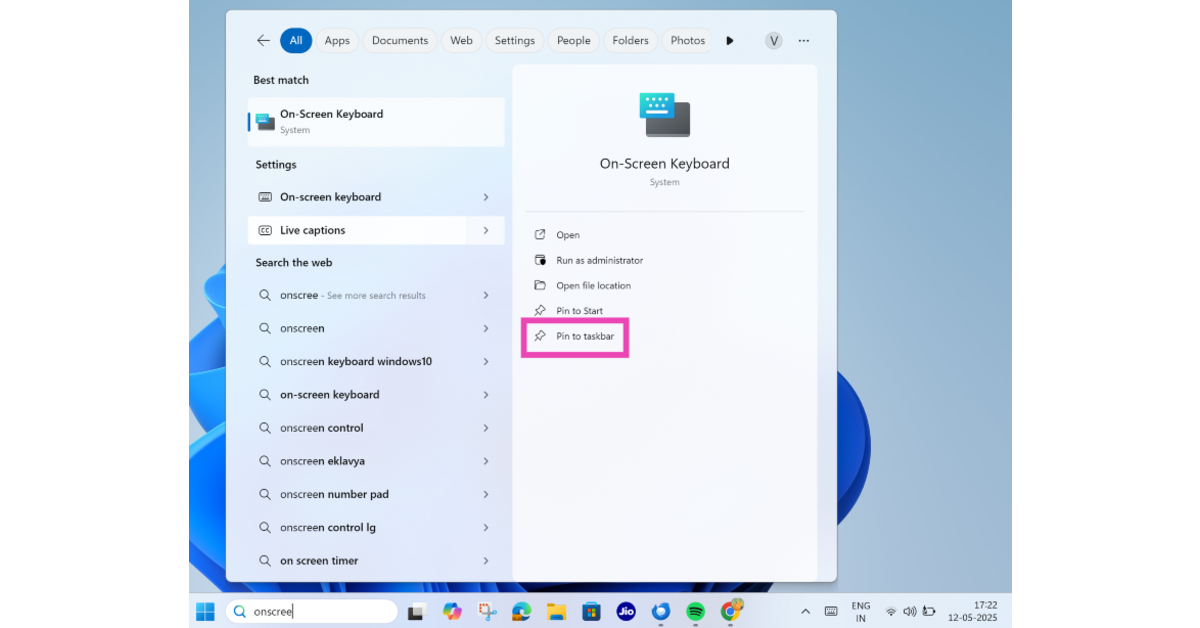
Step 1: Click the search box in the taskbar and type on-screen keyboard.
Step 2: Select Pin to taskbar.
Step 3: Click the on-screen keyboard’s icon on the taskbar to launch it.
Use a third-party app
Step 1: Download and install Free Virtual Keyboard from the Microsoft Store.
Step 2: Once the app has been installed, type its name in the search box on the taskbar and launch it.

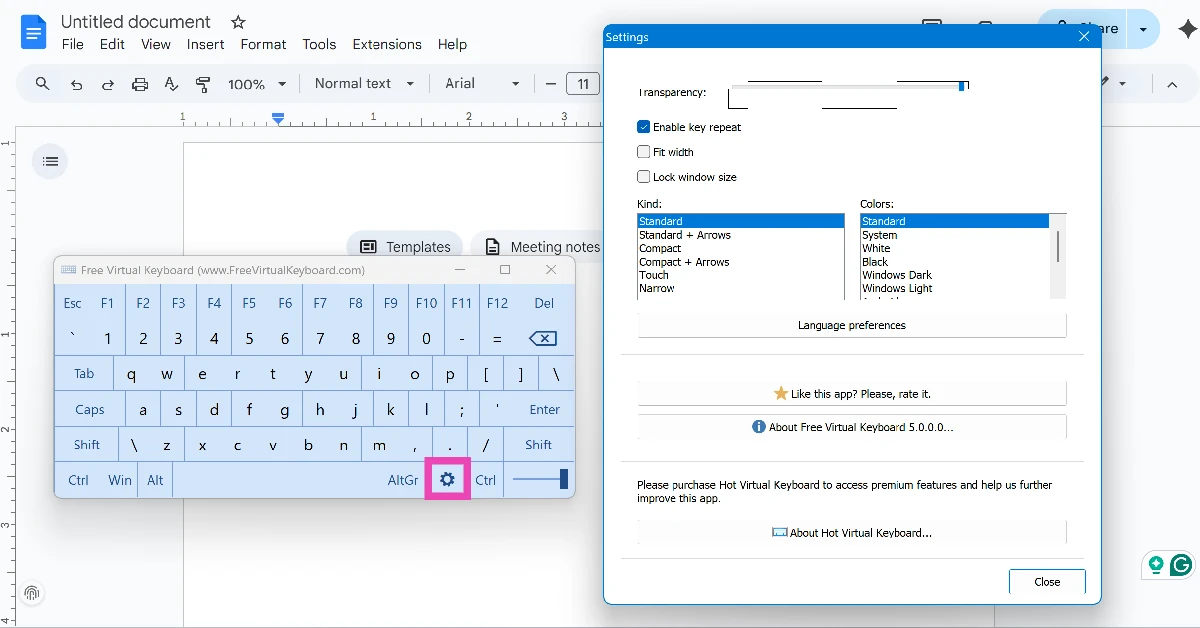
Step 3: The virtual/onscreen keyboard will appear on the screen. You can customise its size, colour, and transparency by hitting the gear icon.
Bonus Tip: Enable Touch keyboard on Windows 11
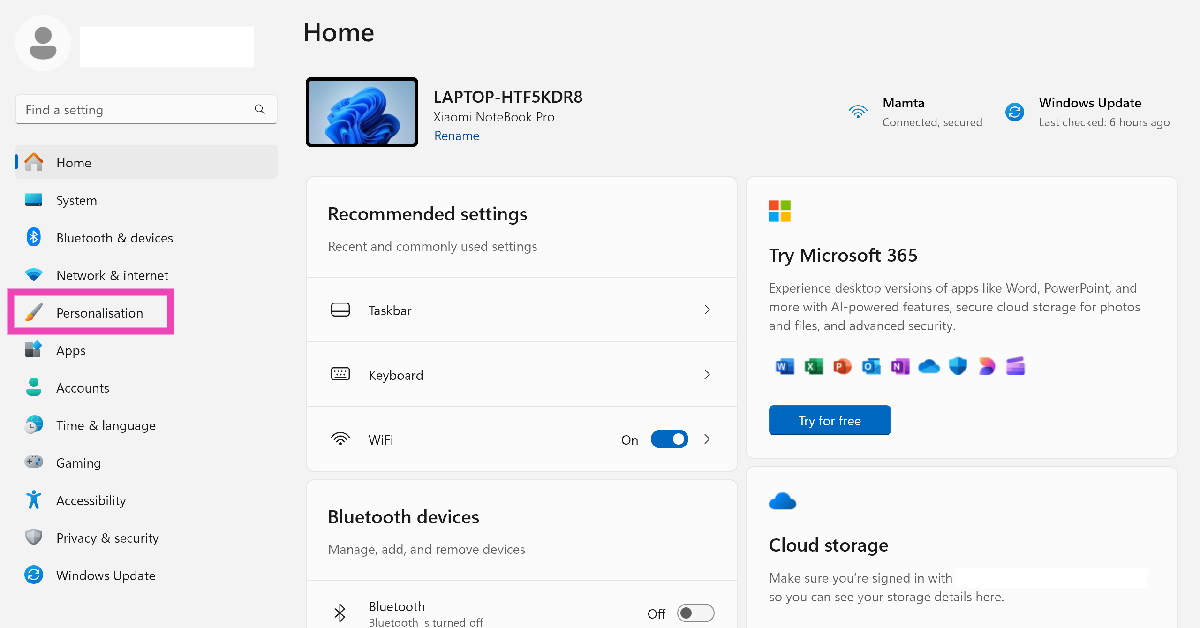
Step 1: Go to Settings and select Personalisation from the sidebar.
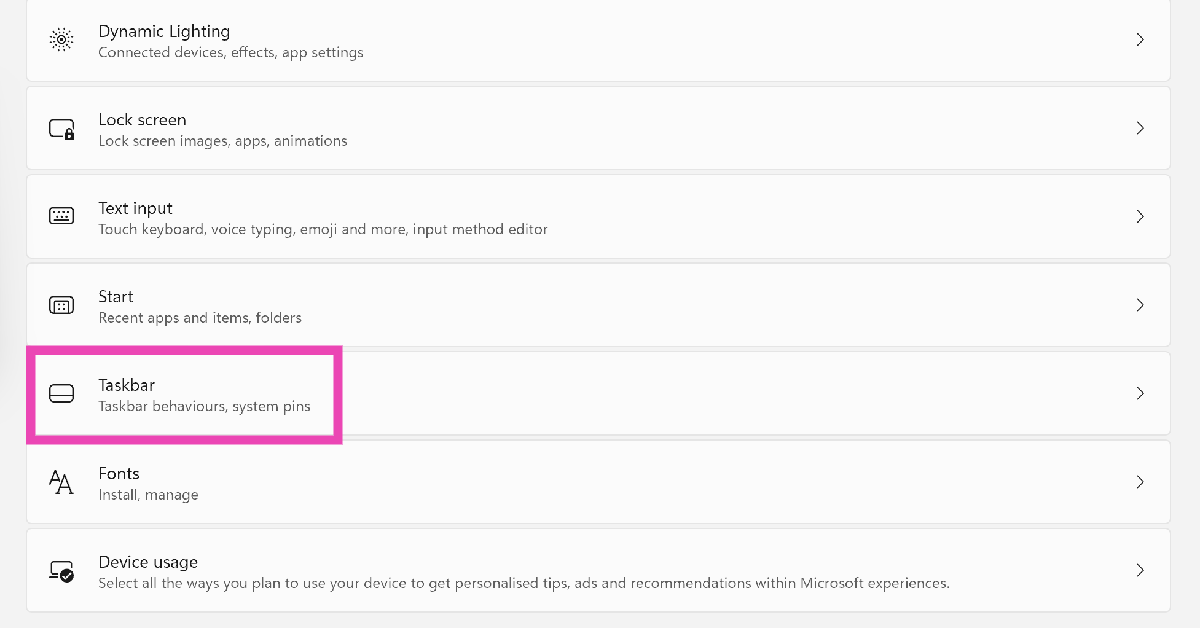
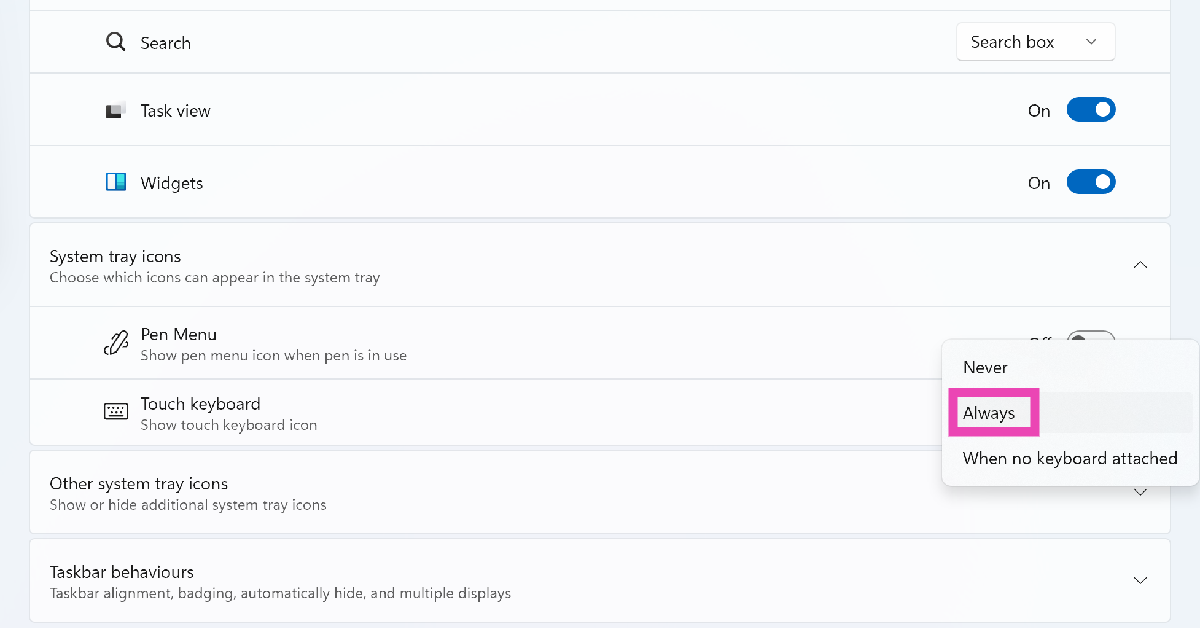
Step 2: Scroll down and select Taskbar.
Step 3: Hit the dropdown menu next to Touch keyboard and select Always.
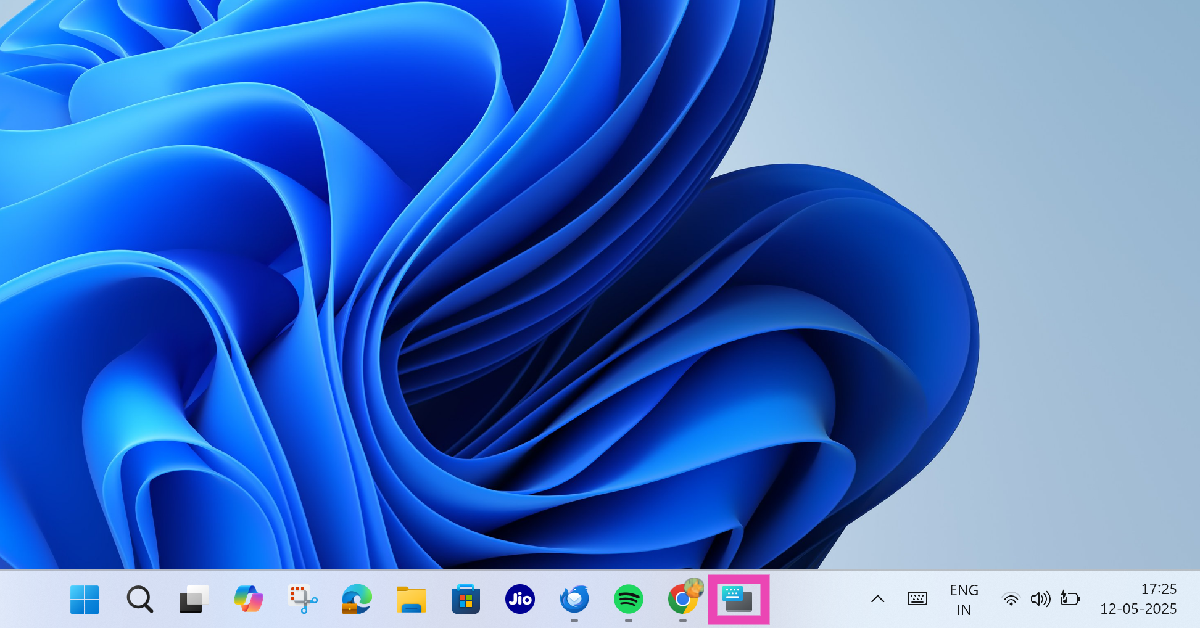
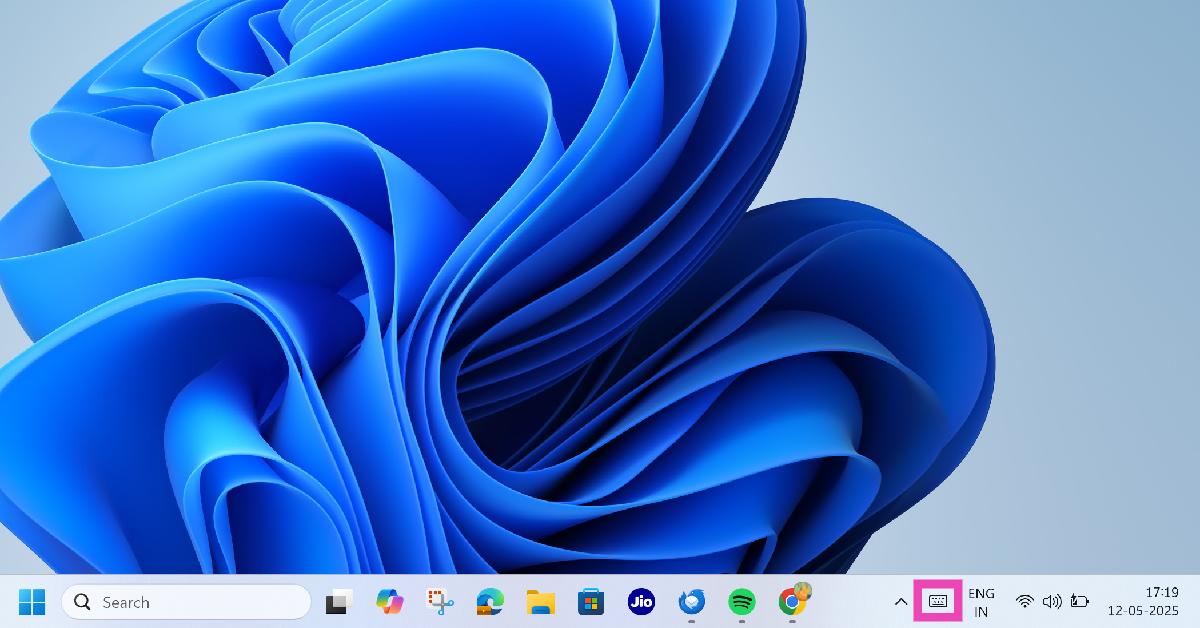
Step 4: Click the keyboard icon in the right corner of the taskbar.
Frequently Asked Questions (FAQs)
What is the shortcut key for the on-screen keyboard on Windows 11?
Press Windows + Ctrl + O on the physical keyboard to launch the On-screen keyboard on your Windows 11 PC or laptop.
How do I bring up the On-screen keyboard on Windows 11?
Go to Settings>Accessibility>Keyboard and turn on the toggle switch next to ‘On-screen keyboard’.
How do I open the Touch keyboard on Windows 11?
Go to Settings>Personalisation>Taskbar, hit the dropdown menu next to ‘Touch keyboard’, and select ‘Always’.
How do I stop the Touch keyboard from opening every time I undock my laptop’s display from the keyboard?
Go to Settings>Personalisation>Taskbar, hit the dropdown menu next to ‘Touch keyboard’, and select ‘Never’.
How do I change the Touch keyboard’s layout?
Open the Touch keyboard on your laptop, click the settings icon, go to ‘Keyboard layout’, and choose an option.
Read Also: How to unsend texts on Google Messages
Final Thoughts
This is how you can enable the on-screen keyboard on your Windows 11 PC. Can’t get your physical keyboard to work? Check out these 7 fixes. If you have any questions, let us know in the comments!
