WhatsApp has added new features, such as Missed Call Messages, which serve as a modern alternative to voicemail by allowing users to send short voice or video notes when calls are missed. Additionally, the app allows users to turn photographs into video clips utilising advanced MetaAI image creation models, which improves the entire user experience ahead of the holiday season.
The company, via
blog post, said, “We’re introducing another bundle of features just in time for the holidays. This edition is packed with exciting new updates, including missed call messages, fun status stickers, improved Meta AI image generation, and more – making it easier than ever to connect with those who matter most.”
In the case of a missed call, users may now leave a voice or video note for the recipient, thereby ensuring that messages are sent efficiently without relying on traditional voicemails. By enabling asynchronous communication, this feature aims to enhance the user experience and eliminate the need for
voicemails.
Also Read: Google brings Emergency Live Video on Android: Details
In addition, participants in voice chats may now reply in real time, adding another layer of interaction without breaking the flow of the conversation. This ability enables quick expressions of excitement, such as ‘cheers!’ during discussions. Furthermore, during video calls, the system automatically focuses on the active speaker, which promotes higher engagement and makes it easier for participants to follow conversations. These upgrades reflect a commitment to increasing user connectivity and interaction across digital communication platforms.
Meta AI has significantly improved image generation capabilities via WhatsApp, inspired by Midjourney and Flux. Users will see significant changes when they create annual holiday greetings to share in chats or status updates. Users may now transform their images into short videos, which adds to the fun and festive spirit of their conversations. A new media tab has been introduced to the desktop, enabling easy search of documents, links, and media across
chats, simplifying workflows on Mac, Windows, and the Web. Furthermore, link previews have been enhanced for a cleaner look, thereby shortening long URL links to keep the conversation flowing uninterrupted.
Also Read: Spotify rolled out Prompted Playlist feature, providing control over Algorithm
The platform’s updates include the addition of new
Status stickers, which allow users to express themselves in various ways, such as by adding song lyrics or asking questions that might solicit responses from others. Additionally, admins may now pose questions on Channels, allowing for real-time engagement with their audience and more dynamic exchanges.


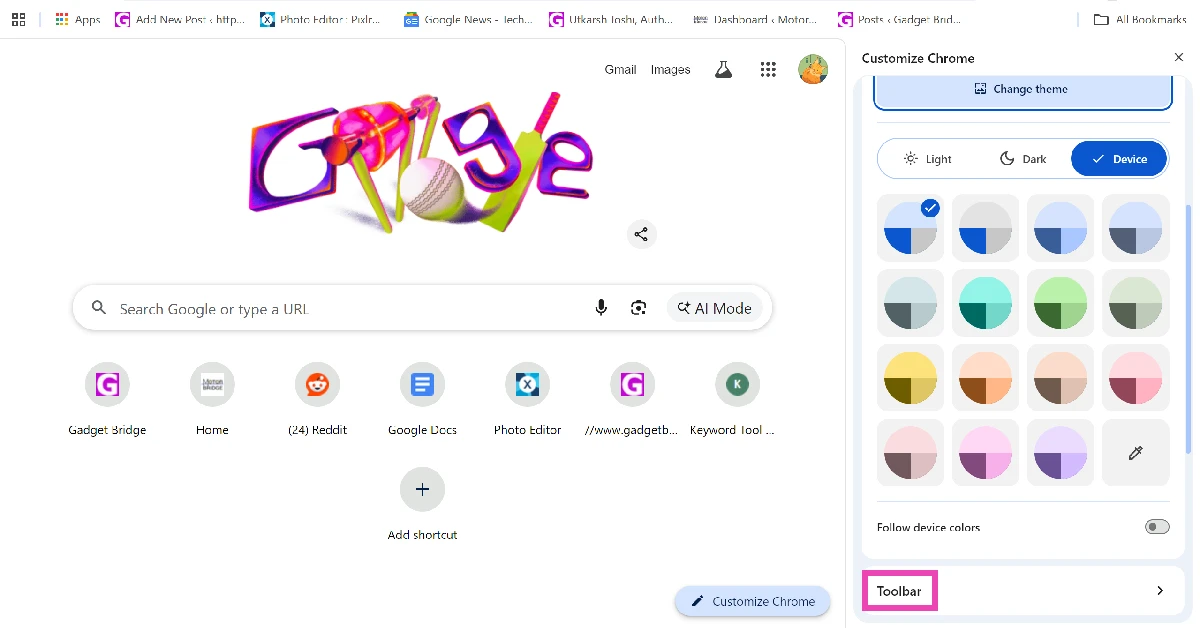
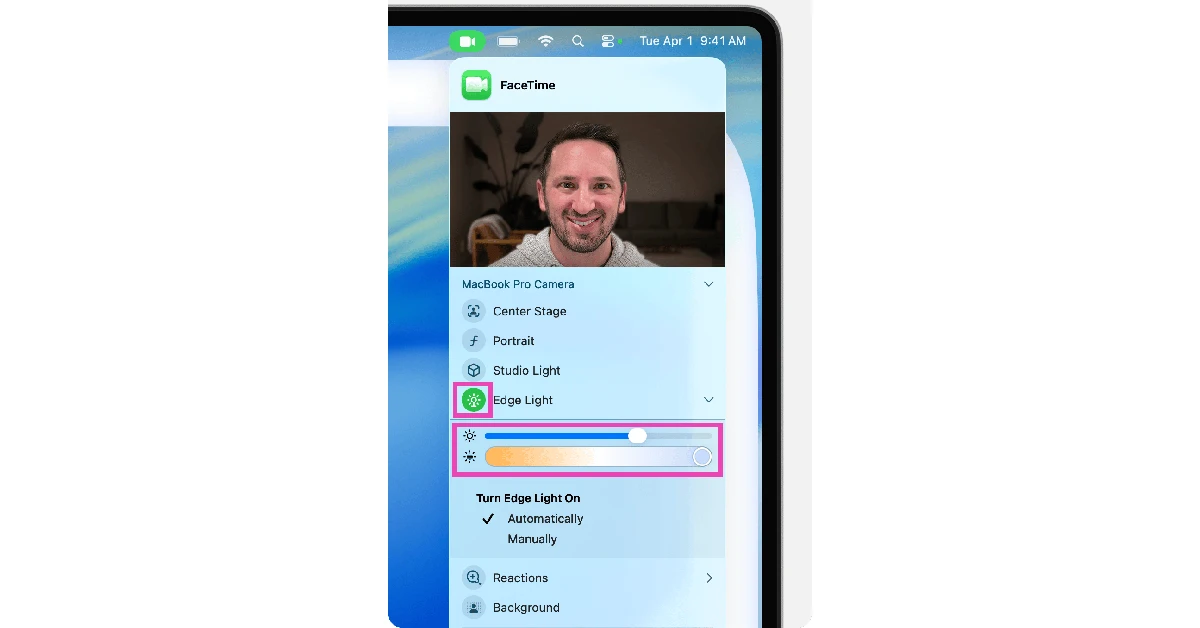 Step 5: Use the sliders in the dropdown to adjust the size and colour temperature of the ring light.
Step 6: If you want the ring light to kick in by itself whenever you’re in dimly lit surroundings, select Automatic. This feature only works on Mac models released after 2024.
Step 5: Use the sliders in the dropdown to adjust the size and colour temperature of the ring light.
Step 6: If you want the ring light to kick in by itself whenever you’re in dimly lit surroundings, select Automatic. This feature only works on Mac models released after 2024.


 #1641")

")
 Step 1: Launch

")
 Step 1: Launch
  Step 2:
 Step 3:
 Step 4:
 Step 5:

 of the year")


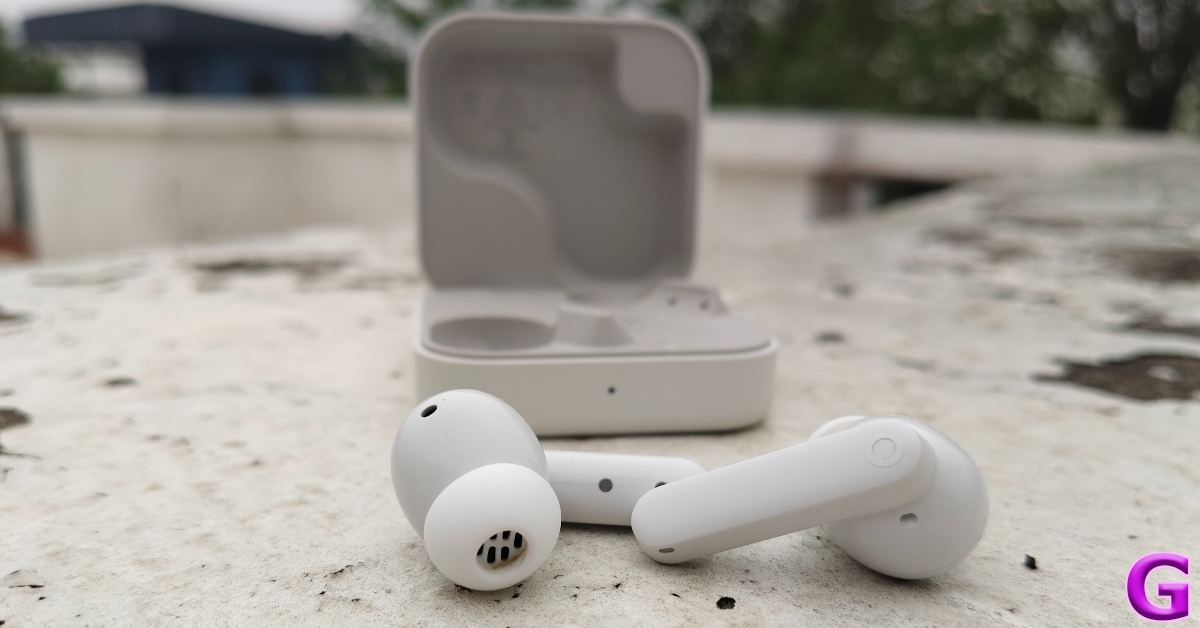


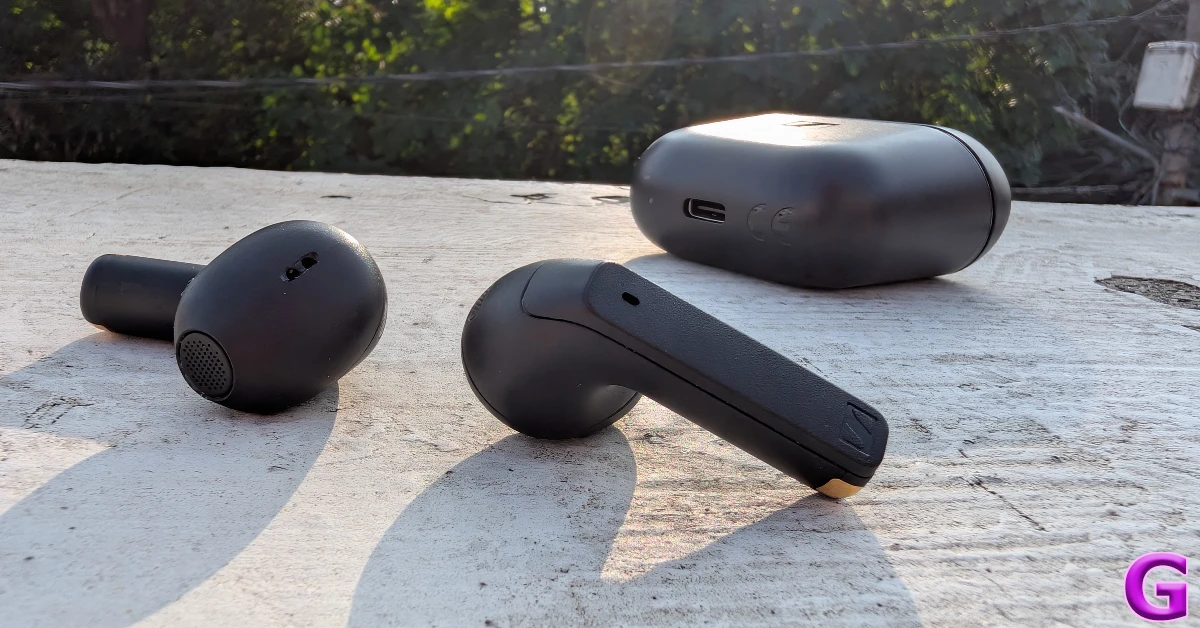
 The Nord Buds 3r have a compact, lunchbox-style charging case with a premium matte finish. The earbuds are equipped with titanised 12.4mm drivers. The audio output produced by these drivers is loud, clear, and comprehensive. The rich soundstage gives enough room to the mid and high frequencies. The TWS offers features like AI translation, Camera Assist, and multi-point connection. There’s a handy ‘Game Mode’ onboard that drops the latency to 47ms. The earbuds can go up to 12 hours on a single charge. The TWS offers a cumulative battery life of 54 hours. Read our


 #1640")
")
 Step 1: Launch
 Step 2:
  Step 3:
![Step 3: Tap the textbox titled ‘[your name] call’ to change the name of the call.](https://www.gadgetbridge.com/wp-content/uploads/2025/12/callw3.webp) Step 4:
Step 4: Step 6:
 Step 7:
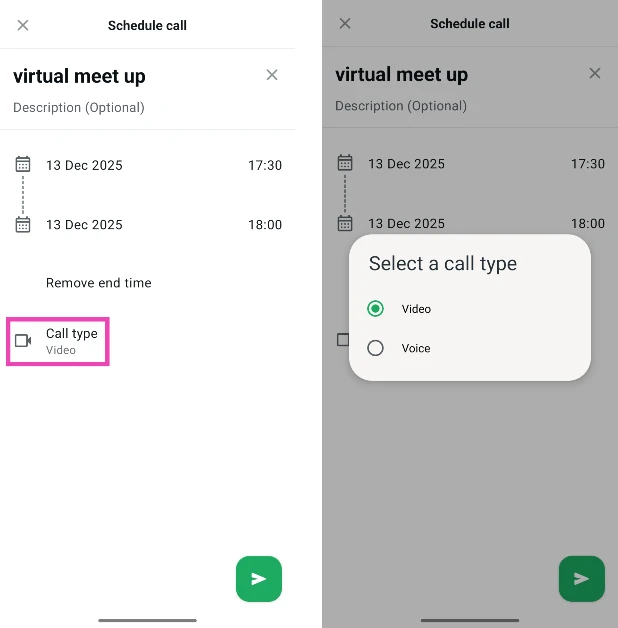 Step 8:
  Step 9:
 Step 11:
 Step 3:
 Step 4:
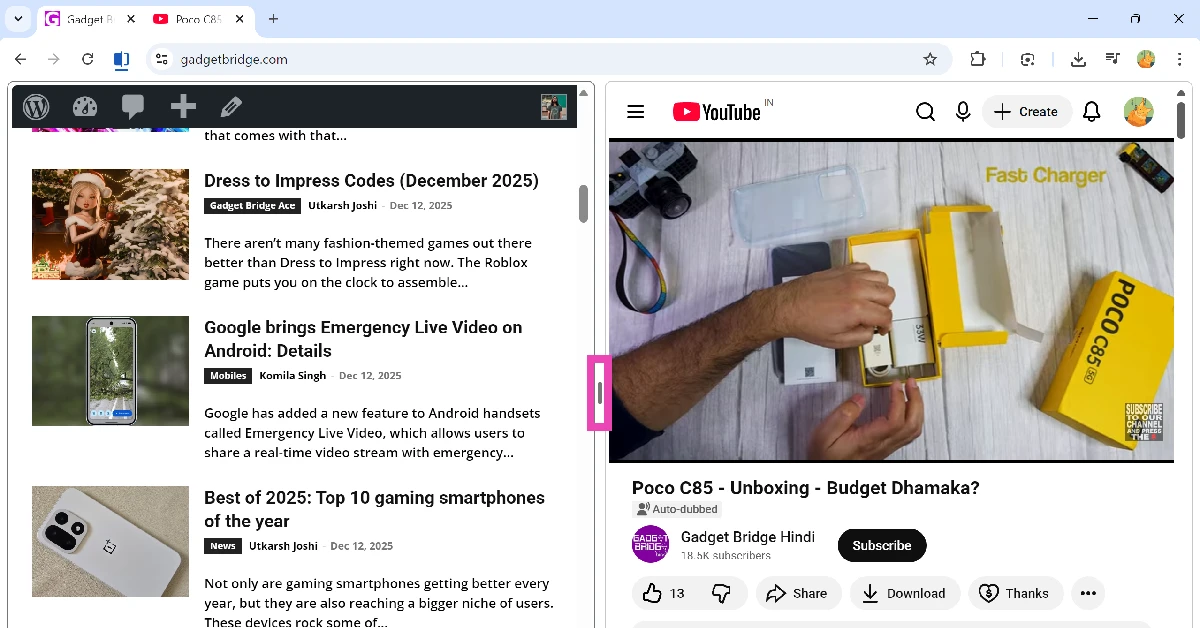 Step 5:
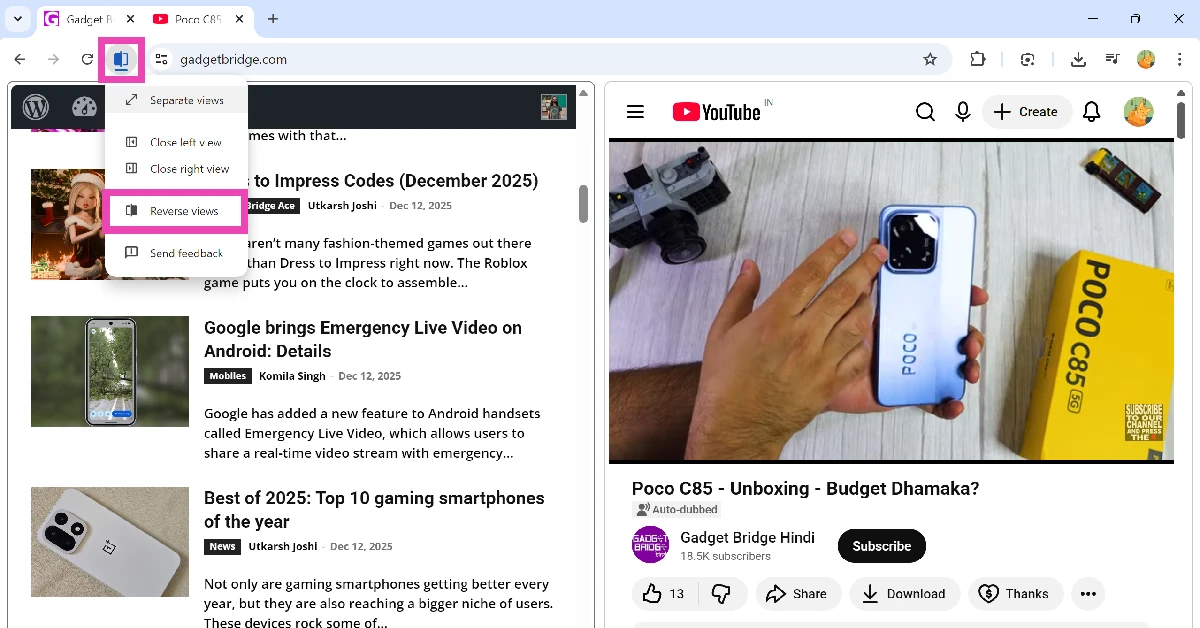 Step 6:
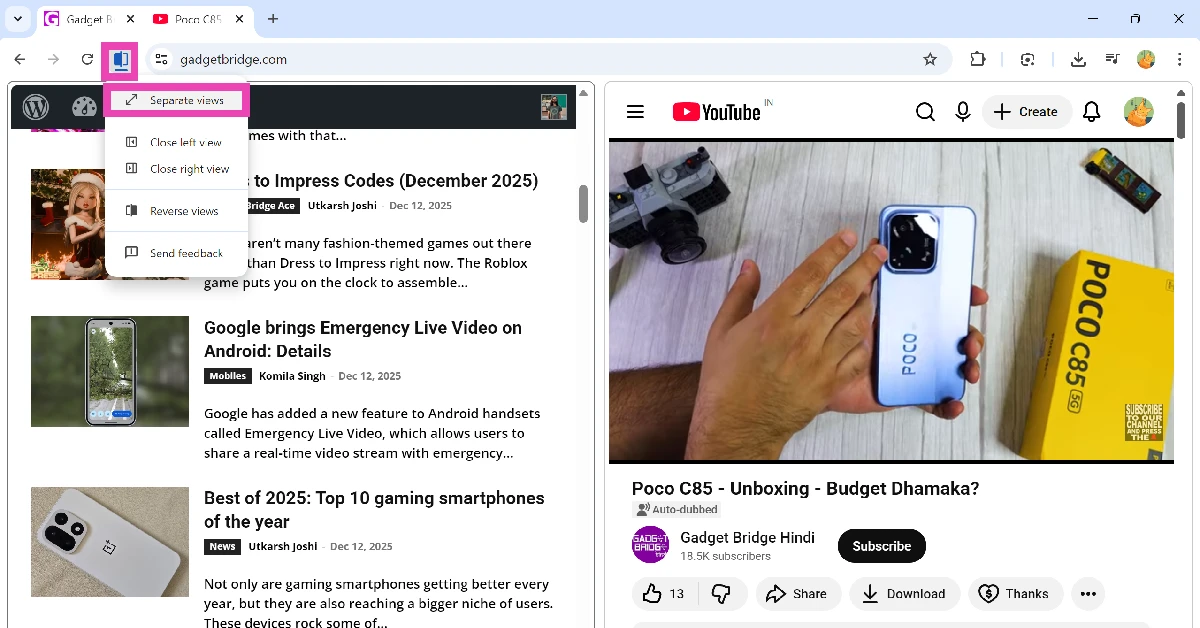

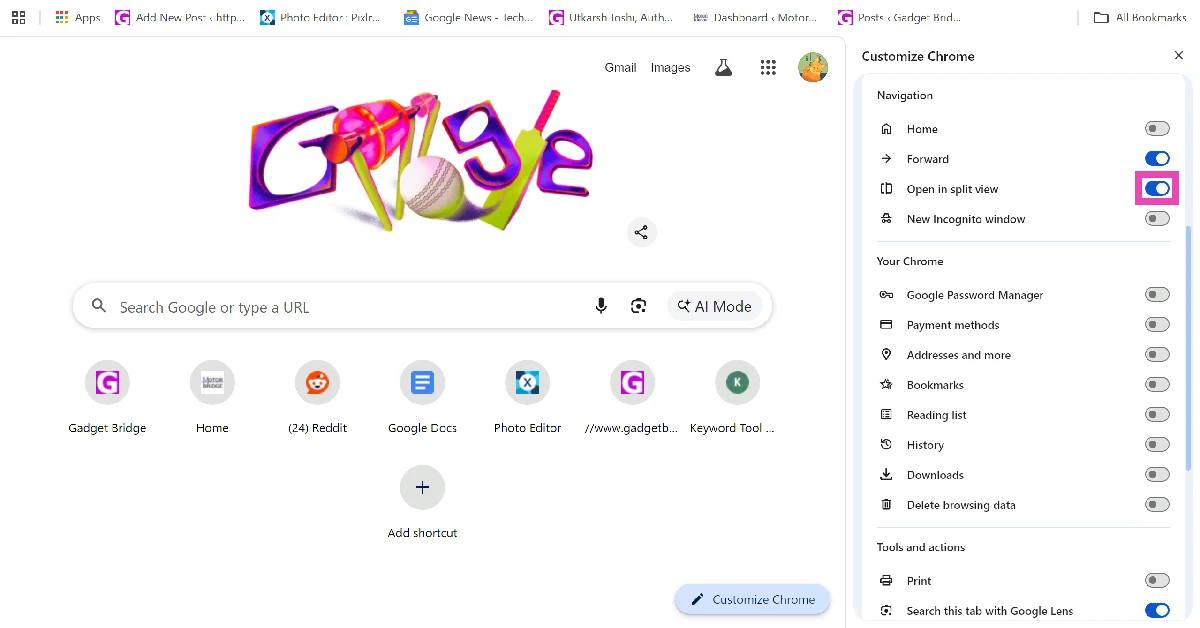
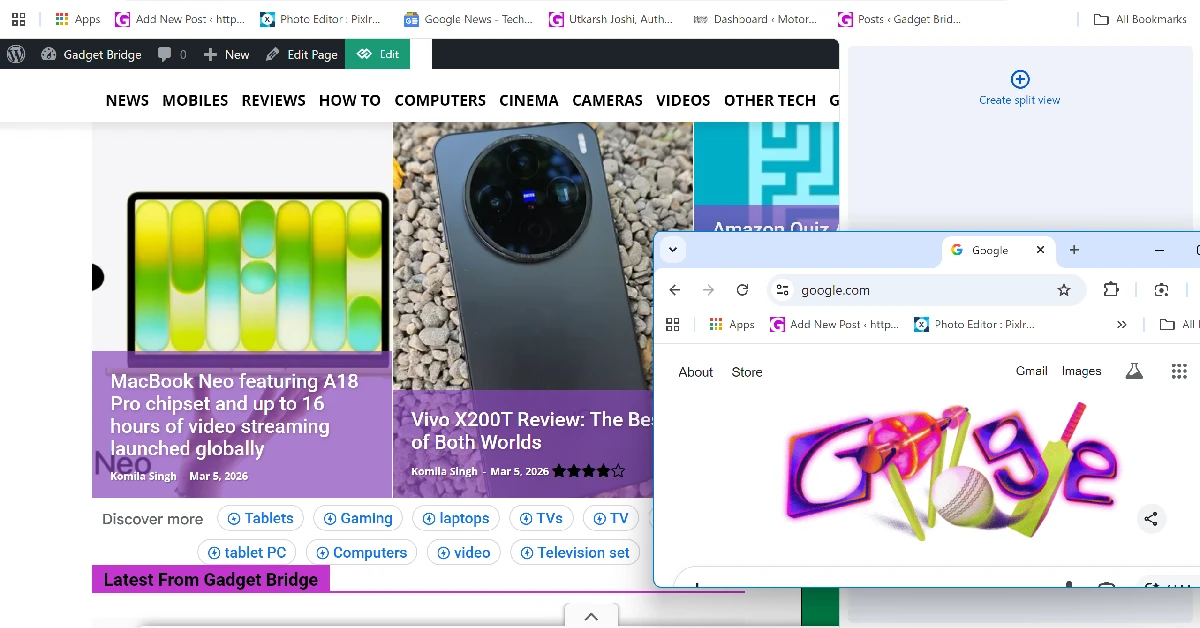 Need to quickly pop open a tab in Split View? Simply drag it down to your current tab and move it towards the left or right section of the screen. When you’re in the final third section of the screen, a pane with ‘Create split view’ written on it will appear on the screen. drop the tab in this pane to open it in Split View.


 #1638")

")
 Step 1: Launch