
")
Screenshots have become essential, maybe for work or to be shared on social media. Taking a screenshot is an easy process and a way to show others what you are viewing on your screen. On a Mac as well, the steps to capture a screenshot are fairly simple if you know the correct command keys. Follow the guide below to take screenshots on a Mac.
Read Also: Philips TAB4228 Soundbar with 120W sound output launched in India
In This Article
Using Shift+Command+3:
 To take the screenshot of the entire screen press Shift+Command+3 on your Mac. After pressing the command key a thumbnail will appear on your screen at the corner. You can also use the edit option to edit the screenshot. Once you have clicked the screenshot it will be saved on your Mac.
Read more: How to take a screenshot on Windows 10 using a laptop or a PC?
Using Shift+Command+4:
 This function is to capture a customised selection of the screenshots. This means you can take screenshots of a portion of your screens. Press Shift+Command+4 and wait for the cursor to change into Apple crosshair. There are many options now that you can make use of. Follow the steps:
- Press and release spacebar: By pressing the spacebar the crosshair will change into a camera icon that can now be dragged into an open window and screenshot it. The screenshot will be a white border around the window with a bit of a drop shadow
- Press and hold the spacebar: After you drag the camera icon to choose the portion of the screenshot if you press and hold the spacebar it locks the shape and size of the selection area
- Hold down the shift key: Pressing the shift key locks each side of the selection portion and lets you move your mouse up or down to position the bottom edge.
Shift+Command+5:
 If you want to take screenshots of a particular window or menu you can press the keys Shift+Command+5. After pressing the command keys, click on the Capture selected window option in the toolbar. Now the pointer will turn into a camera icon and you can drag the icon to a window to capture the screenshot. You can also take a custom screenshot by using the spacebar. There are some advanced features with this command: you can also capture video by pressing Shift+Command+5.
Read also: Top 5 things you didn’t know your Apple Watch could do
ShiftCommand+6:
If you have a 16-inch MacBook Pro or a Mac with a touch bar, you can take screenshots of the touch bar by using Shift+Command+6.
Use a third-party app: Shottr
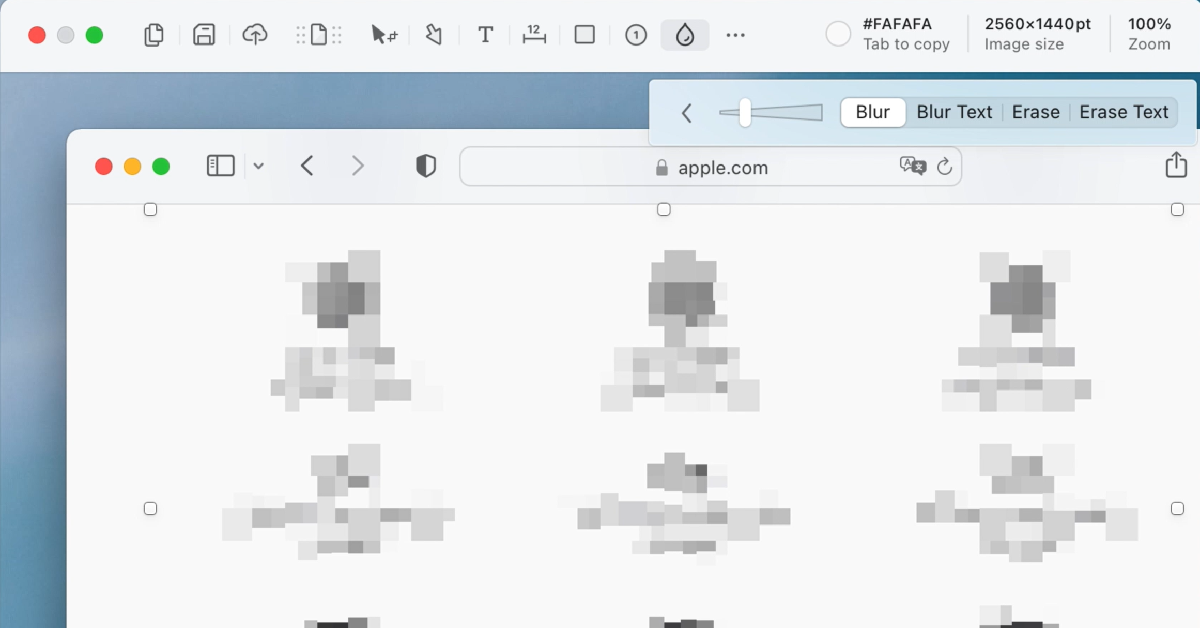
If you don’t want to rely on native methods to take a screenshot on Mac, you can always download a third-party app. Shottr is one of the best ones around. Not only can Shottr take screenshots on your Mac, but it can also carry out basic editing tasks like erasing certain elements from the screen grabs and pixelating or blurring personal information. You can also pin multiple screenshots on the screen and extract text from them to your clipboard. Want to take a rolling screenshot? Shottr can manage that too.
Frequently Asked Questions (FAQs)
How do I take a screenshot on a Mac?
The quickest way to take a screenshot of the entire screen on a Mac is by pressing Shift + Command + 3.
How do I take a partial screenshot on Mac?
If you want to capture only a part of the screen on your Mac, press Command + Shift + 4, use the crosshair to select the area and shape of the screenshot, press and hold the spacebar to adjust the selected area, and then release the mouse.
How do I blur out parts of a screenshot on Mac?
Use the Shottr app to pixelate or blur out the sensitive information on your Mac screenshots.
Read Also: Top 5 Things to Know Before Buying a VR Headset
Conclusion
These are the top 5 ways to take a screenshot on your Mac. The images that you have taken screenshots of are by default saved on your Mac desktop. But in case you are not able to find it, go to Launchpad>Other>Screenshot. If you have any queries related to these methods, let us know in the comments!
