

The pictures shot using your iPhone’s camera capture an incredible amount of detail. This also means they carry a decent amount of file size. Sometimes users run into a problem when they need to upload an image to an official document, and the image exceeds the stipulated file size. Luckily, there are several ways you can compress an image and bring its size down to a desirable limit. In this article, we bring you the top 9 methods to reduce the photo file size on an iPhone. Using these methods, you can easily compress any photo on your iPhone.
Read Also: 6 easy methods to fix ‘WhatsApp Call Not Ringing’ when Android phone is locked
In This Article
Crop the image in the Photos app
The easiest way to reduce the file size of a photo is by cropping it ever so slightly in the Photos app on your iPhone. This will alter the image resolution by a tiny amount, but the size of your image will be reduced significantly. To crop an image, open it in the Photos app and select the Edit option at the bottom of the screen. Tap on Crop/Rotate and use the frame to slightly crop the image.
Change the image format in the iPhone Camera settings
Changing the image format from JPEG to HEIF (High-Efficiency Image Format) will help reduce the file size of the resulting image. The JPEG format stores a lot of information, which can lead to a bloated file size. On the other hand, the HEIF format offers a lower file size without compromising the quality of the image. Here’s how you can switch to the HEIF format.
Step 1: Open Settings on your iPhone and select Camera.

Step 2: Tap on Formats.

Step 3: Select ‘High Efficiency’.

Optimise iPhone Storage
Step 1: Go to Settings and select Photos.
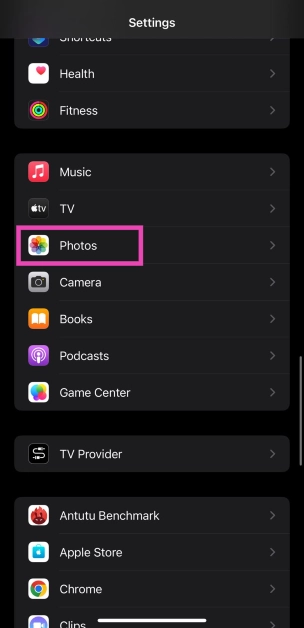
Step 2: Tap on Optimize iPhone Storage.
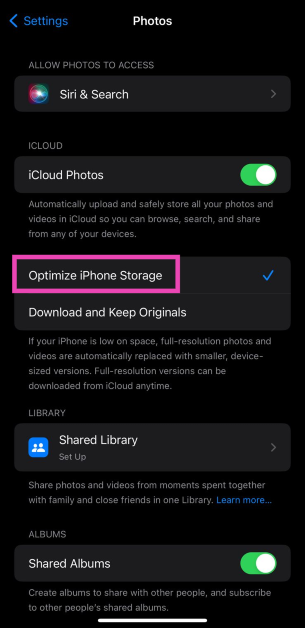
The images on your iPhone will be compressed to save storage space. The optimised images occupy less space and are perfect to be viewed on your iPhone. You won’t notice much difference. If you want to access the full-resolution images, you can download them from iCloud.
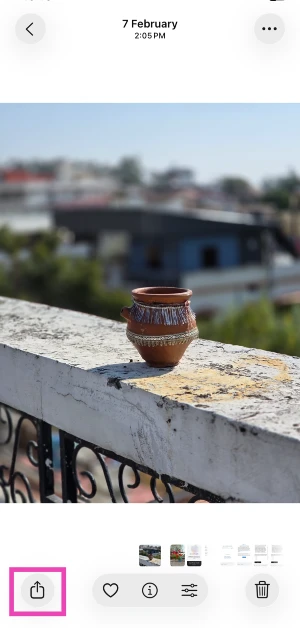
Compress a photo using the Files app
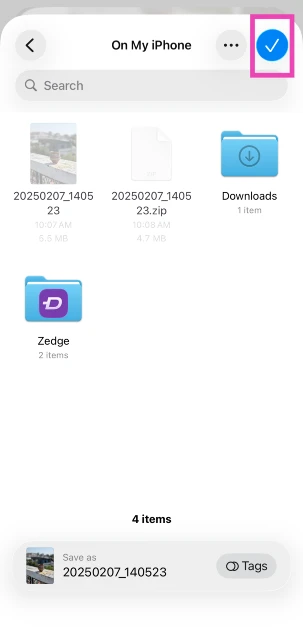
Step 1: Go to the Photos app on your iPhone and open the image you want to compress.
Step 2: Hit the Share icon in the bottom left corner of the screen.
Step 3: Select Save to Files.
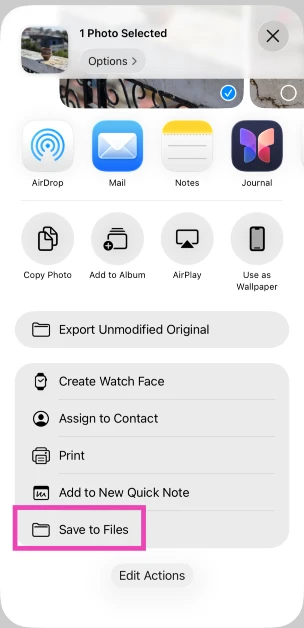
Step 4: Choose the destination and hit the tick icon.
Step 5: Launch the Files app and go to the image.
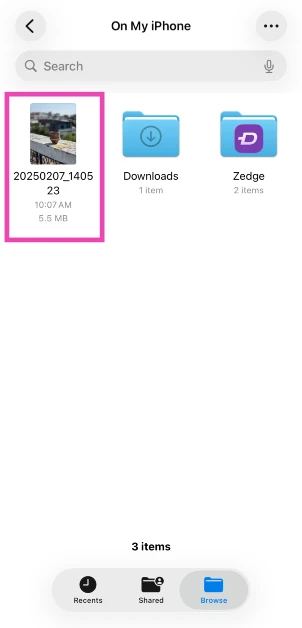
Step 6: Long-press the image icon and select Compressed.
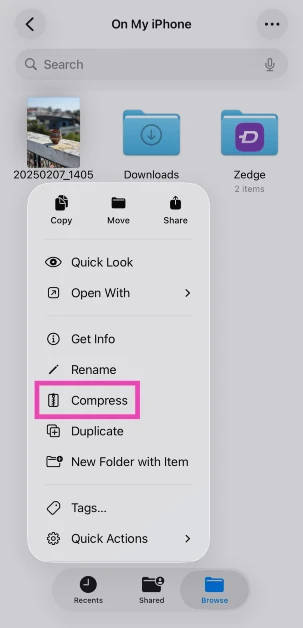
Step 7: A compressed version of the image will appear next to it.
Use a third-party app

There are several third-party apps on the App Store that will help you resize your images. ‘Image Size’ is one of the highly rated apps for this purpose. Once you’ve installed the app on your iPhone, open it and load the image you want to resize. Now you can resize the image by pixels, inches, mm, cm, or any other metric. Save the image once you’re happy with the result. The saved image will have a significantly smaller file size than the original image.
Send the image to yourself on WhatsApp

Instant Messengers like WhatsApp automatically downsize the images you send on the platform. This is done to increase the speed and reduce the storage space. While some may see it as a flaw, it can come in handy if you want to reduce the file size of an image. WhatsApp also recently launched the ‘Message Yourself’ feature. You can use this function to send yourself the images you want to downsize. Simply select your name from the contacts and attach and send the images you want.
Use Apple Mail to compress images

While you may not have a say in downsizing the images when sending them through an instant messenger, Apple Mail lets you choose a particular file size before you attach the image to your mail. This is helpful because it gives you three options for the file size: Small, Medium, and Large. You can mail the image to yourself via the Photo app. All you need to do is tap on the share icon and select ‘Mail’. Once the mail has been sent you can download the resized image from the Mail app.
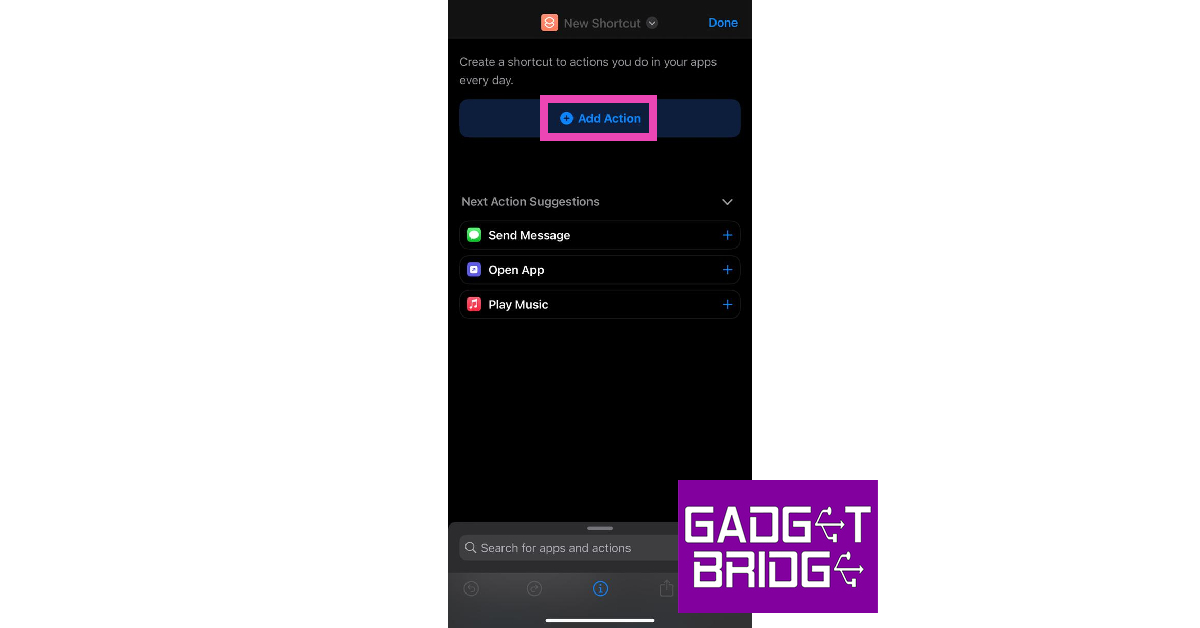
Use a Shortcut
Step 1: Launch the Shortcuts app on your iPhone and hit the Plus icon.
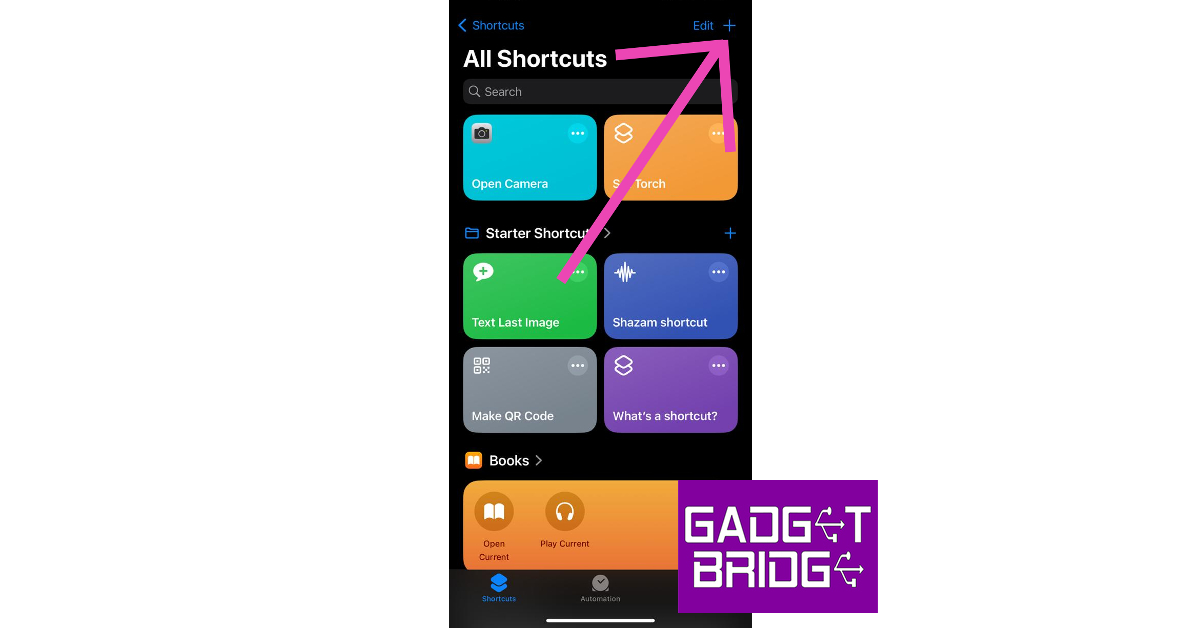
Step 2: Give your shortcut a name.
Step 3: Select Add Action.
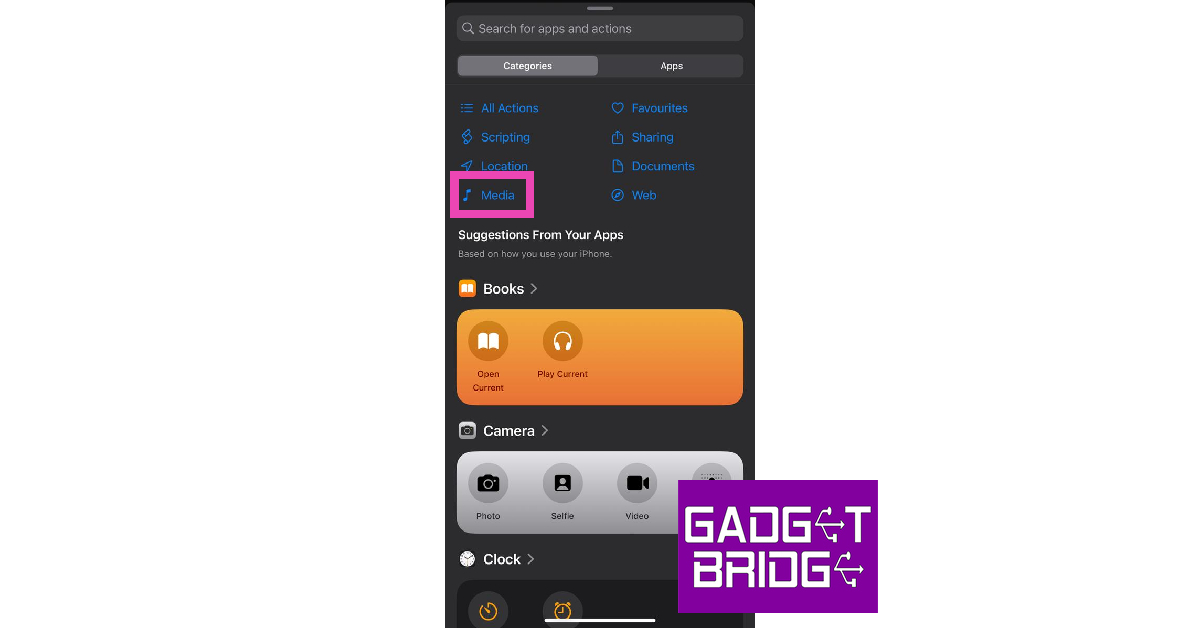
Step 4: Go to Categories and select Media.
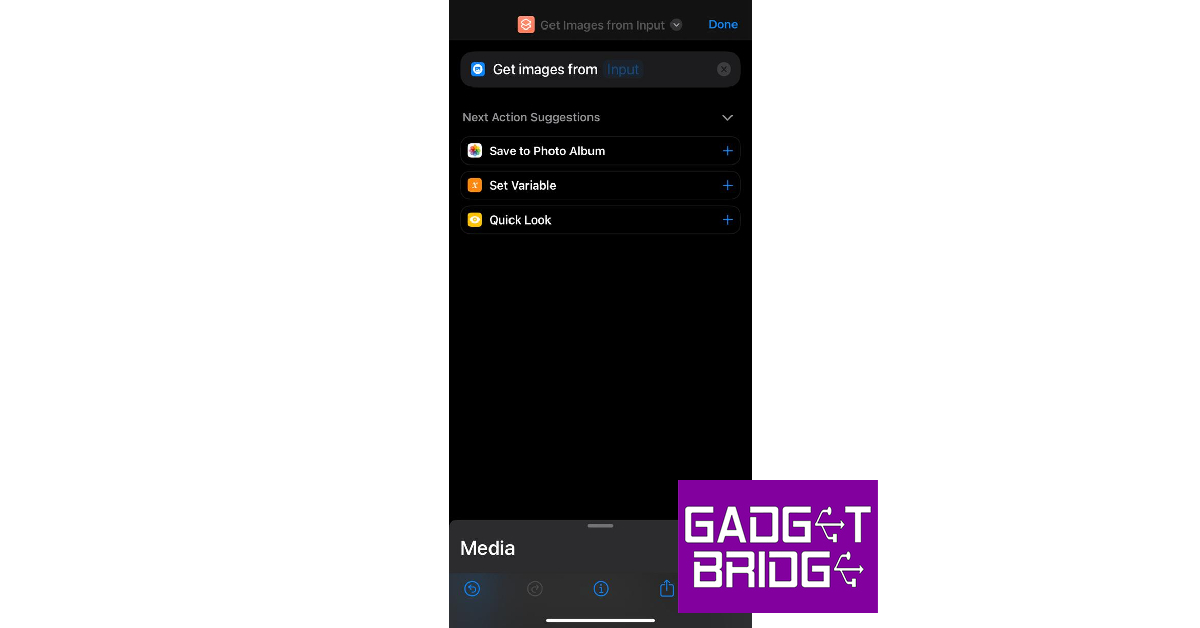
Step 5: Under the Images category, select Get Images from Input.
Step 6: Hit the blue icon at the top right corner of the screen and turn on the toggle switch for Show in Share Sheet.
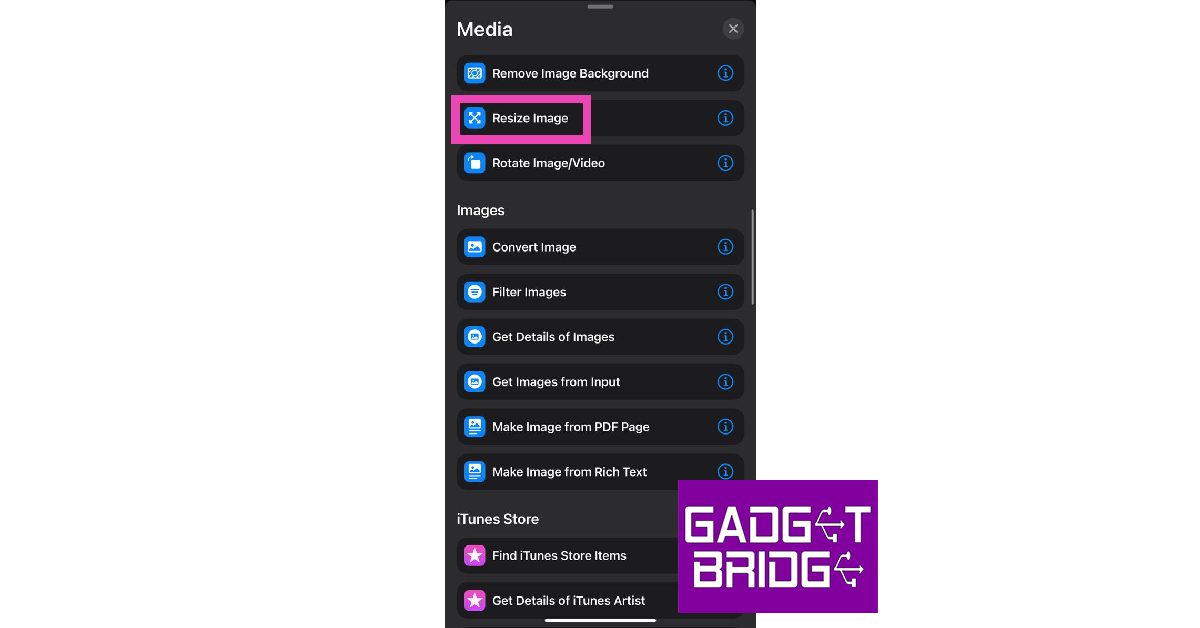
Step 7: Drag the Media page and select Resize Image.
Step 8: Tap on size to set the default metrics or select Ask Each Time.
Step 9: Hit Done.
Step 10: Select the Media page again and tap on Convert Image.
Step 11: Choose the file format for the resized images.
Step 12: Drag the Media page again and tap on Save to Photo Album.
Step 13: Select a destination album for the resized images.
Step 14: Hit the cross icon.
Step 15: To resize an image, open it in the Photos app, hit the Share icon, and select the shortcut from the list.
Use an online tool
There are several online tools you can use to reduce the file size of any image. Img2Go is one of the most popular online compression tools. Here’s how you can use it.
Step 1: Open https://www.img2go.com/ on a mobile web browser.
Step 2: Select ‘Compress Image’.

Step 3: Tap on ‘Choose file’ to select the image you want to resize. This image will be uploaded to the website’s servers. Apart from your iPhone’s local storage, you can also choose an image from Google Drive or Dropbox.

Step 4: Choose the image quality you want for the resulting image. If you want to compress the image to the lowest possible size, there will be some loss in quality.

Step 5: Select ‘Start’.
Step 6: Tap on ‘Download’ to save the resized image.

Why should you compress the images on your iPhone?
If you own an entry-level storage variant of the iPhone, you should be all over photo compression. Not only does it help you save precious storage space, but it also makes the images faster to post on social media or send to your friends. After compression, the images do lose some detail, but the differences are negligible if you’re viewing them on a smartphone. And let’s be honest, most of our social media consumption happens on a mobile device.
If you still want to preserve the full-resolution images, optimising your iPhone’s storage is the ideal way to go about it. Using this method, you will be able to access the original images from iCloud while storing the compressed versions on your iPhone. This makes it easier to manage the storage on your device. If you like to take a lot of photos but don’t want to buy additional iCloud storage, we would suggest creating a hard backup of all your images on an external storage device.
Frequently Asked Questions (FAQs)
How do I reduce the file size of a photo on my iPhone without downloading an app?
There are a few native ways to reduce a photo’s file size on your iPhone. You can slightly crop the image to bring down its size. Changing the image format from JPEG to HEIF also brings down the file size of the images you click. Lastly, you can use any instant messaging app to compress the image by simply sending it to yourself.
Does WhatsApp compress my pictures before sending them?
Yes, WhatsApp compresses pictures before sending them. You can choose to send images in HD, but some compression will still take place. To bypass this compression, you can send a picture as a document.
How do I compress a photo on my iPhone to a file in zip format?
Go to the photo, hit the ‘Share’ icon, and save it to the Files app. Launch the Files app, long-press the saved photo, and hit ‘Compress’. The compressed version of the image will appear next to it in zip format. Tapping it will uncompress the file.
What are some good apps to compress a photo on an iPhone?
Compress Photos 7 Pictures, Photo Compress – Shrink Pics, and Image Size are some of the best apps you can use to bring down the file size of any image on your iPhone.
What are the benefits of image compression?
Reducing the file size of an image makes it easier to share on social media and messaging apps while also freeing up some much-needed space on your phone’s internal memory.
Read Also: OnePlus Buds Pro 2 to work with Android 13’s spatial audio feature
Conclusion
These are the 9 simple ways you can reduce photo file size on an iPhone. While some methods may lower the image quality, the changes won’t be significantly noticeable. If you are resizing an image to upload to an official document, any of these methods will work just fine. Do you have a go-to method when it comes to compressing the images on your phone? Let us know in the comments!
