Garena Free Fire is a battle royale game with regular awards and tournaments to keep players interested. If you play Garena Free Fire, you should be aware of the redeem codes that are released on a daily basis. However, because the battle royale game is banned in India, players from other countries can use the Free Fire Redeem codes daily. If you’re unfamiliar with the Garena Free Fire redeem codes or don’t know how to get them, we’ve put together a step-by-step guide to help you redeem them. Check out Garena Free Fire Redeem Codes for 19 December 2023.
The Free Fire redeem codes are a great way to get free stuff. These are 12-digit codes that contain alphabets and numbers, as well as an expiration date and time. Because the Garena FF redeem codes cannot be used more than once, you should hurry to the redemption page to claim your free reward before someone else does. To get a free reward, all you have to do is go to reward.ff.garena.com/en, which is the official redemption page. Also, keep an eye on this space for daily updates on Garena Free Fire redemption codes and rewards.
Garena Free Fire Redeem Codes Today 19 December 2023
- FBH3JUF7Y6T5RFD
- FSHHEDFBUWYE4T6
- FOYIH8U7YTG8DBE
- FKIY8OIR76UJT6H
- FNDMEO4956UYHTG
- FNMKOID8S7W6T3F
- FG4HN5KT6LYU0PO
- FLKDLO98UAY64QE
- FFI8UYHGBNRG8UY
- FTGFSBEN45K6YU8
- FUJHYT6G7UJ6TUB
- FTCHGFRT6YJ675B
- FYHVNDMEKL5O6Y7
- FINJUJT67HYH644
- FtFTGVBHNJ4FRUGT
- FHYJKYI9IERJ56Y
- FTNMKVI87SYTGE3
- F45NJ6YO9IO09UK
- FIA765QRED2CFVG
- FDTHYR56U6UY44Y
- FGBDENKIR8GU7YH
- FNDMRKL5O69IUJH
- FTHBFT6UHSENJR5
- FYTJT67UKJTU8IN
How to Get Free Fire Redeem Codes for Garena on 19 December 2023?
- Visit the Garena Free Fire game’s official website at reward.ff.garena.com.
- Use your Facebook, Google, VK, Apple ID, Huawei ID, or Twitter account to log in.
- You’ll be taken to a valid redemption code (s)
- Copy and paste the 12-digit redemption code into the text box.
- On the screen, a dialogue box will appear.
- ‘Ok’ should be selected.
For the latest
gadget and tech news, and
gadget reviews, follow us on
Twitter,
Facebook and
Instagram. For newest
tech & gadget videos subscribe to our
YouTube Channel. You can also stay up to date using the
Gadget Bridge Android App. You can find the latest
car and bike news here.


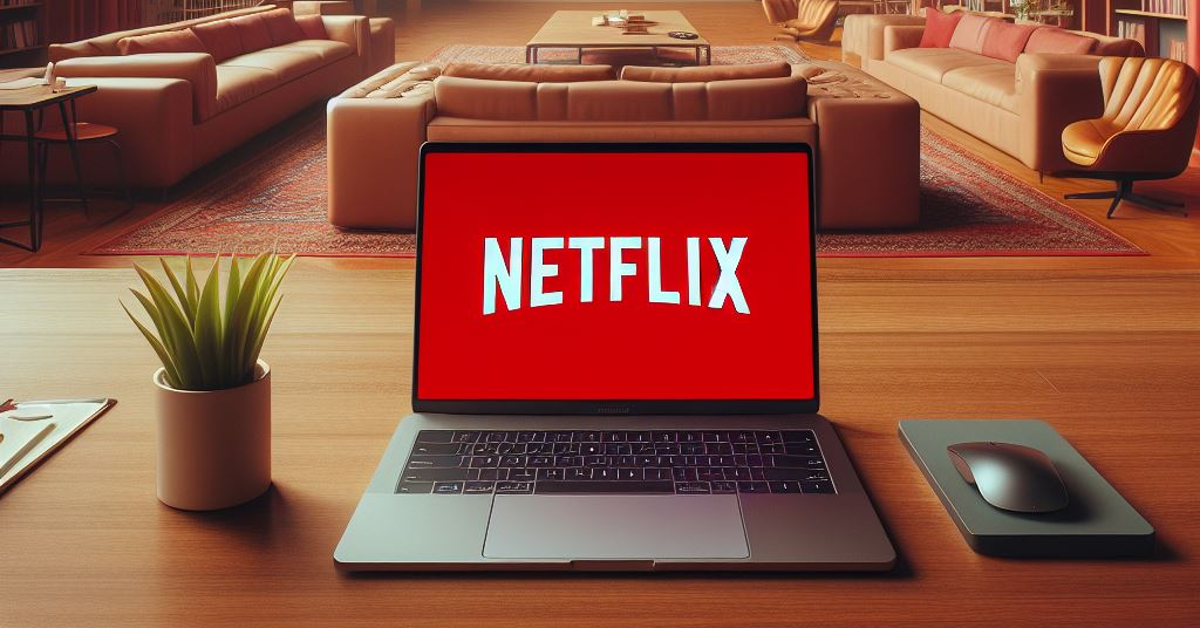
 Since you can’t install the official Netflix app on your MacBook, your next best option is to create an app icon for its website on your laptop’s home screen. Clicking on this shortcut will take you to the website. Here’s how you can do it.
Step 1: Launch the Chrome browser on your MacBook and go to the official Netflix website.
Step 2: Hit the ellipses at the top right corner of the screen.
Step 3: Take your cursor to More Tools and select Create Shortcut.
Step 4: Give the web app a name and hit Create.
Step 5: Go back to the home screen. You will find the icon for the web app on the dock.
Since you can’t install the official Netflix app on your MacBook, your next best option is to create an app icon for its website on your laptop’s home screen. Clicking on this shortcut will take you to the website. Here’s how you can do it.
Step 1: Launch the Chrome browser on your MacBook and go to the official Netflix website.
Step 2: Hit the ellipses at the top right corner of the screen.
Step 3: Take your cursor to More Tools and select Create Shortcut.
Step 4: Give the web app a name and hit Create.
Step 5: Go back to the home screen. You will find the icon for the web app on the dock.
 Step 1: Launch Microsoft Edge on your MacBook and go to the official Netflix website.
Step 2: Click on the ellipses at the top right corner of the screen.
Step 3: Move the cursor to Apps and click on Install This Site as an App.
Step 4: Give the web app a name and click on Create.
The web app can accessed from the dock on the home screen.
Step 1: Launch Microsoft Edge on your MacBook and go to the official Netflix website.
Step 2: Click on the ellipses at the top right corner of the screen.
Step 3: Move the cursor to Apps and click on Install This Site as an App.
Step 4: Give the web app a name and click on Create.
The web app can accessed from the dock on the home screen.
 PlayCover is a brilliant open-source app to run iOS apps and games on your MacBook. Here’s how you can use it to install Netflix.
Step 1: Download PlayCover from GitHub.
Step 2: Move the downloaded file to the Applications folder and install it on your MacBook.
Step 3: Download the decrypted IPA version of Netflix using ARM Converter or Decrypt.
Step 4: Launch PlayCover and click on Import IPA.
Step 5: Select the file you just downloaded.
Step 6: PlayCover will install Netflix on your MacBook.
PlayCover is a brilliant open-source app to run iOS apps and games on your MacBook. Here’s how you can use it to install Netflix.
Step 1: Download PlayCover from GitHub.
Step 2: Move the downloaded file to the Applications folder and install it on your MacBook.
Step 3: Download the decrypted IPA version of Netflix using ARM Converter or Decrypt.
Step 4: Launch PlayCover and click on Import IPA.
Step 5: Select the file you just downloaded.
Step 6: PlayCover will install Netflix on your MacBook.


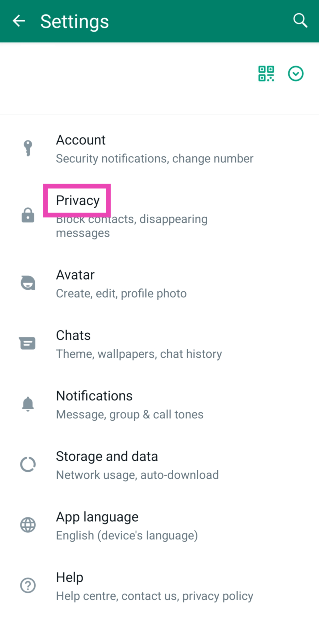
 Step 1:
 Step 1: Launch
  Step 2:
 Step 3:
 Step 4: Confirm

 Step 4:
 Step 5: Paste
  Step 6:
 Step 7:
 Step 3:
 Step 4:
 Step 5:
 Step 3:
 Step 4:
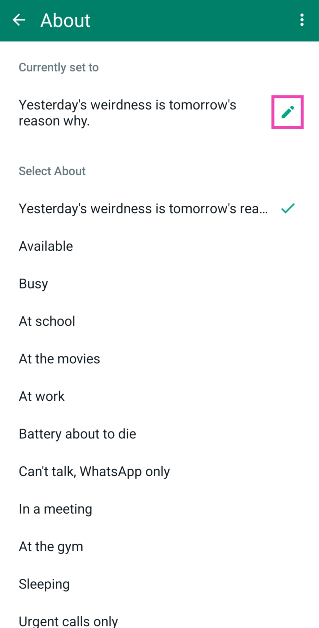 Step 6: Paste
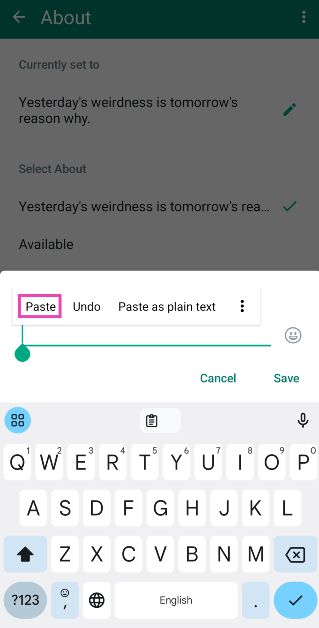
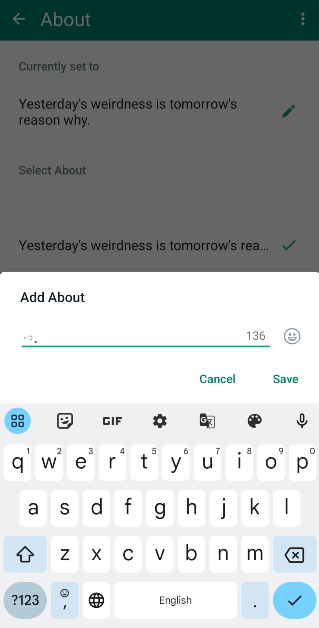 Step 6:
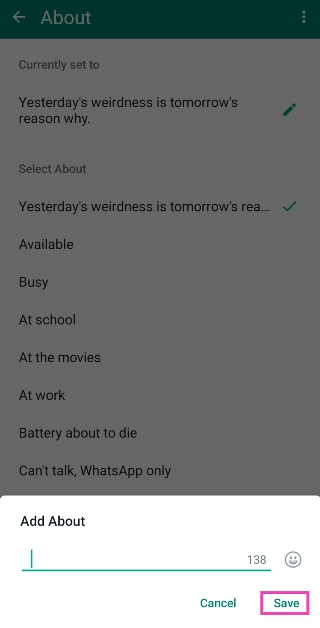
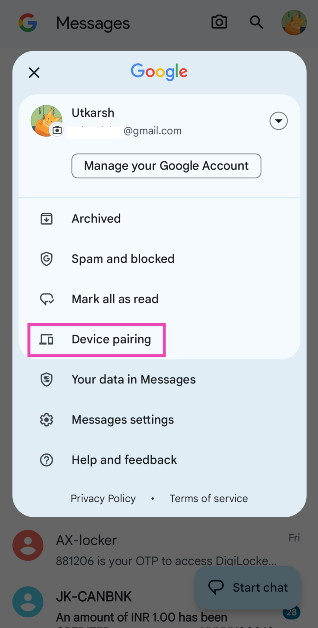
 Step 3:
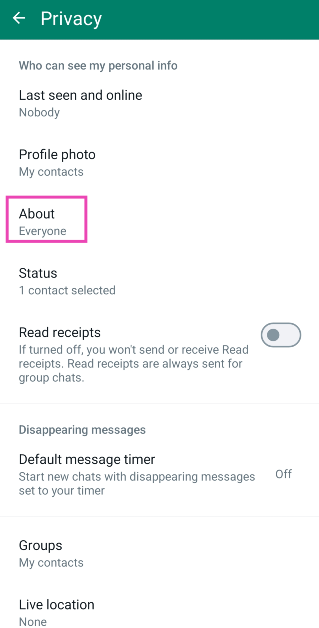 Step 4:
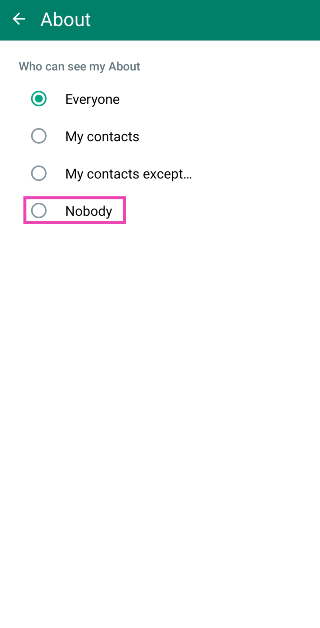


 Step 3:
 Step 5: