- Enjoy uninterrupted music or calls all day with the TAT3225’s extensive 24 hours of battery life.
- Splash and sweat-resistant, these earbuds are perfect for workouts and outdoor activities.
- Features like “Low Latency Ultra Responsive Mode” ensure quick and reliable connectivity, enhancing the user experience.
In This Article
A Premium Addition to Your Audio Arsenal
The Philips TAT3225 TWS earbuds are not just another pair of earbuds; they are a statement of quality and innovation. Crafted by TPV Technology, these earbuds are designed to revolutionize your listening experience, offering a blend of top-notch features that promise unparalleled sound quality and comfort. Available at leading online and offline stores, the TAT3225 comes at a special sale price of INR 1990/-, making premium sound more accessible to audiophiles across India.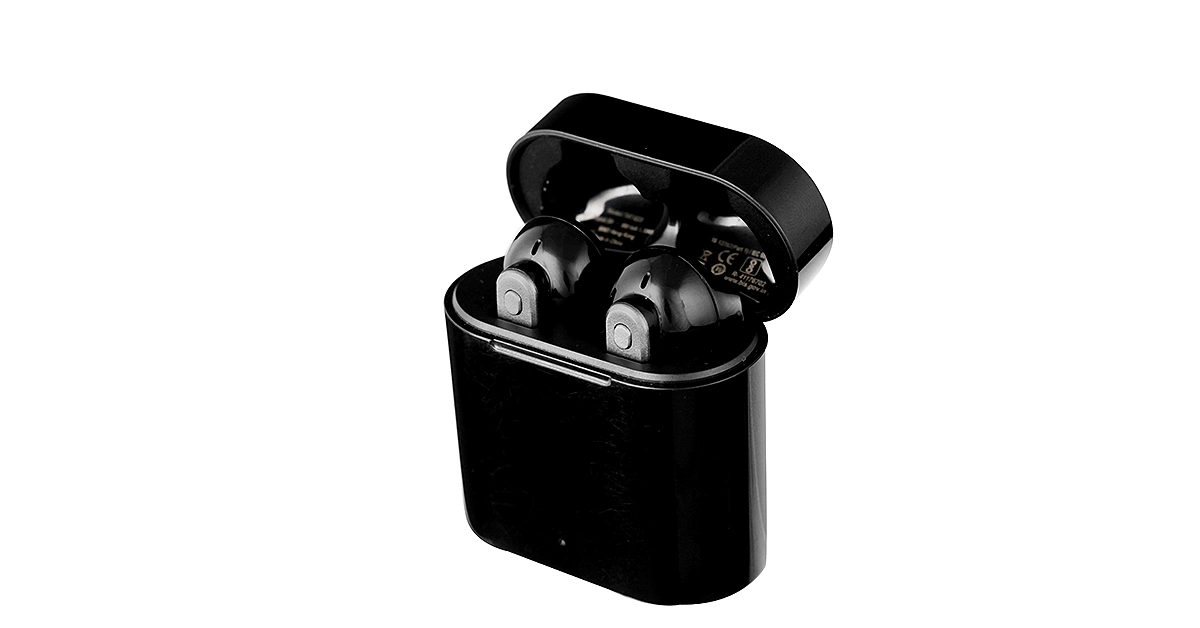 Read Also: Philips HSP3500 Indoor Security Camera Review: The perfect device to keep an eye inside.
Key Features That Set the Philips TAT3225 TWS Earbuds Apart
- 24 Hours of Playtime: Say goodbye to the annoyance of frequent charging. With up to 24 hours of playtime, these earbuds ensure that your music, podcasts, or calls don’t stop until you do.
- IPX4 Splash and Sweat Resistance: Designed for an active lifestyle, the TAT3225 can withstand water and sweat, making them your perfect companion for workouts, runs, or any outdoor adventure.
- Integrated Controls and Echo Cancellation: Experience crystal-clear sound quality even in noisy environments. The integrated controls allow easy access to your phone’s voice assistant, enhancing your user experience.
- Mono Mode: The TAT3225 offers the flexibility of mono mode, allowing you to use just one earbud while staying aware of your surroundings—perfect for multitasking or when you prefer to keep one ear free.
- Smart Pairing and Ergonomic Design: With the innovative smart pairing feature and “Low Latency Ultra Responsive Mode,” these earbuds offer swift connections and an ergonomically snug fit for all-day comfort.
Commenting on the launch, Mr. Atul Jasra, Country Head of TPV Technology India Pvt. Ltd., expressed his enthusiasm for the new addition to the Philips audio lineup. He highlighted the company’s passion for excellence and dedication to delivering the highest quality audio experiences. The Philips TAT3225 TWS earbuds are tailored for audiophiles, offering an exceptional audio experience that not only meets but exceeds customer expectations.Read Also: Philips launches two new Soundbars in india starting at Rs 18,990


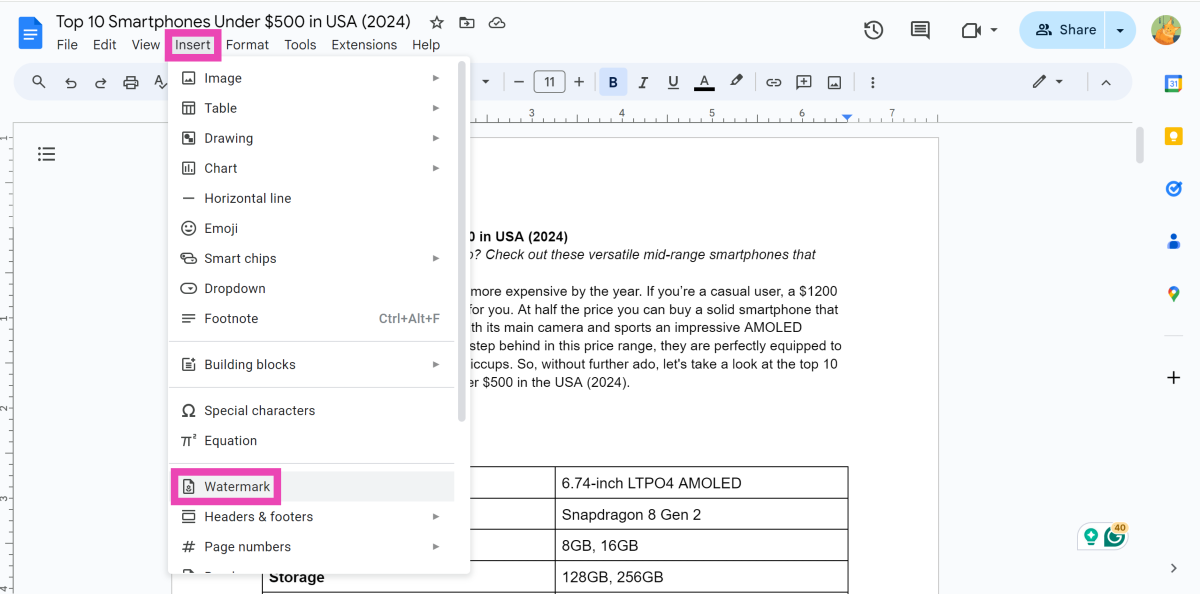
 Step 3: Upload
 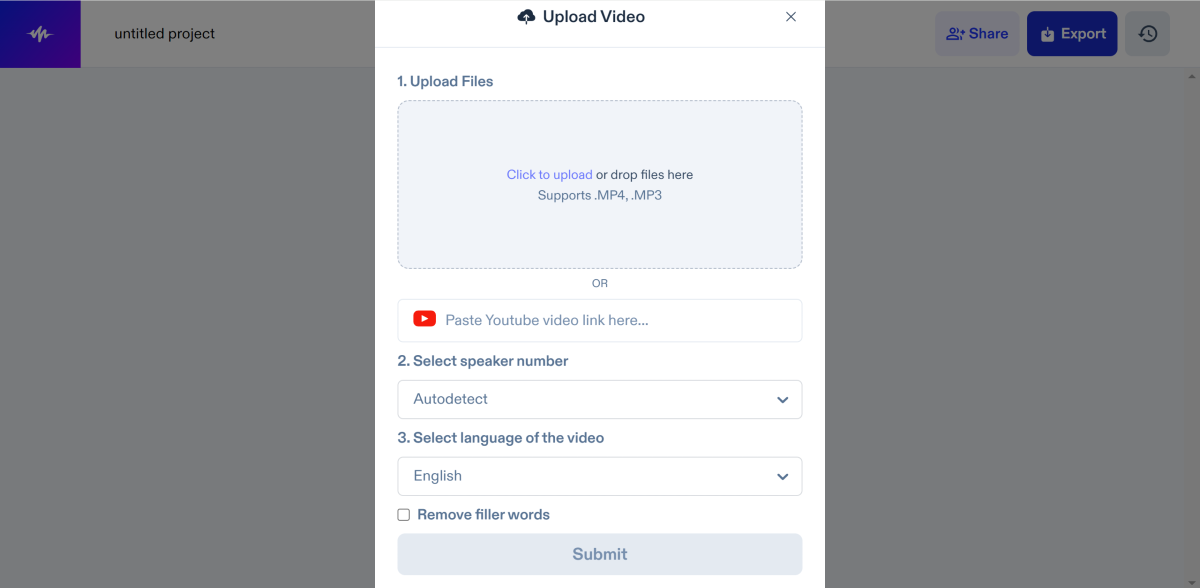 Step 4:
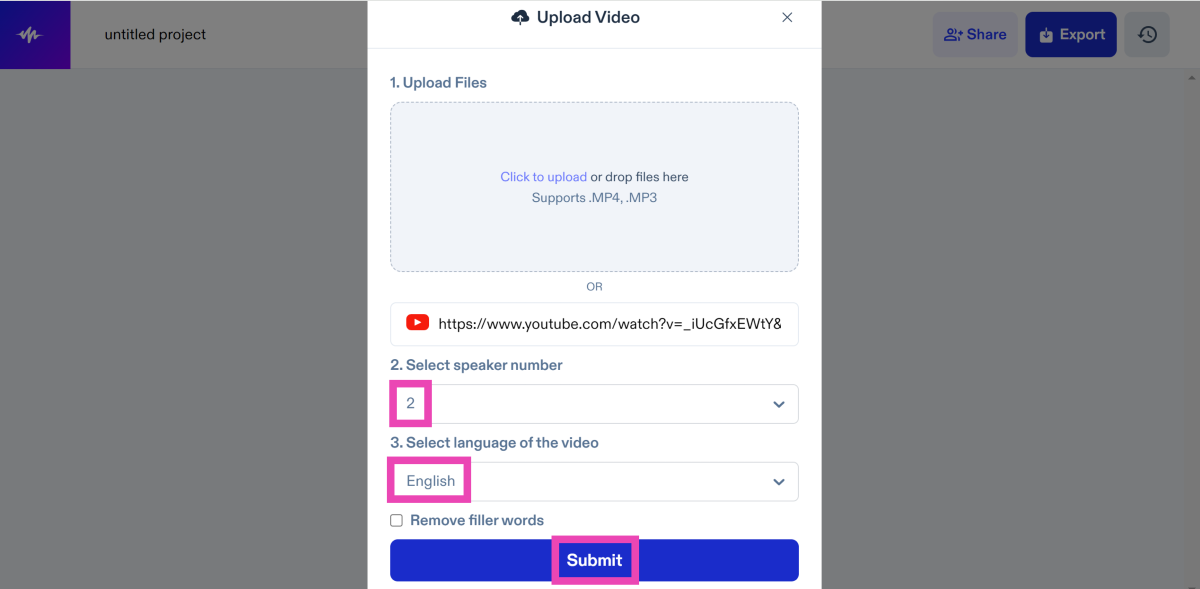 Step 5:
 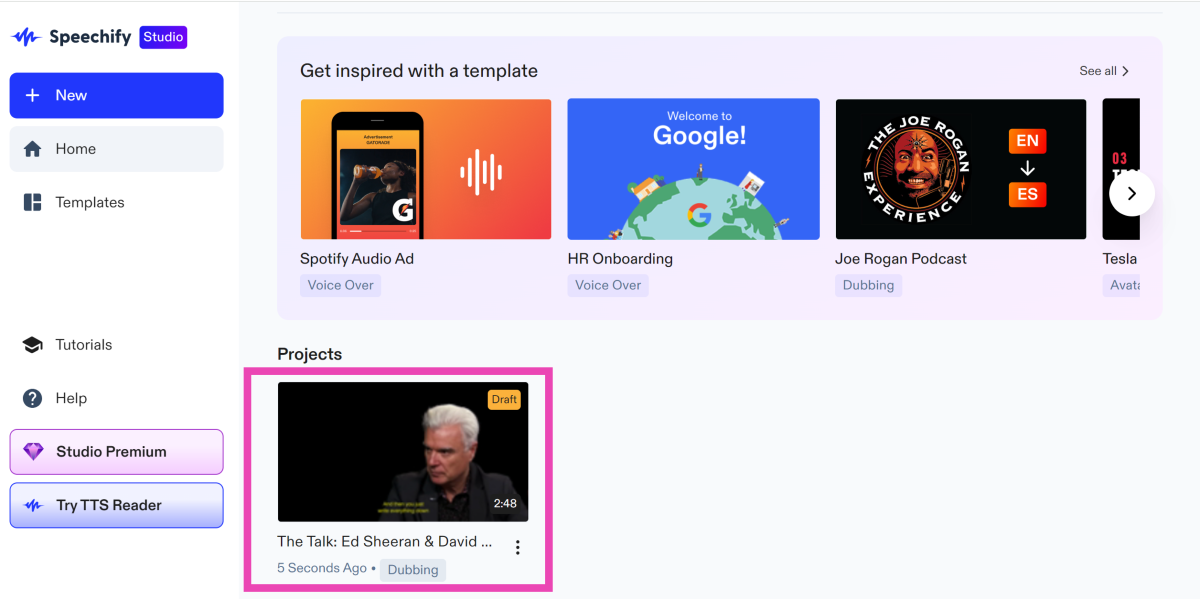 Step 6:
 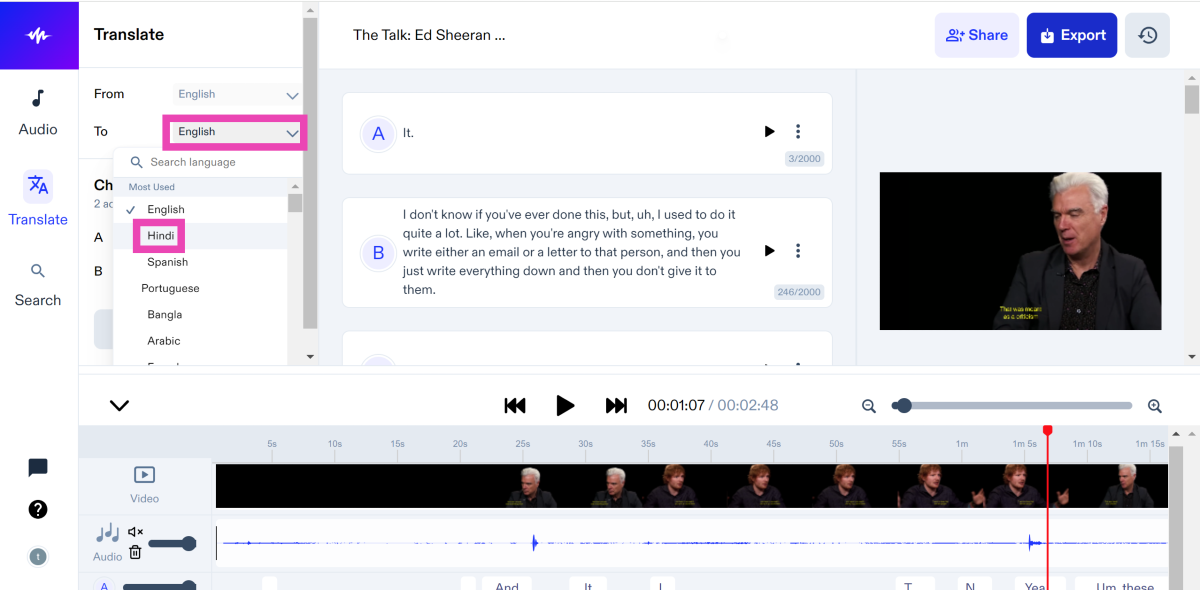 Step 7:
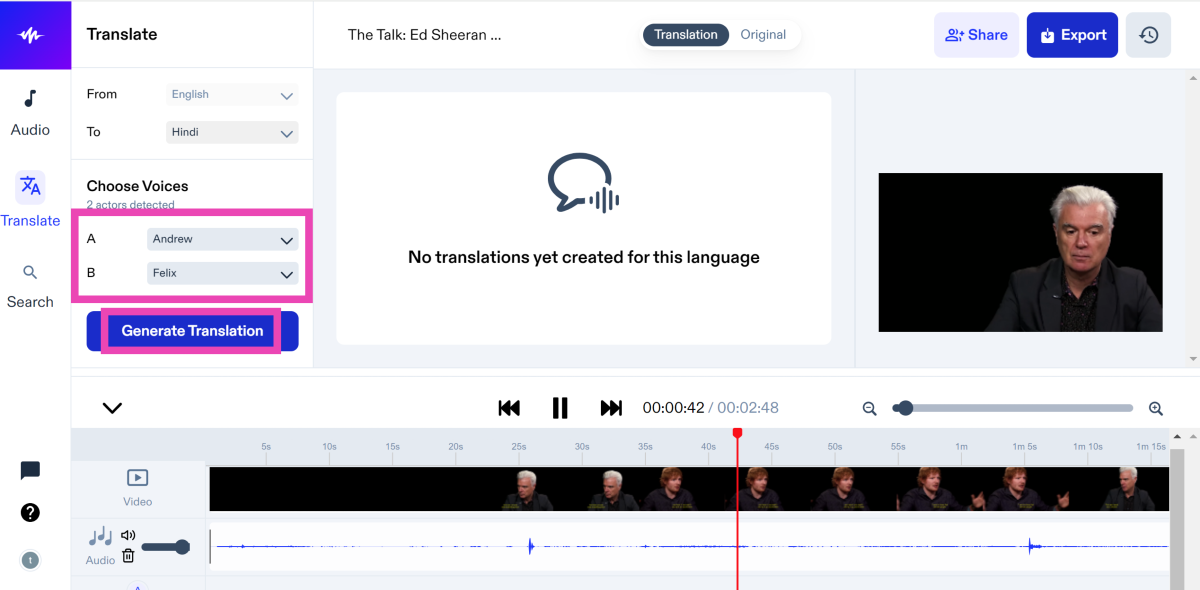 Step 8:
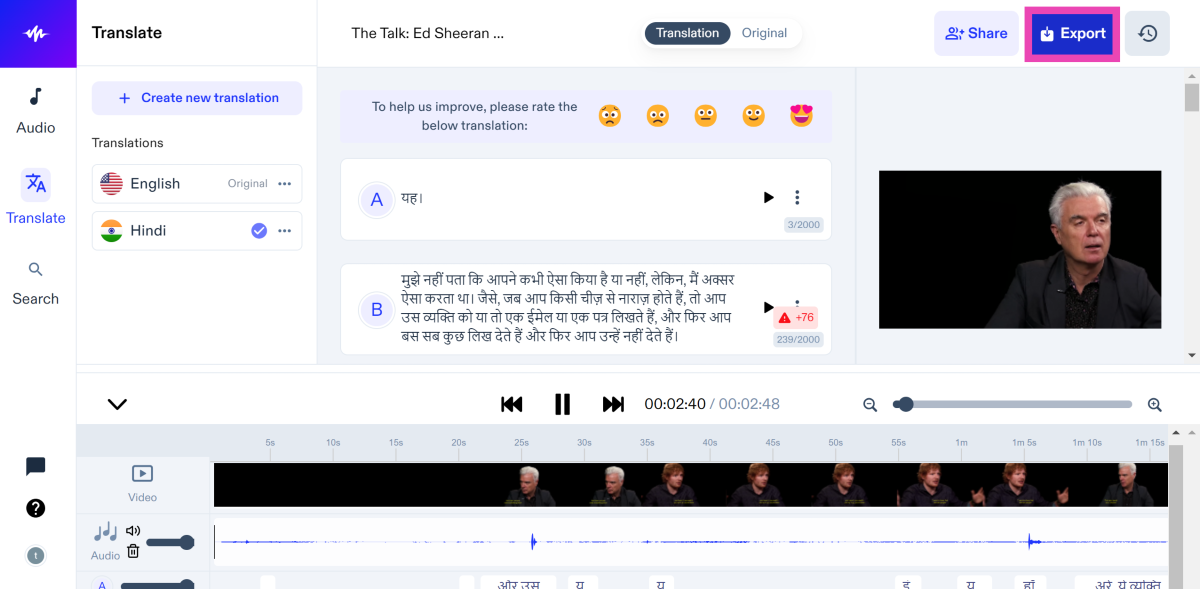
 Step 4:
 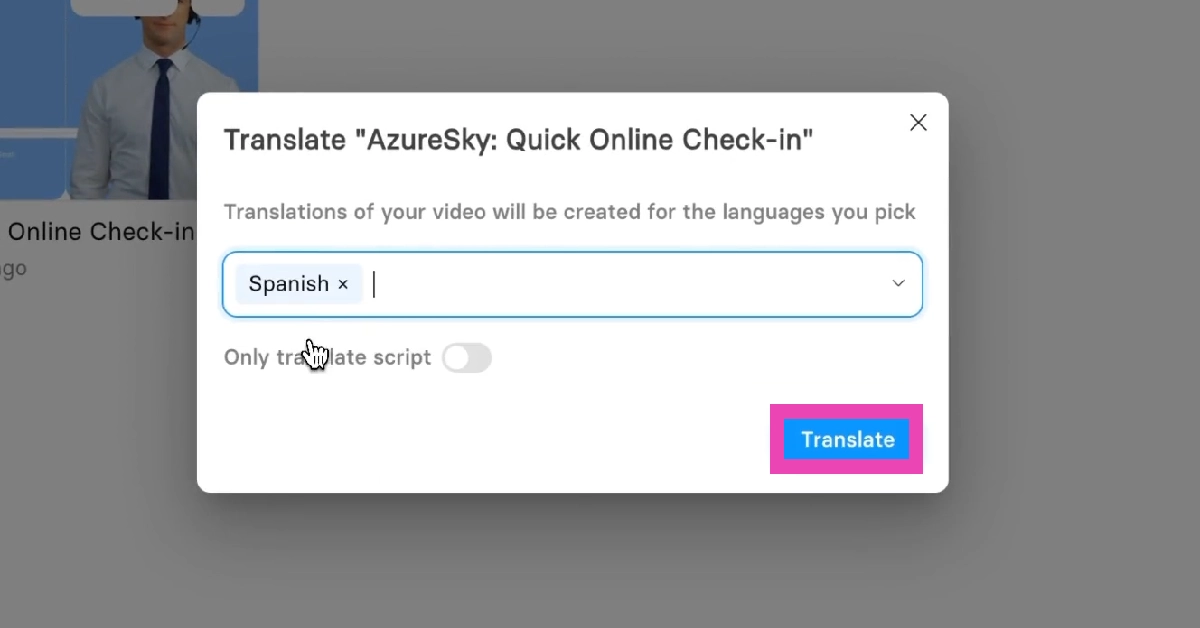 Step 5:
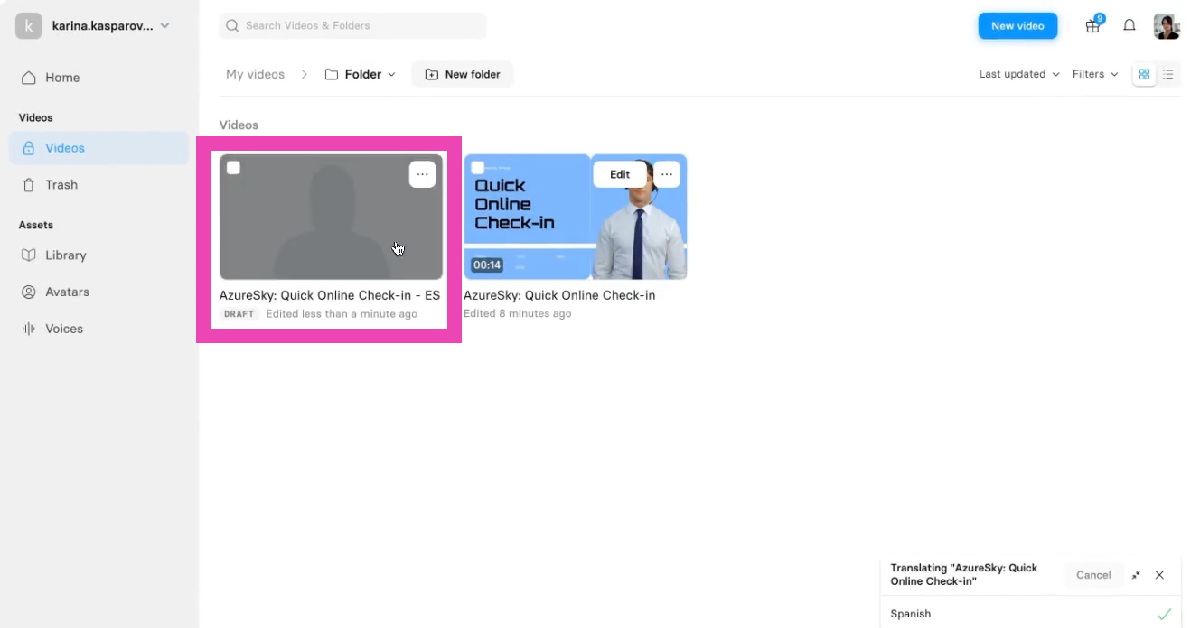
 Step 4:
 Step 5:
 Step 6:
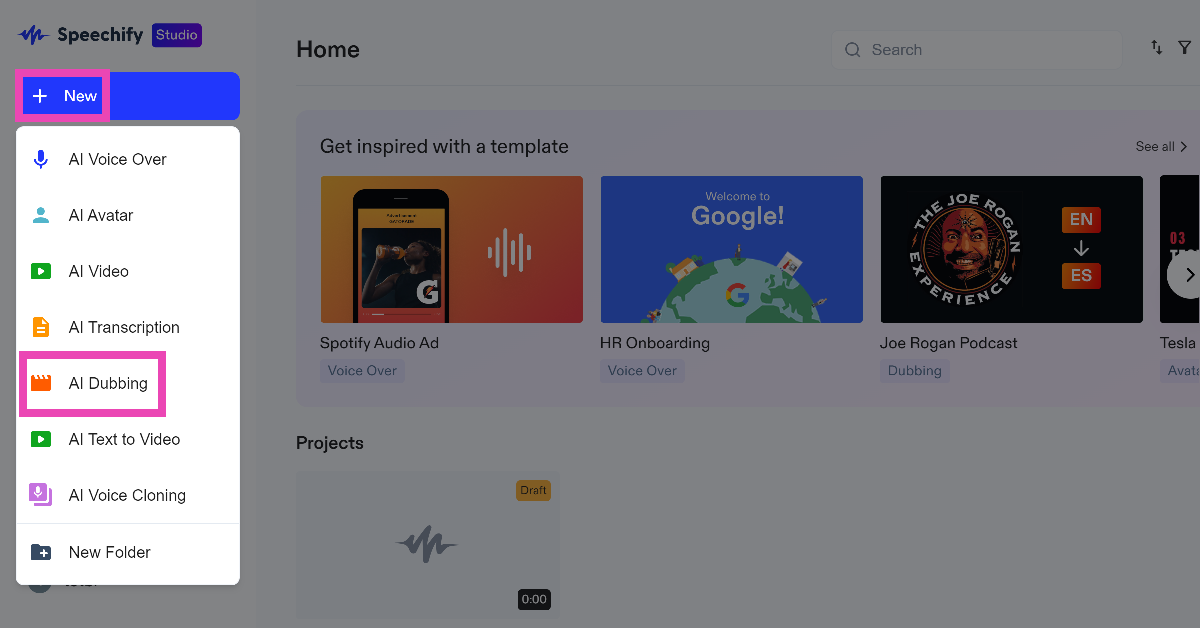
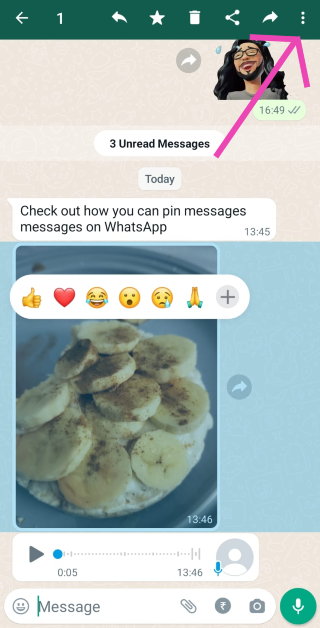
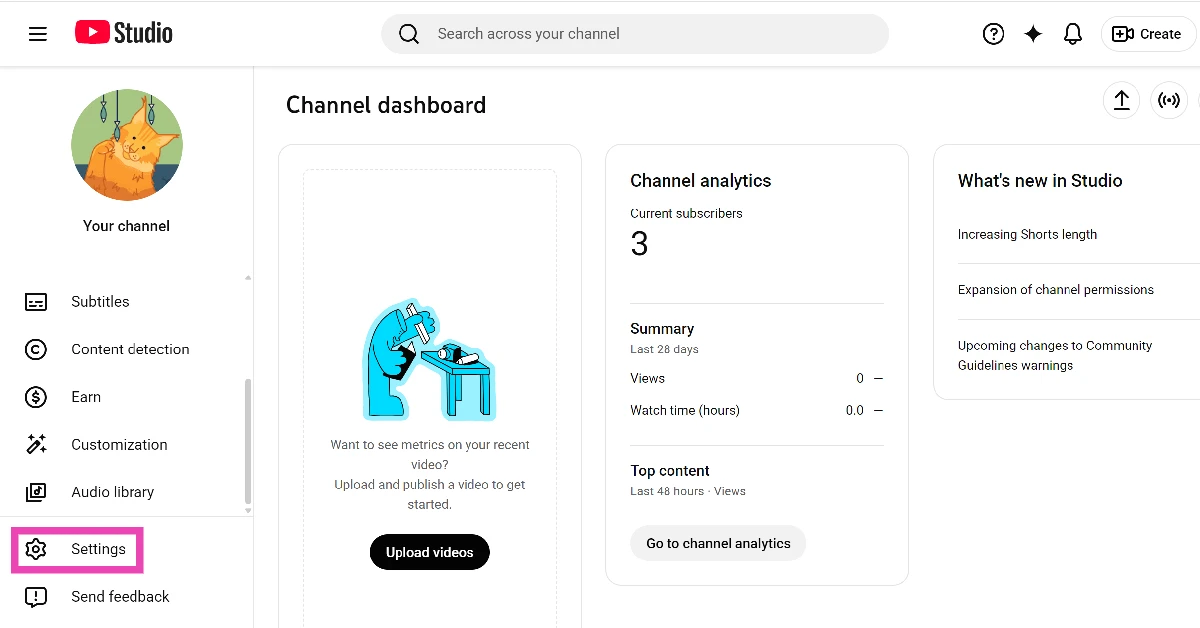 Step 3: Click on Channel.
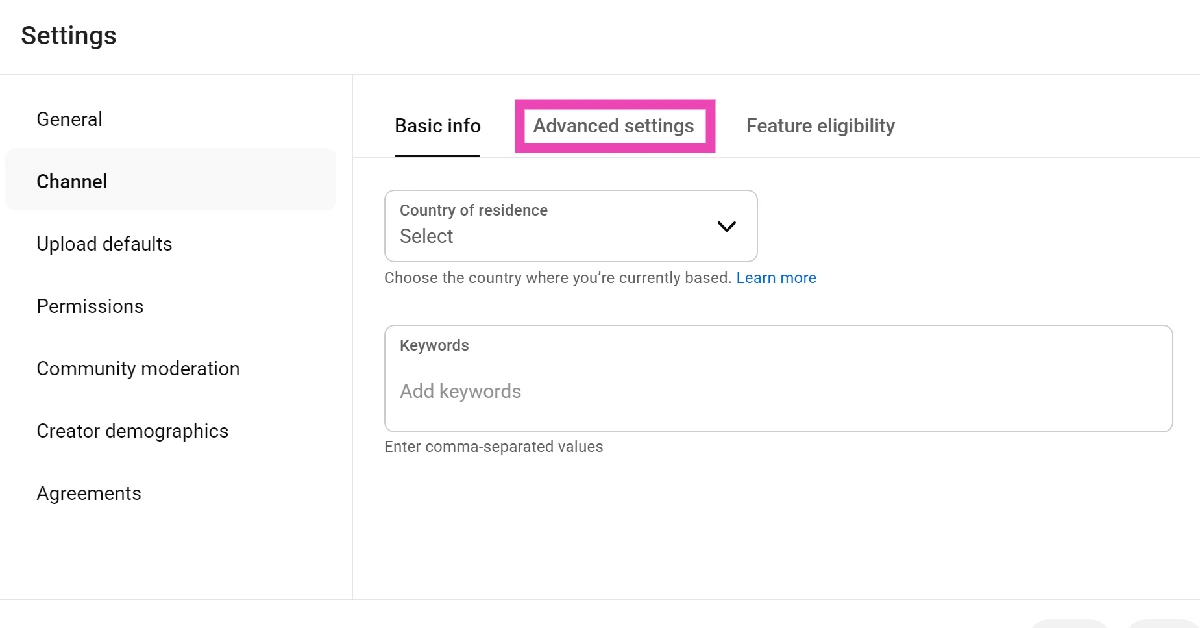
 Step 4: Switch to the Advanced settings tab.
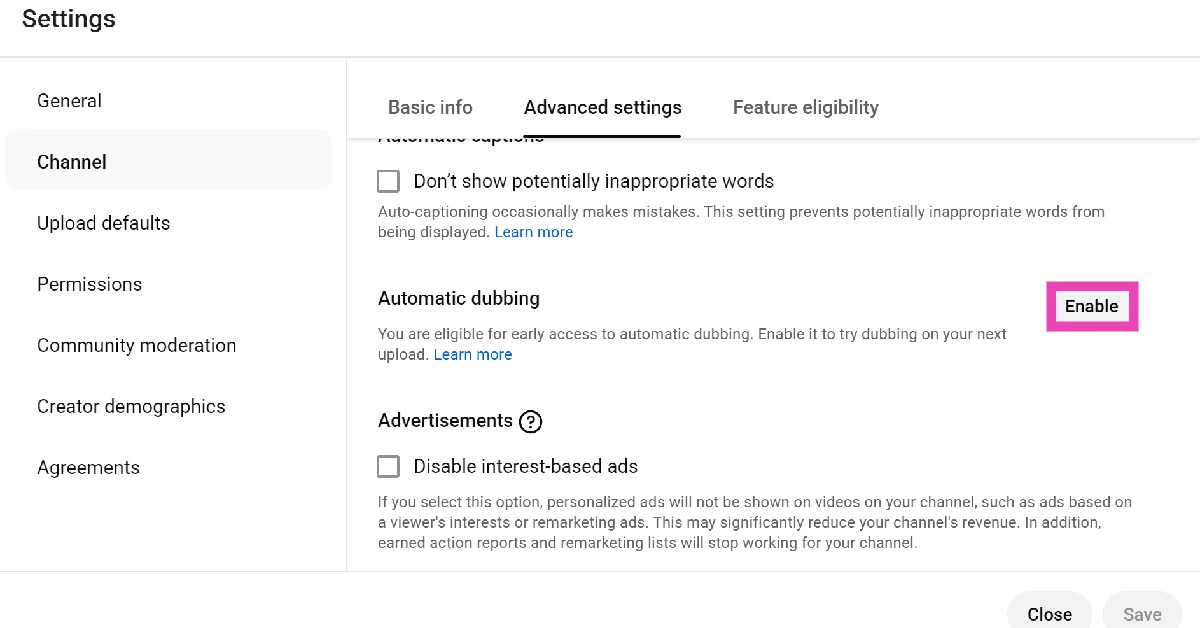
 Step 5: Scroll down and hit Enable next to Automatic dubbing.
 Step 6: Tick the checkbox next to Allow automatic dubbing.
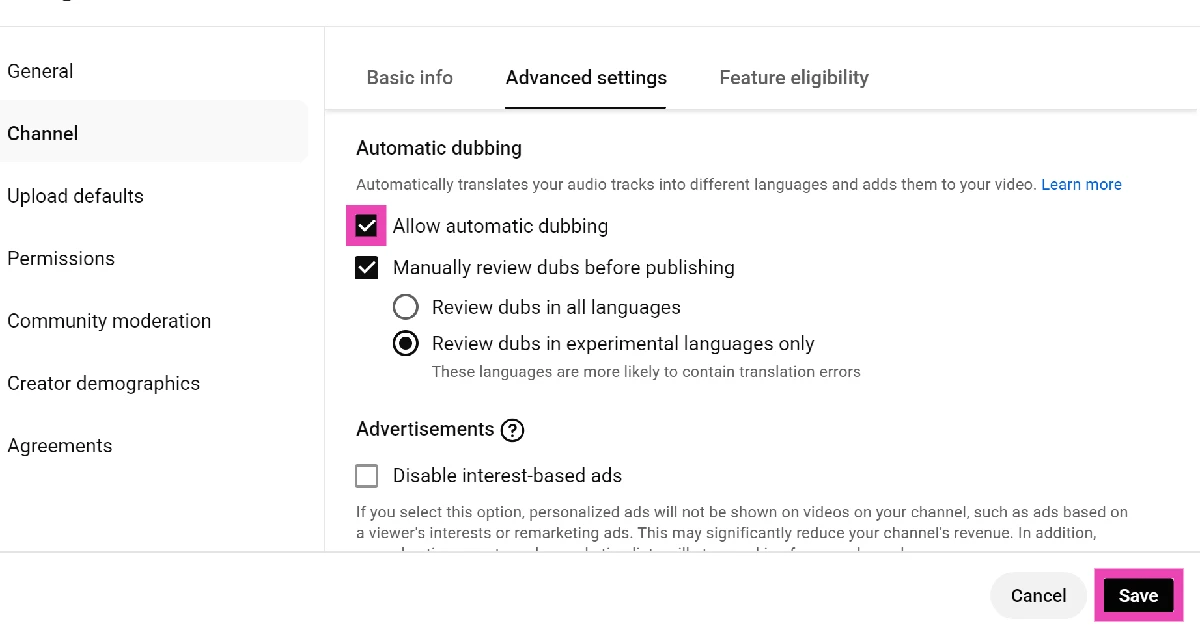 Step 7: Choose whether you want to manually review dubs before publishing them.
Step 8: Hit Save.
Step 9: Go back to YouTube Studio‘s home page.
Step 10: Select Content from the sidebar.
Step 11: Click on Languages.
Step 12: In the Language column, click on your preferred language.
Step 13: Select the language in the Preview menu.
Step 14: Hit Play to preview the dubs.
Step 15: Go back to the Languages section and click the downward arrow in the Audio column.
Step 16: Hit Publish.
Step 7: Choose whether you want to manually review dubs before publishing them.
Step 8: Hit Save.
Step 9: Go back to YouTube Studio‘s home page.
Step 10: Select Content from the sidebar.
Step 11: Click on Languages.
Step 12: In the Language column, click on your preferred language.
Step 13: Select the language in the Preview menu.
Step 14: Hit Play to preview the dubs.
Step 15: Go back to the Languages section and click the downward arrow in the Audio column.
Step 16: Hit Publish.


 Step 3:
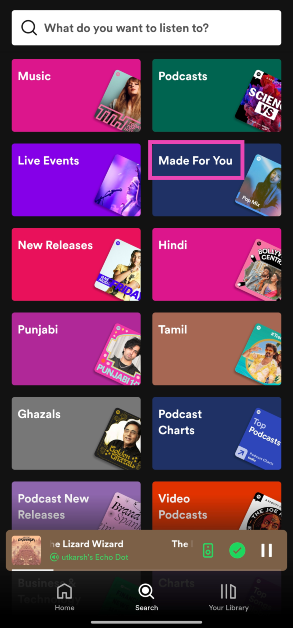 Step 4:
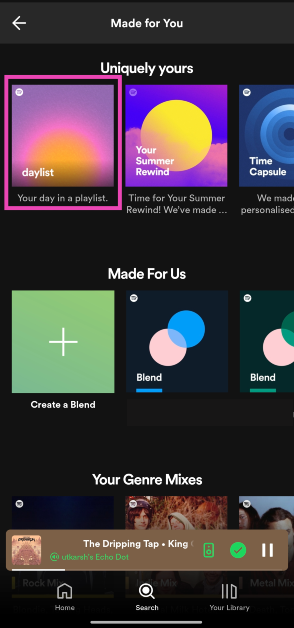 Step 5:
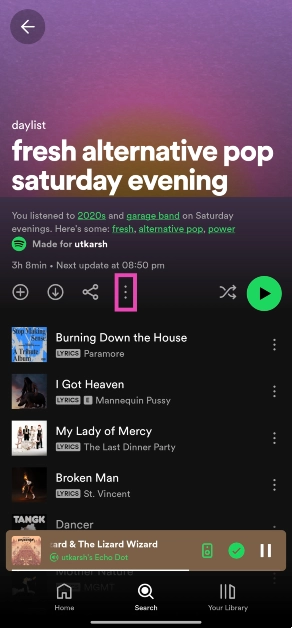
 Instead of navigating to the ‘Made for You’ section, you can search for your daylist directly from the search box. Simply go to the Search tab, hit the text box, and type ‘Daylist’. Your personalised playlist will appear as the first result. Hitting the plus icon in the Daylist saves it to the Your Library tab. You can pin it so as to not drown in the sea of new saved items.
 Step 3:
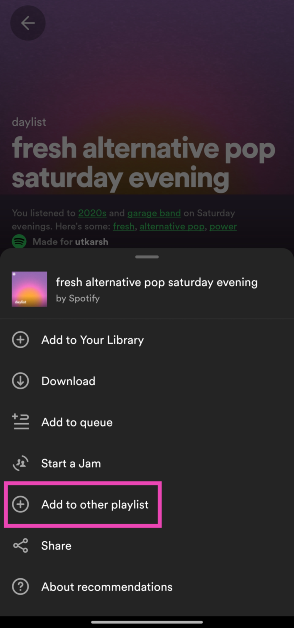 Step 4:
 Step 5:
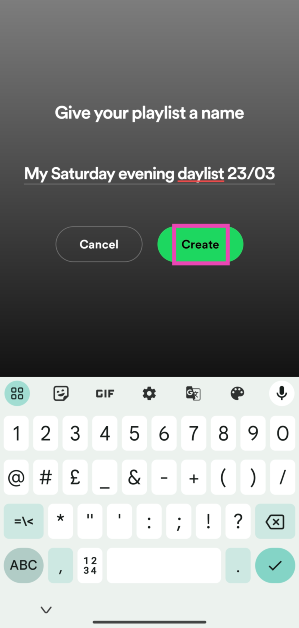
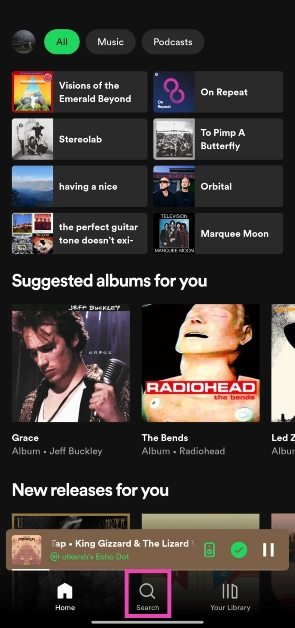
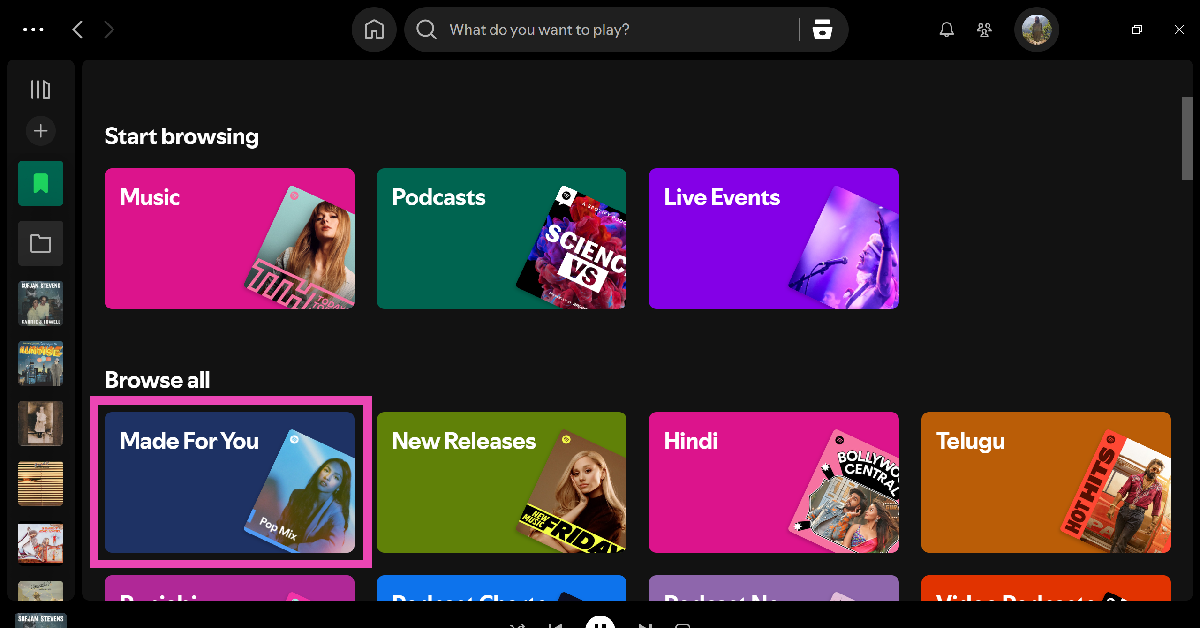
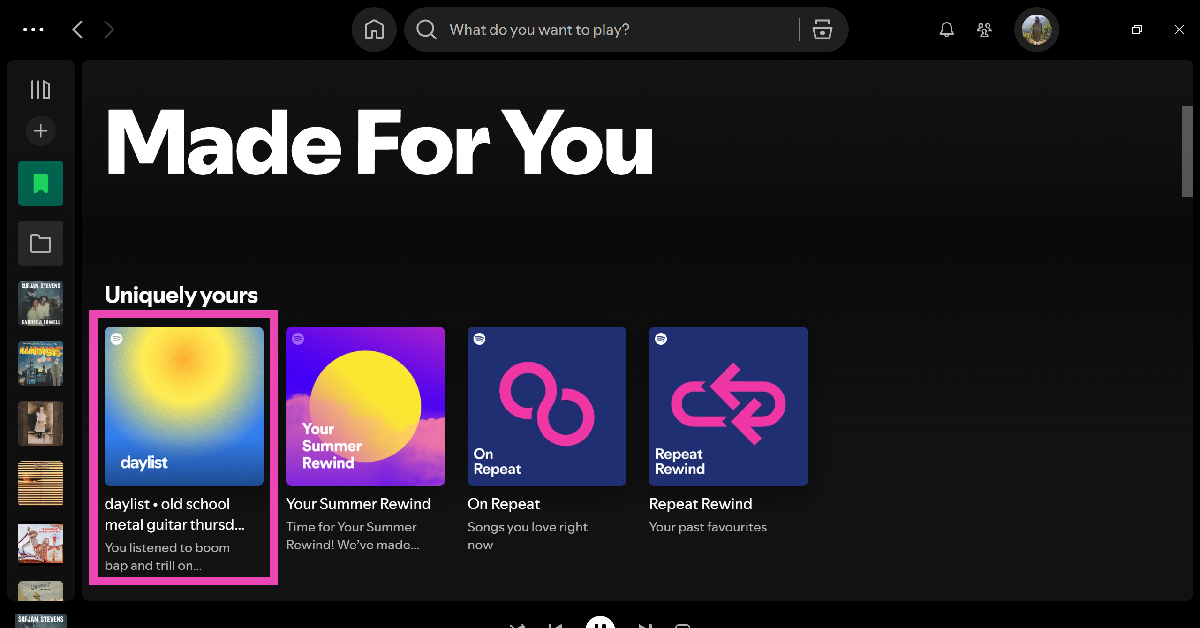
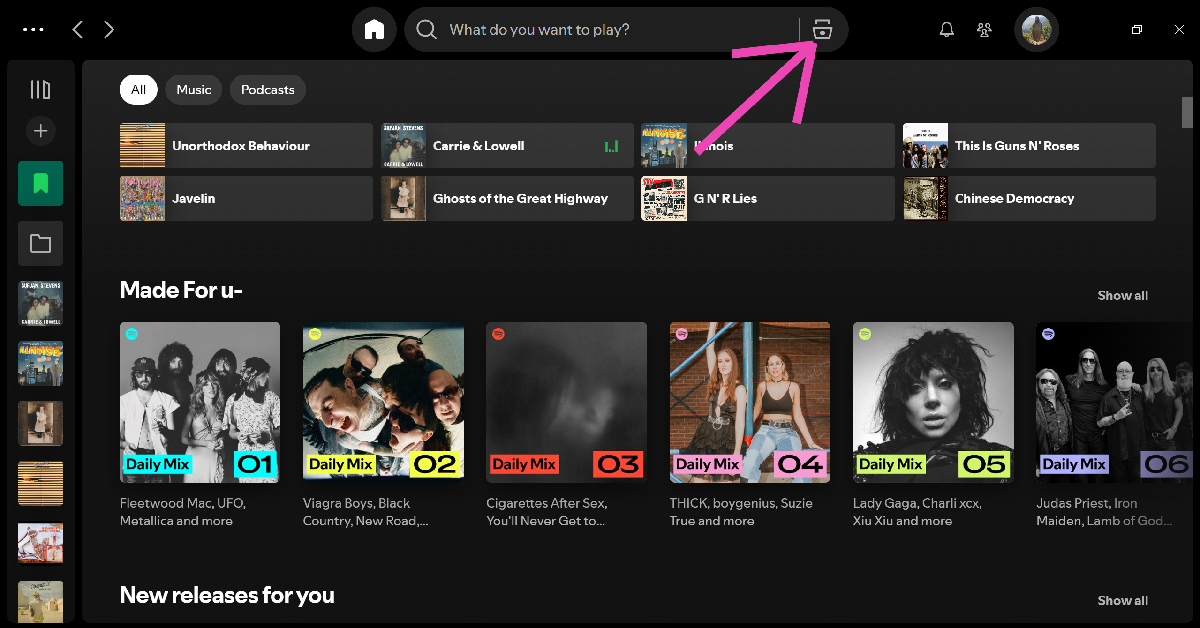 Step 3: Go to Made For You.
 Step 4: Click on Daylist.

 Step 5:
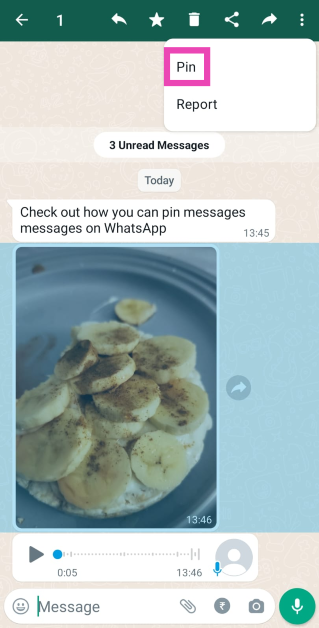 Step 6:
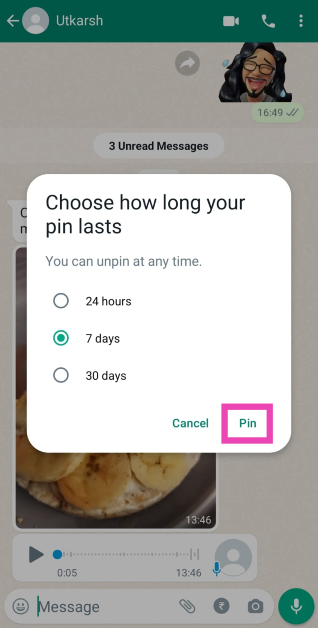 Step 7:
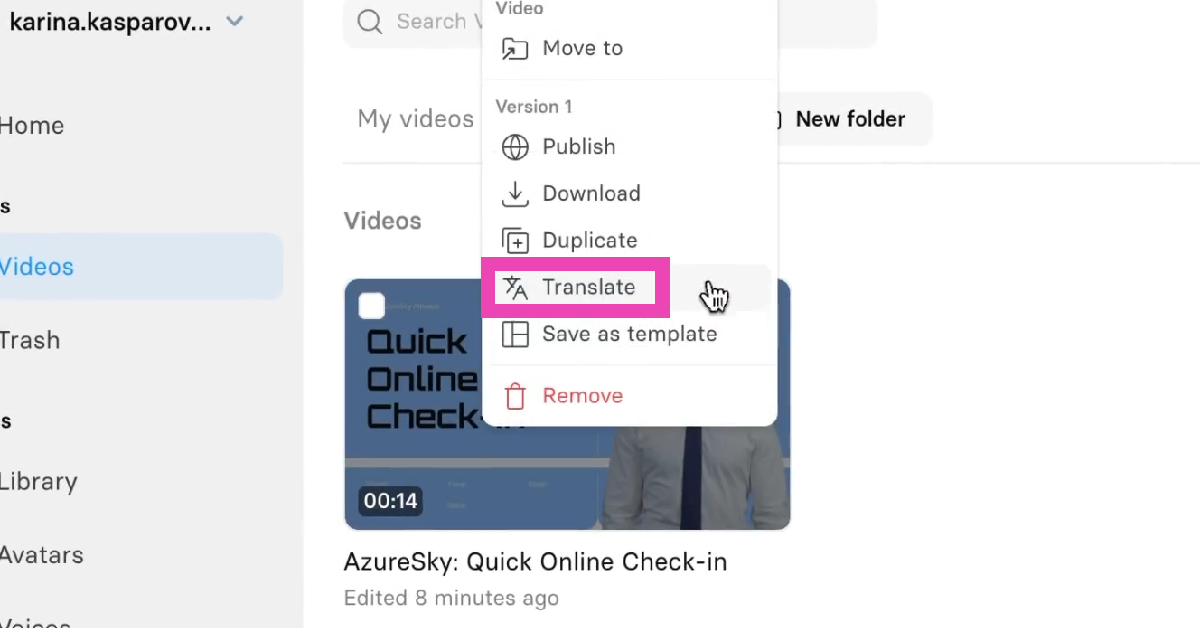
 Step 3:
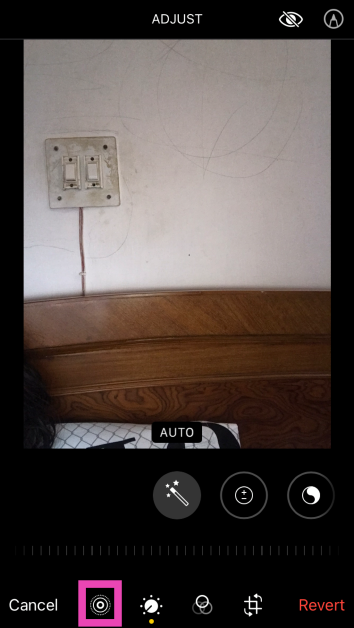 Step 4:
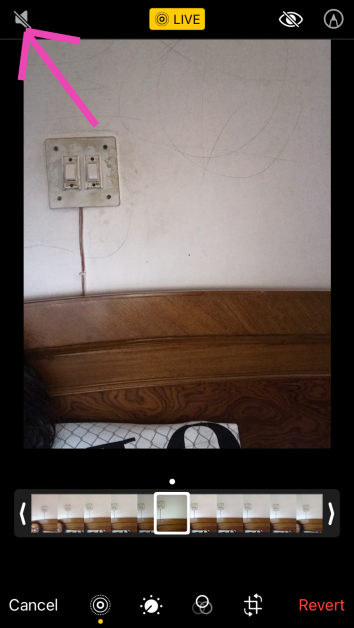 Step 5:
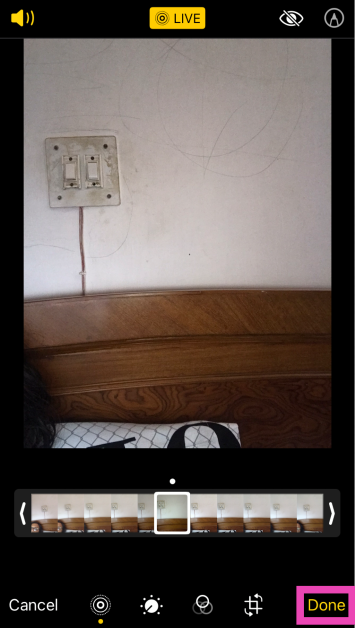
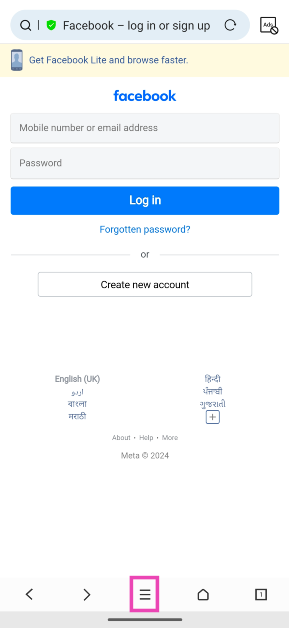
 Step 3:
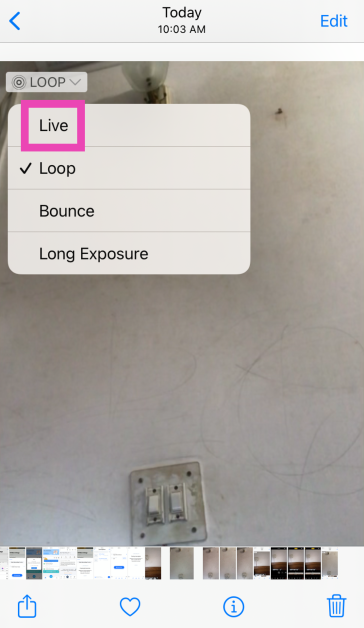
 Step 3:
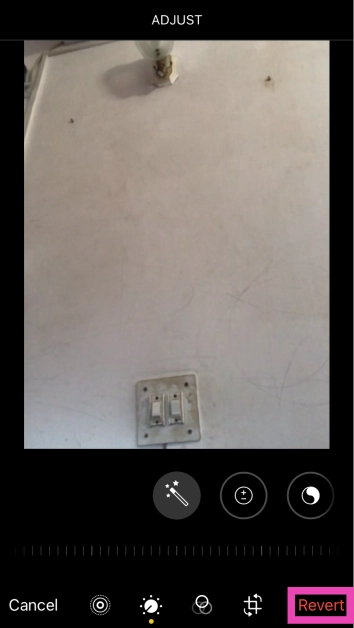 Step 4:
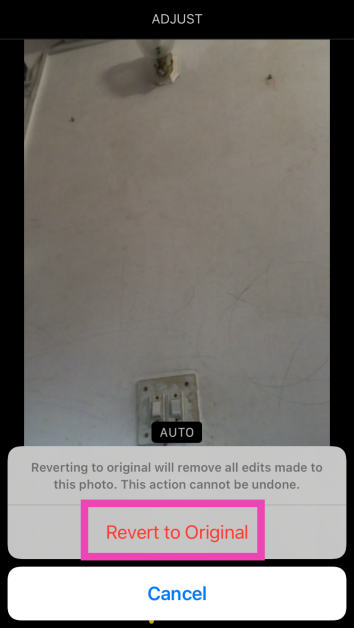

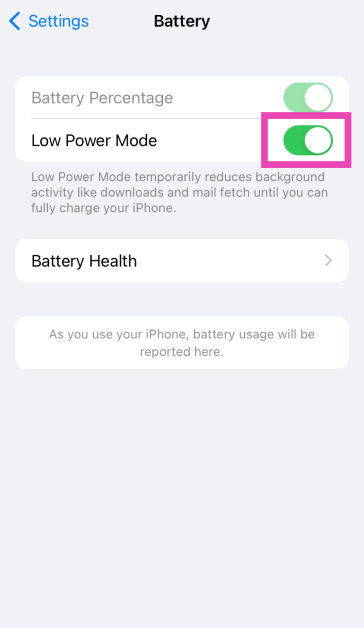
 Step 2: Turn off the toggle switch next to Low Power Mode.
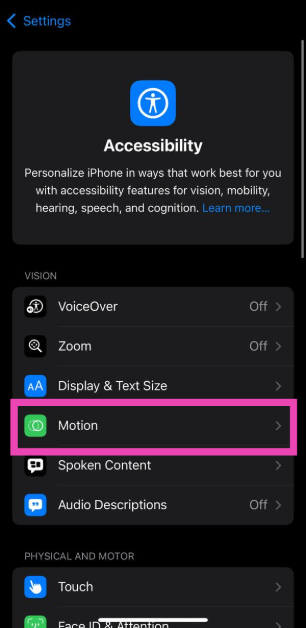
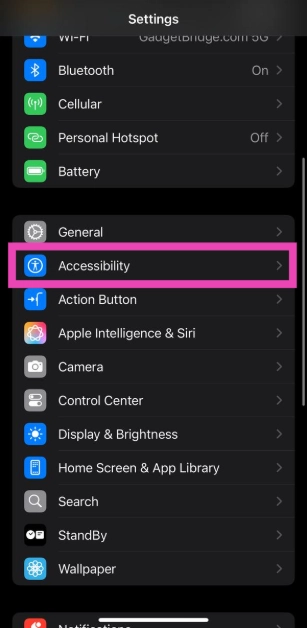 Step 2: Tap on Motion.
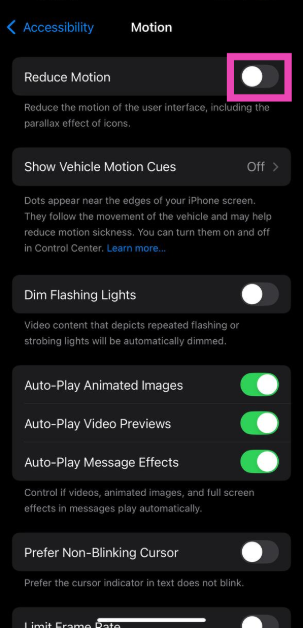
 Step 3: Turn off the toggle switch next to Reduce Motion.
 In case you’re unable to take live photos from the Camera app, make sure that the feature is enabled in Camera settings.
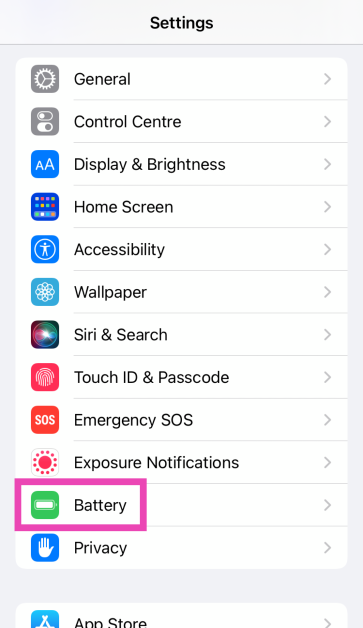
Step 1: Go to Settings.
Step 2: Select Camera.
Step 3: Tap on Preserve Settings.
Step 4: Turn on the toggle switch next to Live Photo.
In case you’re unable to take live photos from the Camera app, make sure that the feature is enabled in Camera settings.
Step 1: Go to Settings.
Step 2: Select Camera.
Step 3: Tap on Preserve Settings.
Step 4: Turn on the toggle switch next to Live Photo.
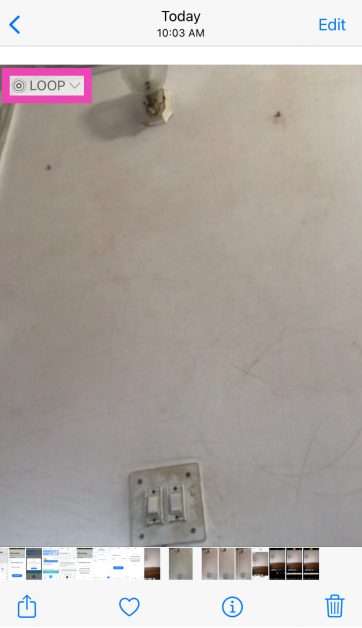
 Step 3:
 Step 4:
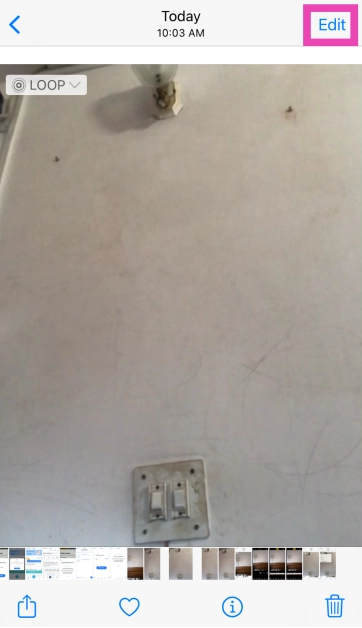


")
 Step 4:
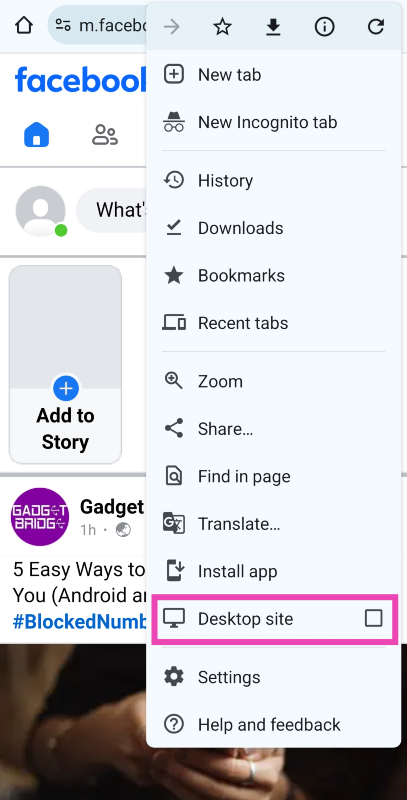
 Step 4:
 Step 4:
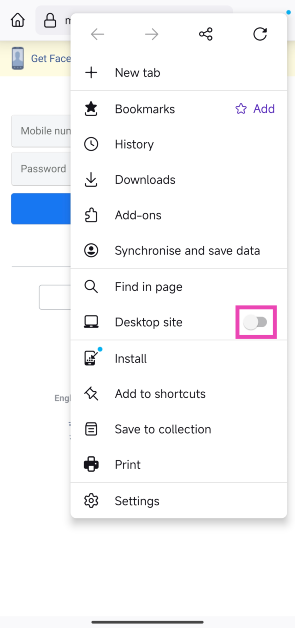 Step 5:
 Step 4:
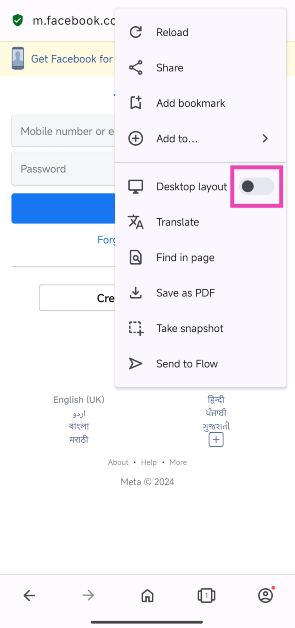 Step 5:
 Step 4:
 Step 4:
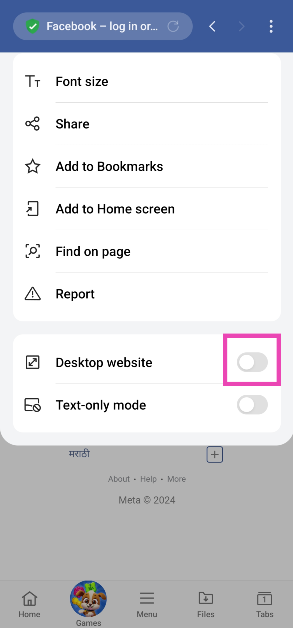 Step 5:
 Step 4:
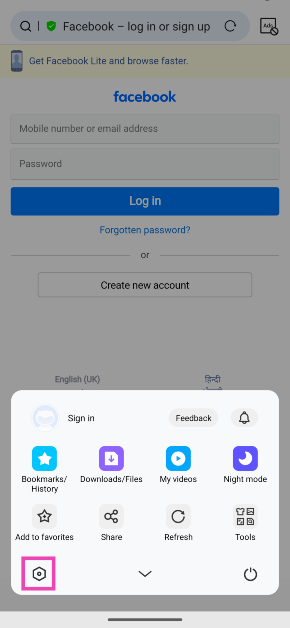 Step 5:
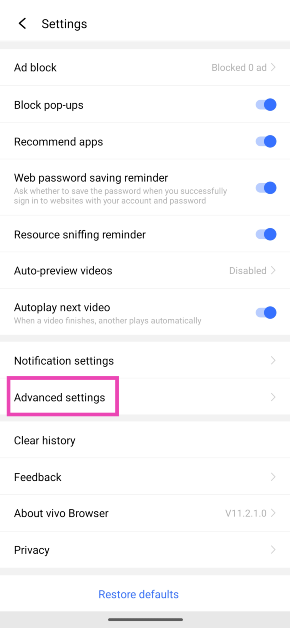 Step 6:
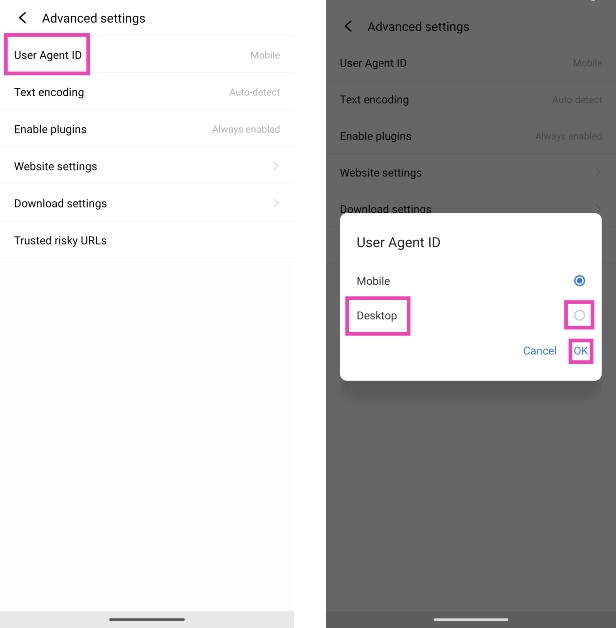 Step 7:


")
 Step 3:
 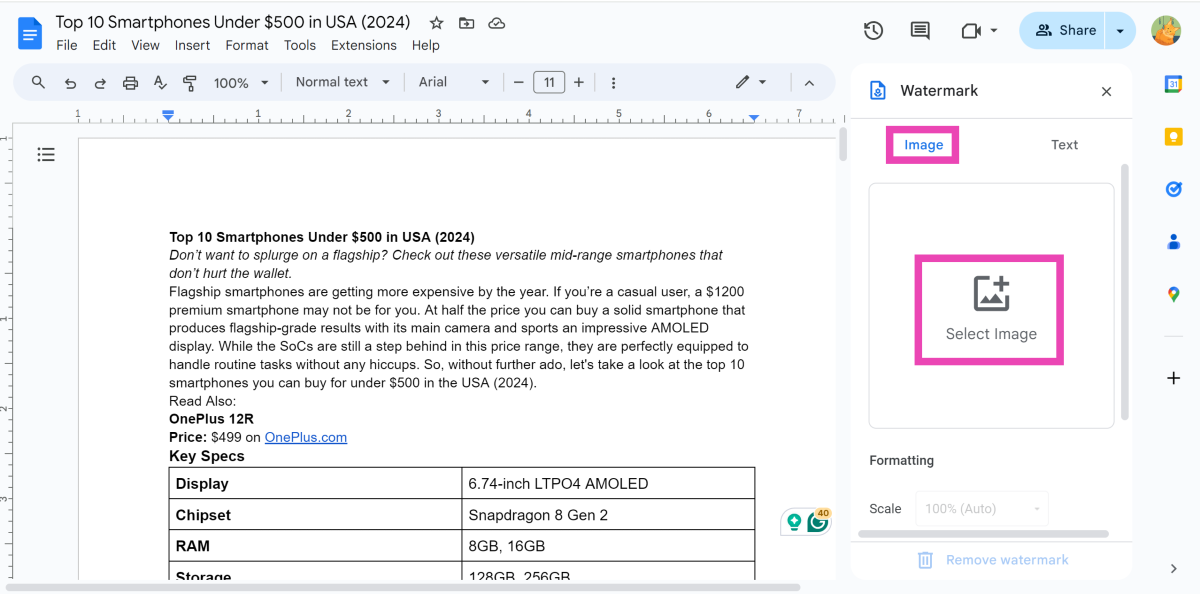 Step 4:
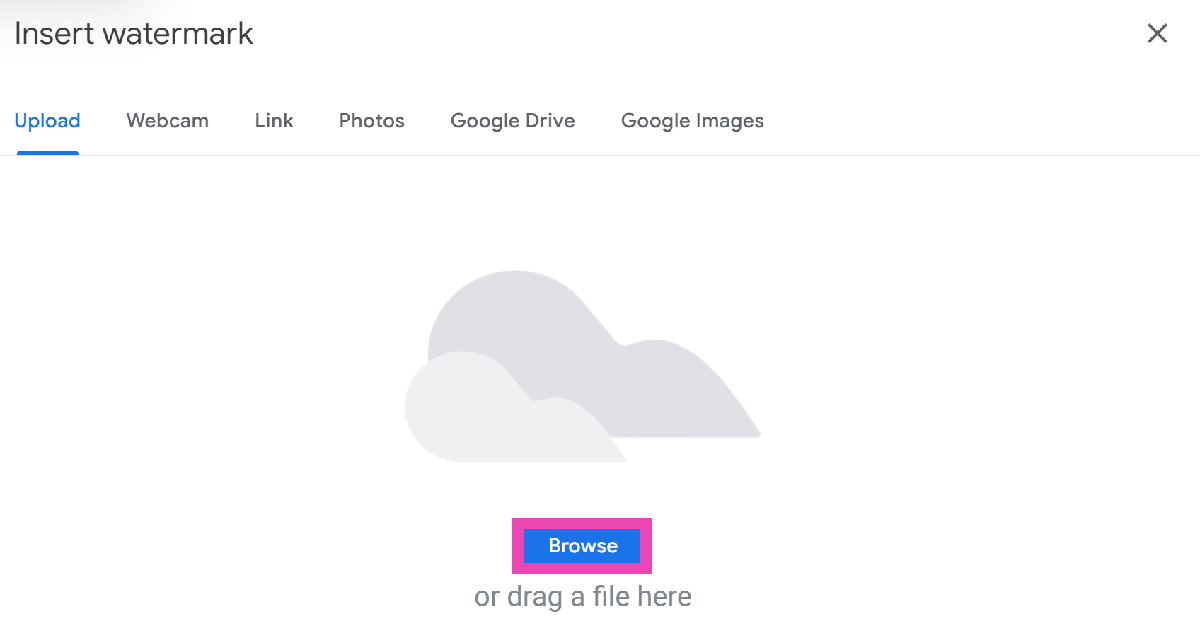 Step 6:
 Step 8:
  Step 9:
 Step 4:
 Step 6: