Garena Free Fire is a battle royale game with regular awards and tournaments to keep players interested. If you play Garena Free Fire, you should be aware of the redeem codes that are released on a daily basis. However, because the battle royale game is banned in India, players from other countries can use the Free Fire Redeem codes daily. If you’re unfamiliar with the Garena Free Fire redeem codes or don’t know how to get them, we’ve put together a step-by-step guide to help you redeem them. Check out Garena Free Fire Redeem Codes for 17 July 2023.
The Free Fire redeem codes are a great way to get free stuff. These are 12-digit codes that contain alphabets and numbers, as well as an expiration date and time. Because the Garena FF redeem codes cannot be used more than once, you should hurry to the redemption page to claim your free reward before someone else does. To get a free reward, all you have to do is go to reward.ff.garena.com/en, which is the official redemption page. Also, keep an eye on this space for daily updates on Garena Free Fire redemption codes and rewards.
Garena Free Fire Redeem Codes Today 17 July 2023
FFAC2YXE6RF2
FAGTFQRDE1XCF
FFCMCPSBN9CU
BR43FMAPYEZZ
NPYFATT3HGSQ
FFCMCPSJ99S3
XZJZE25WEFJJ
V427K98RUCHZ
MCPW2D1U3XA3
FFCMCPSGC9XZ
6KWMFJVMQQYG
FFCMCPSUYUY7E
MCPW3D28VZD6
EYH2W3XK8UPG
MCPW2D2WKWF2
ZZZ76NT3PDSH
FFCMCPSEN5MX
HNC95435FAGJ
How to Get Free Fire Redeem Codes for Garena on 17 July 2023?
- Visit the Garena Free Fire game’s official website at reward.ff.garena.com.
- Use your Facebook, Google, VK, Apple ID, Huawei ID, or Twitter account to log in.
- You’ll be taken to a valid redemption code (s)
- Copy and paste the 12-digit redemption code into the text box.
- On the screen, a dialogue box will appear.
- ‘Ok’ should be selected.
For the latest
gadget and tech news, and
gadget reviews, follow us on
Twitter,
Facebook and
Instagram. For newest
tech & gadget videos subscribe to our
YouTube Channel. You can also stay up to date using the
Gadget Bridge Android App. You can find the latest
car and bike news here.


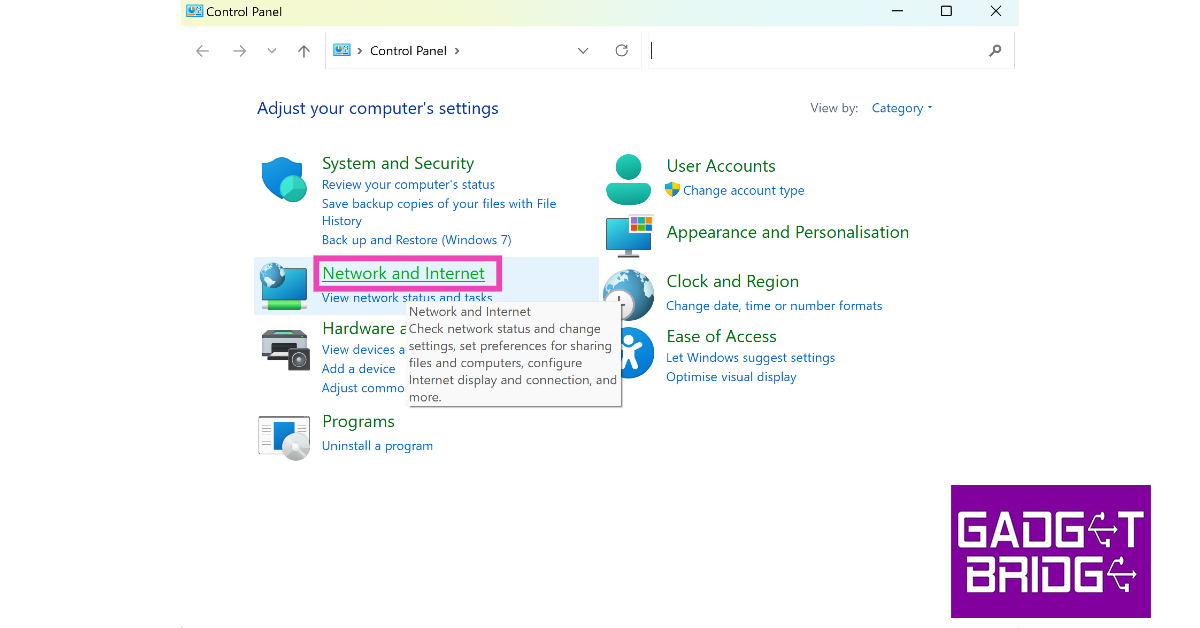 Step 2: On a Windows 11 PC, click on Network and Sharing Centre. Windows 10 users need to click on Status>Network and Sharing Centre.
 Step 3: Click on your WiFi network’s name. You will find it next to ‘Connections’.
 Step 4: Click on Wireless Properties.
 Step 5: Switch to the Security tab.
 Step 6: Click the check box for Show Characters under the Network Security Key field.

 Step 2: Click on Advanced Network Settings.
 Step 3: Select More network adapter options.
 Step 4: Click on your WiFi network.
Step 5: Hit the two small arrows on the toolbar at the top.
Step 6: Select the View status of this connection option.
Step 4: Click on your WiFi network.
Step 5: Hit the two small arrows on the toolbar at the top.
Step 6: Select the View status of this connection option.
 Step 7: Click on Wireless Properties.
 Step 3: Look next to ‘Key Content’ to view the WiFi password.


 Step 3:
 Step 4:
 Step 2:
 Step 4:
  Step 6:
 Step 5:
 Step 7:


")

 Step 3:
 Step 4:
 Step 5:
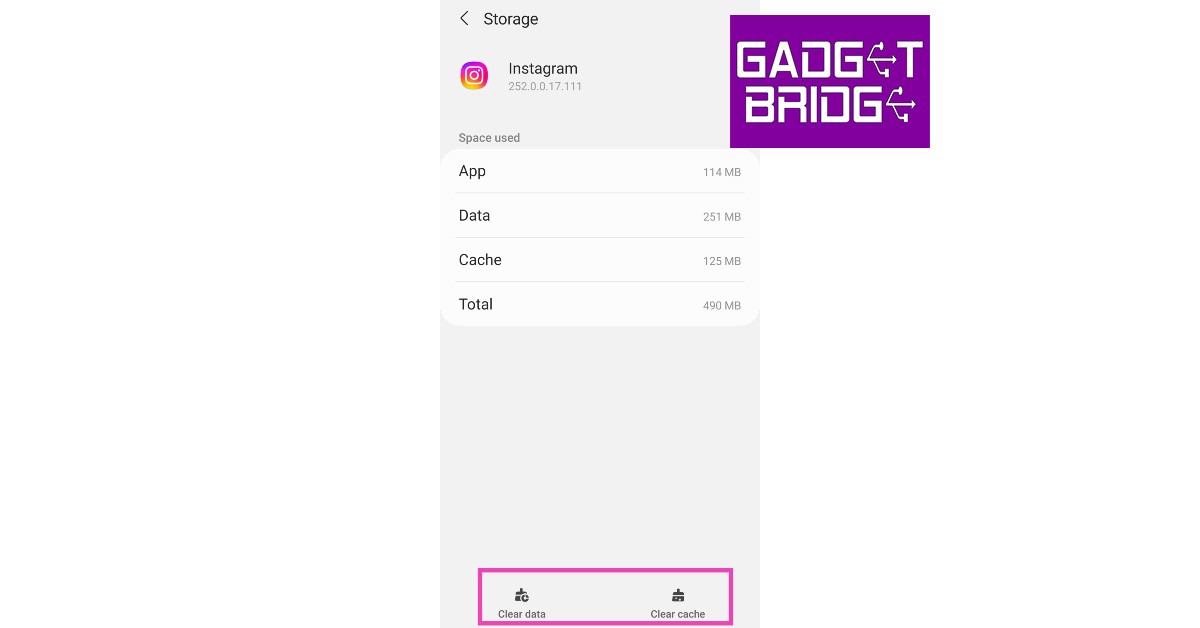
 Step 2:
 Step 3:
 Step 4:

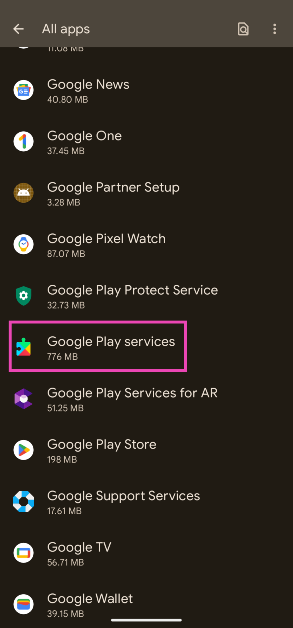
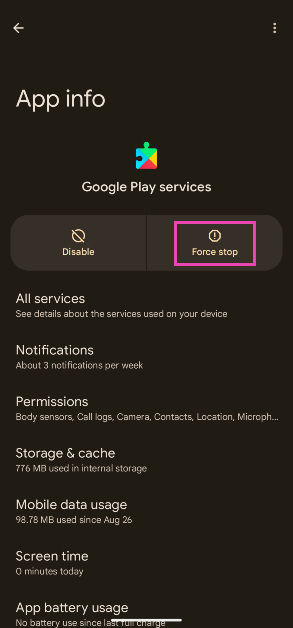
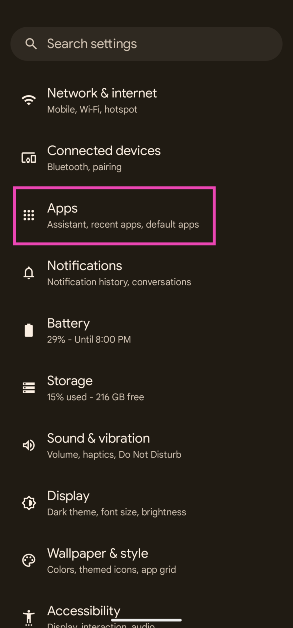 Step 2: Tap on Google Play Services.
 Step 3: Tap on Force Stop.
 Step 2:
 Step 3:
 Step 2:
 Step 3:
 Step 4:

