In This Article
Part 1. How To Convert PDF Files to MS Office on Desktop?
Wondershare PDFelement is a comprehensive PDF solution that goes beyond simple conversion. Powered by AI, it offers an intuitive and user-friendly interface for managing all your PDF management tasks.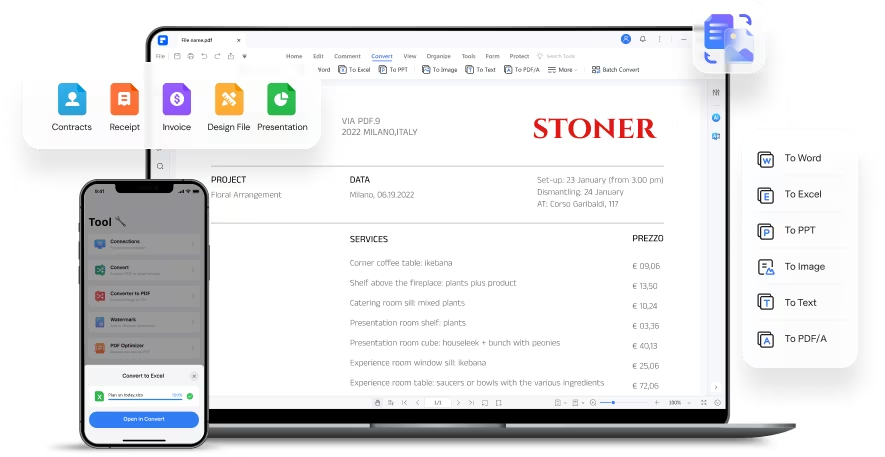 Here’s what makes it stand out from other PDF converters:
- Batch Convert PDF: Save time by converting multiple PDFs to your desired format in one go. This point is ideal for handling large workloads or repetitive tasks.
- OCR for Scanned PDFs: Working with scanned documents? PDFelement’s OCR feature can recognize 20+ languages and convert scanned PDF files accurately. This helps to easily search, edit, and reuse information within those documents.
- Extensive File Format Support: Convert PDFs to and from over 20 file types. It includes all the essential MS Office formats (Word, Excel, PowerPoint). This flexibility ensures seamless integration with your existing workflow.
- Cross-platform Compatibility: Access and manage your PDFs across devices. Work with desktop versions for Windows and macOS and a mobile app for iOS.
- High-quality Retention: PDFelement prioritizes preserving the original formatting of your PDFs during conversion. Text, tables, and images remain intact and maintain high quality in the converted file. This ensures the accuracy and professionalism of your documents.
5 Steps To Convert a PDF to Word, Excel, or PPT Offline
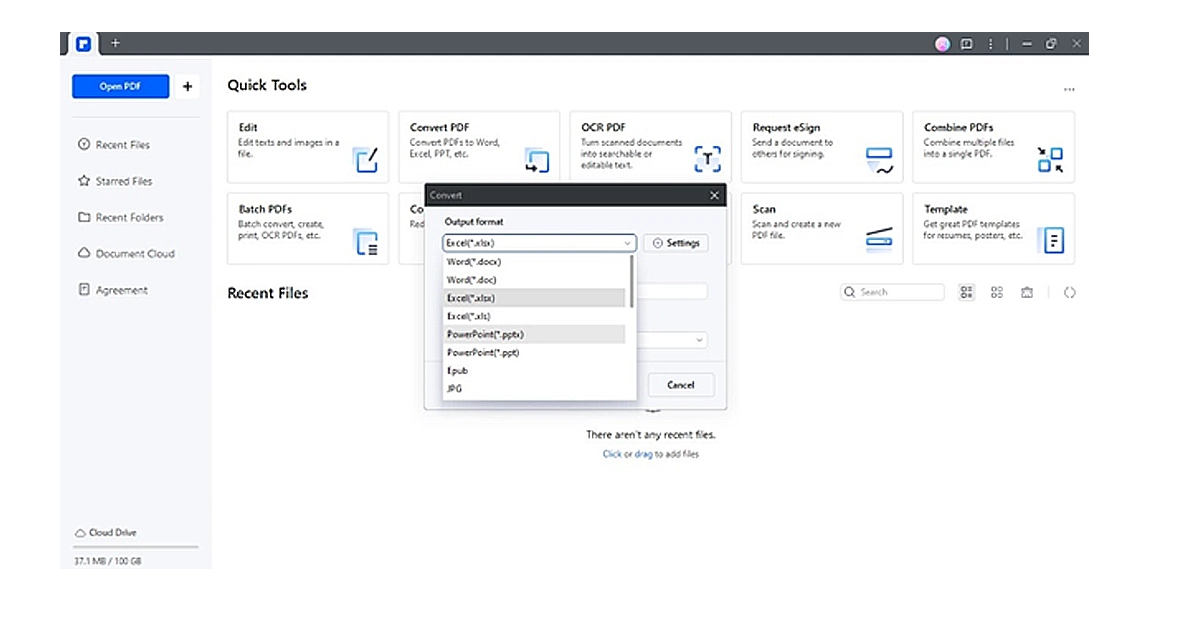
Getting started is easy. You can register for a free account with PDFelement and convert up to 3 pages of a PDF to another format. Additionally, the free plan allows you to batch convert up to 3 PDF files (under 20 MB) to other formats. Here’s a step-by-step guide to convert a PDF to Excel, PPT, or other document formats using PDFelement: Step 1: Download and open the PDFelement app on your desktop. Step 2: Select Convert PDF from the main interface and upload the PDF document from your local storage.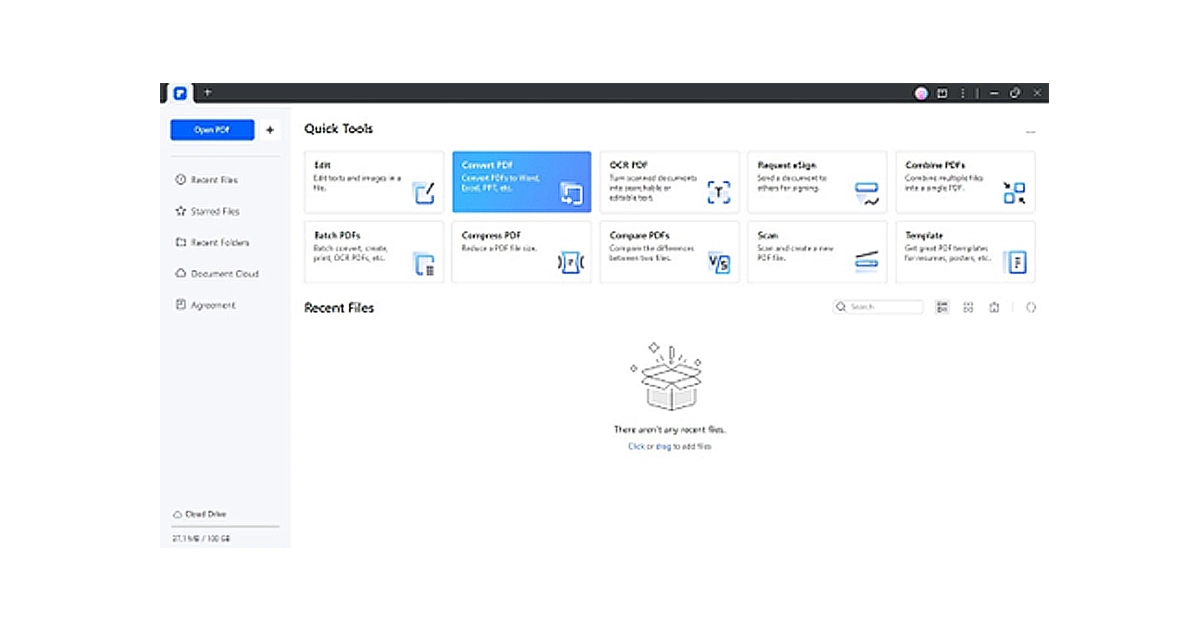 Step 3: A window will appear, allowing you to select the Output format from the dropdown list.
 Step 4: Click Settings and adjust the output settings, such as OCR Recognition, then click OK.
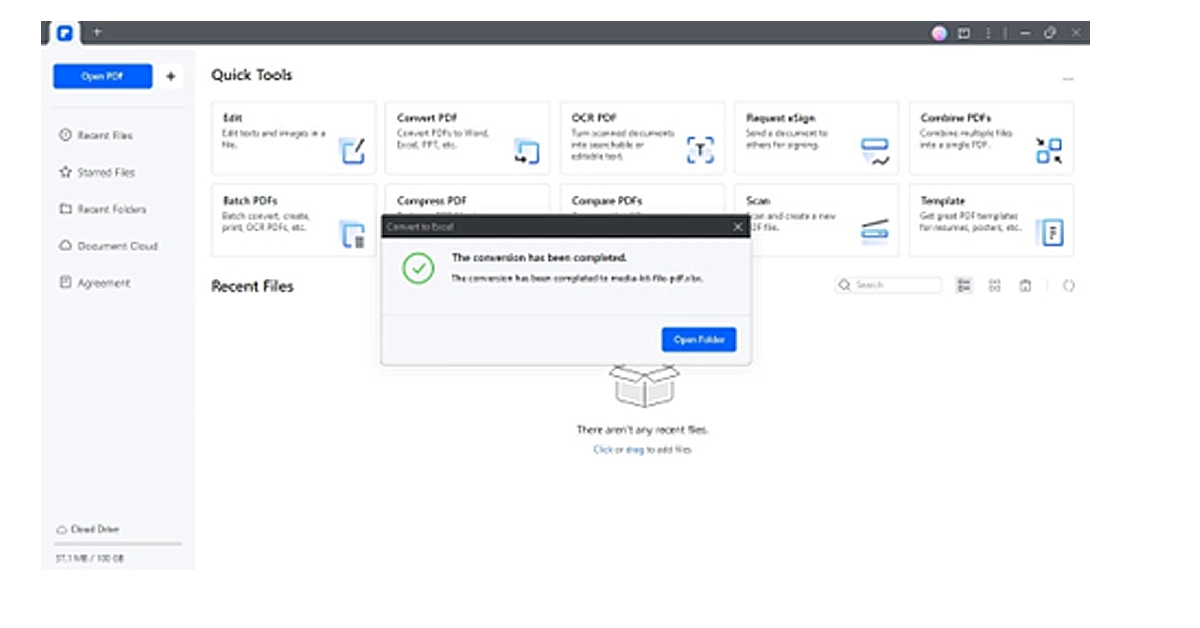
 Step 5: Specify the Output Folder, then click OK to continue. PDFelement will convert your PDF and display a message upon completion. You can then choose to open the converted document directly.
Advantages of Using a Desktop App To Convert a PDF
Desktop software like PDFelement offers several advantages over online PDF converters:- Offline Functionality: Work on your PDFs even without an internet connection. This is crucial for situations where you need to access or convert documents while traveling or in areas with limited internet access.
- Enhanced Security: Maintain complete control over your sensitive documents. Desktop software keeps your files on your local device, minimizing potential security risks.
- Faster Processing: Leverage your computer’s processing power for quicker conversions, especially for larger files. This translates to a more efficient workflow.
Part 2. How To Convert a PDF to Image Online for Free?
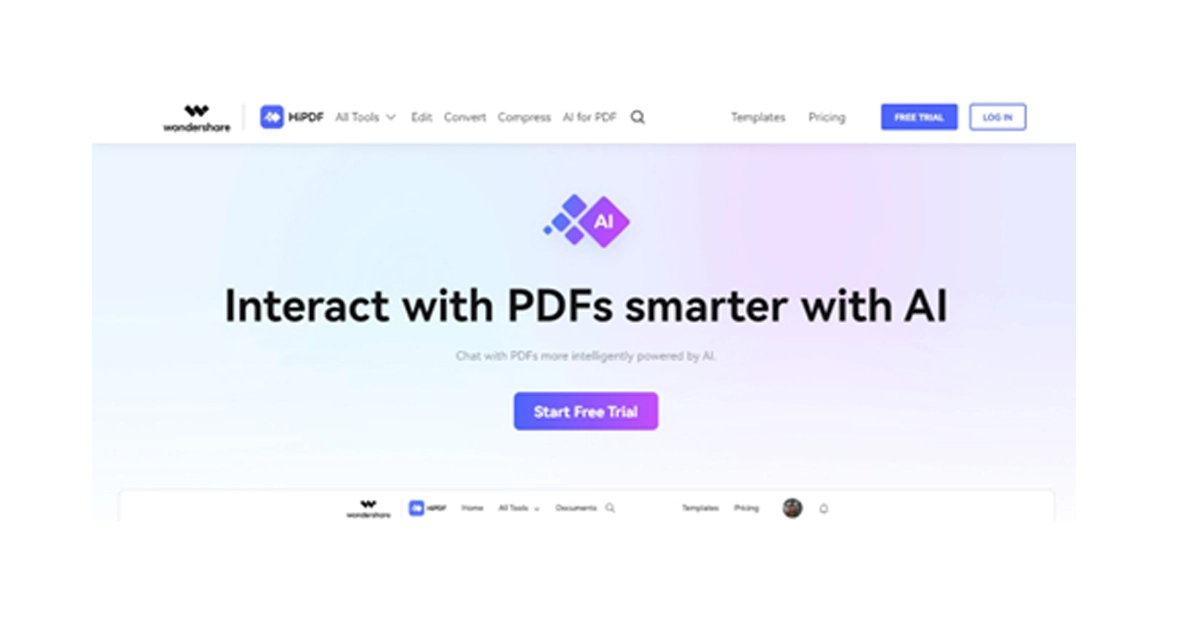 HiPDF offers a free, all-in-one AI-powered online PDF converter. It allows you to easily convert PDF files to Word, PowerPoint, Excel, JPG, RTF, and other formats. HiPDF works wonders on any device if you have a web browser. Mac, Windows, Linux – it doesn’t matter! And for those worried about security, HiPDF automatically deletes all uploaded files within 60 minutes after conversion.
4 Steps To Convert PDF Files to JPG Online
Follow these steps to convert PDF to Word for free using HiPDF: Step 1: Visit HiPDF online and select Convert on the upper navigation pane. Step 2: Scroll down and choose PDF to JPG in the Convert from PDF section.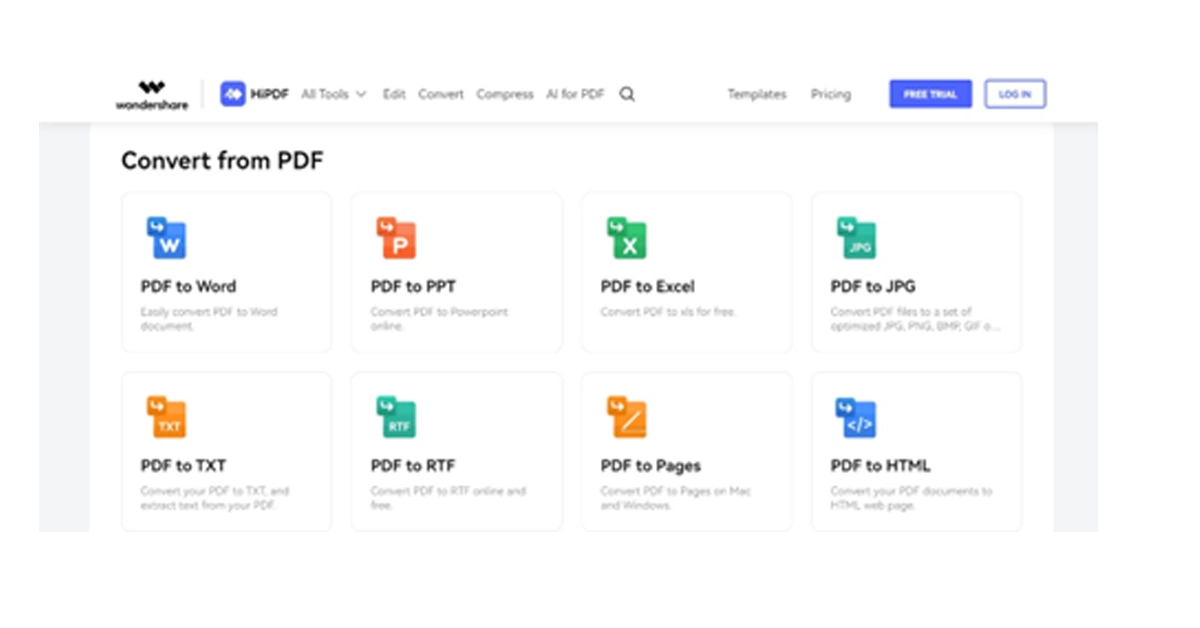 Step 3: Click Choose File and upload the PDF document from your device.
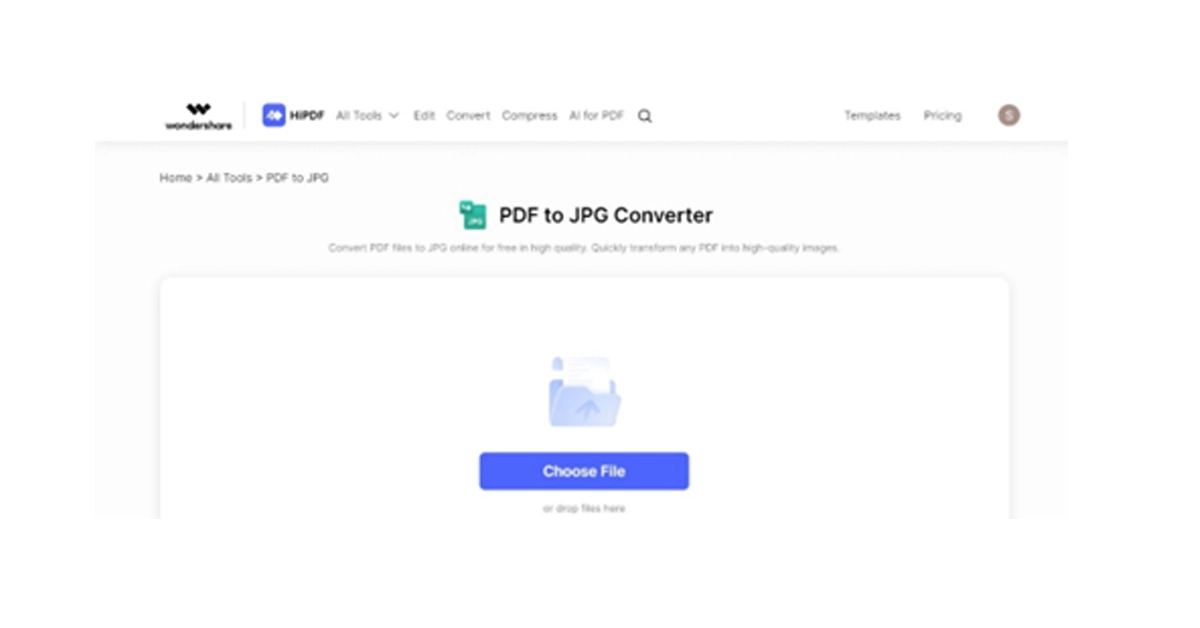 Step 4: Select the image format and click Convert on the lower right side. Download the converted image file.

")
 Step 3:
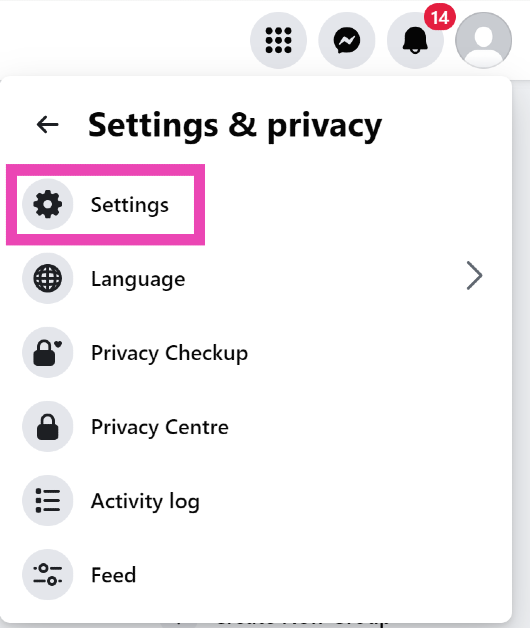 Step 4:
 Step 5:
 Step 6:
 Step 3:
 Step 4:
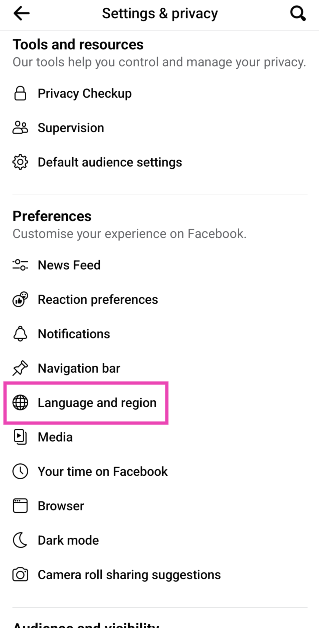 Step 5:
 Step 1:


 Step 3:
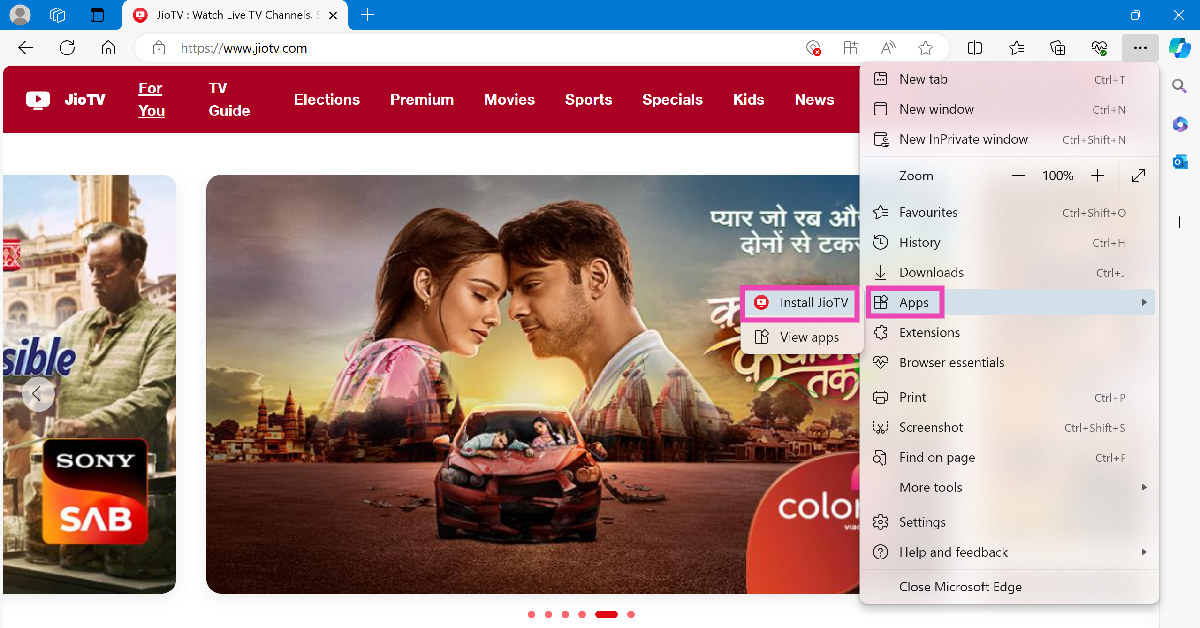 Step 4:
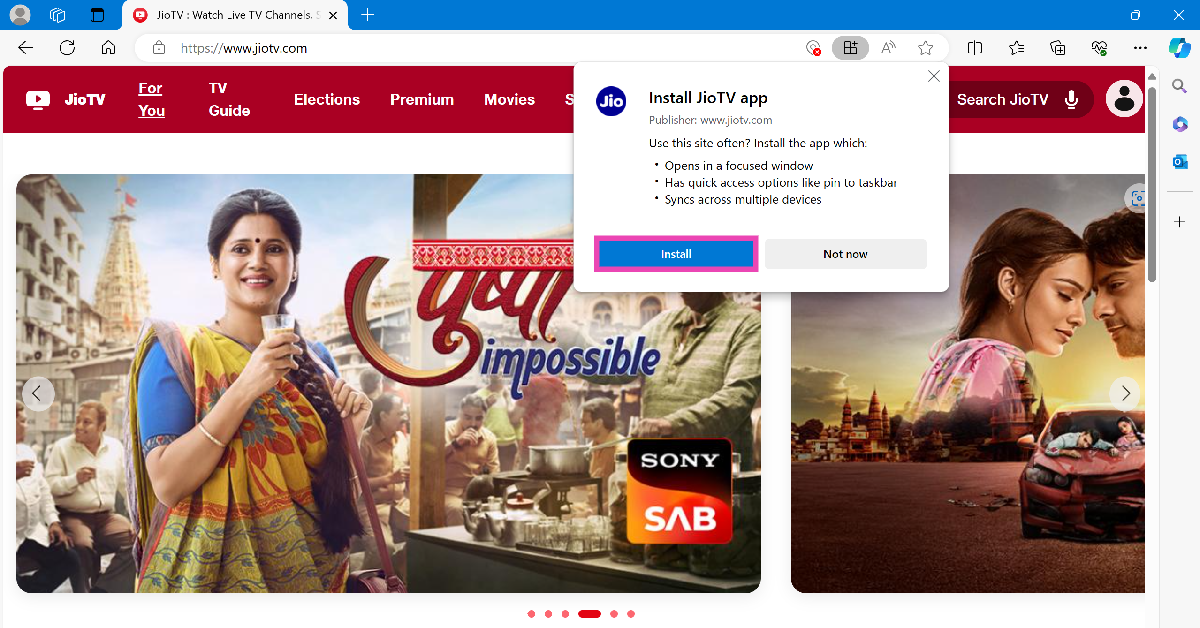 Step 5:
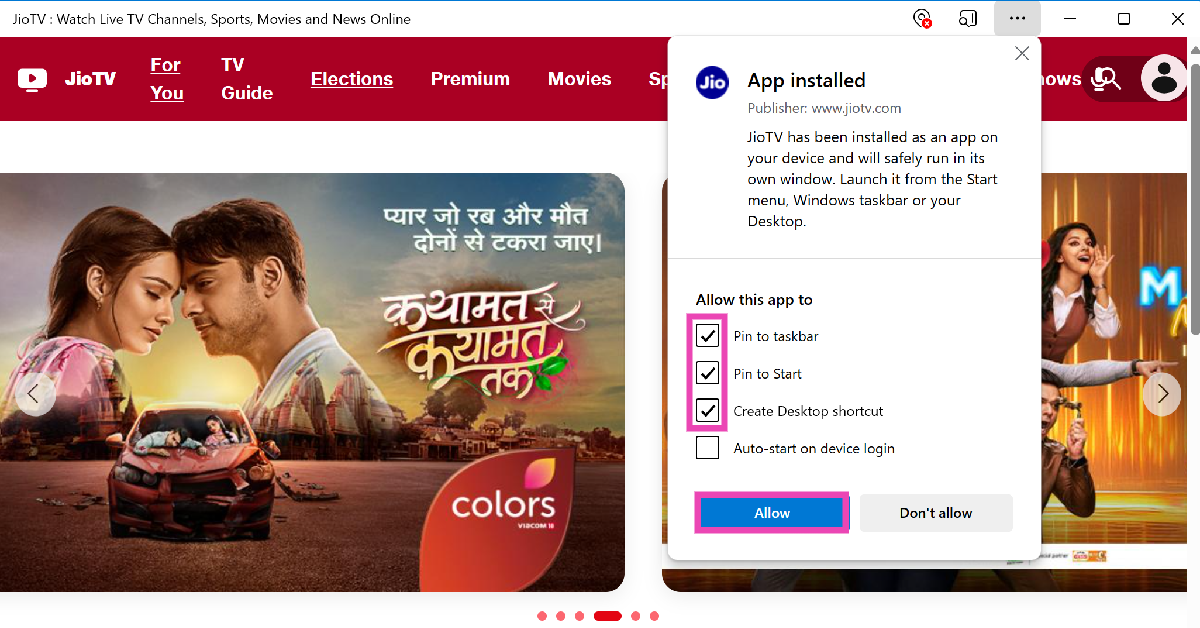
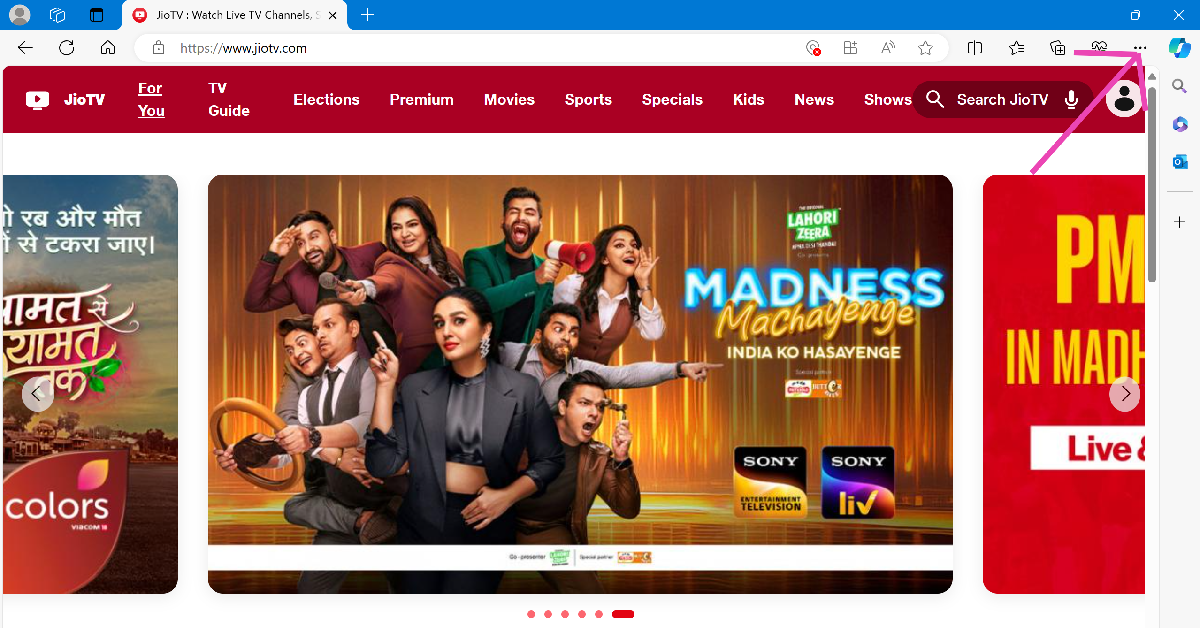
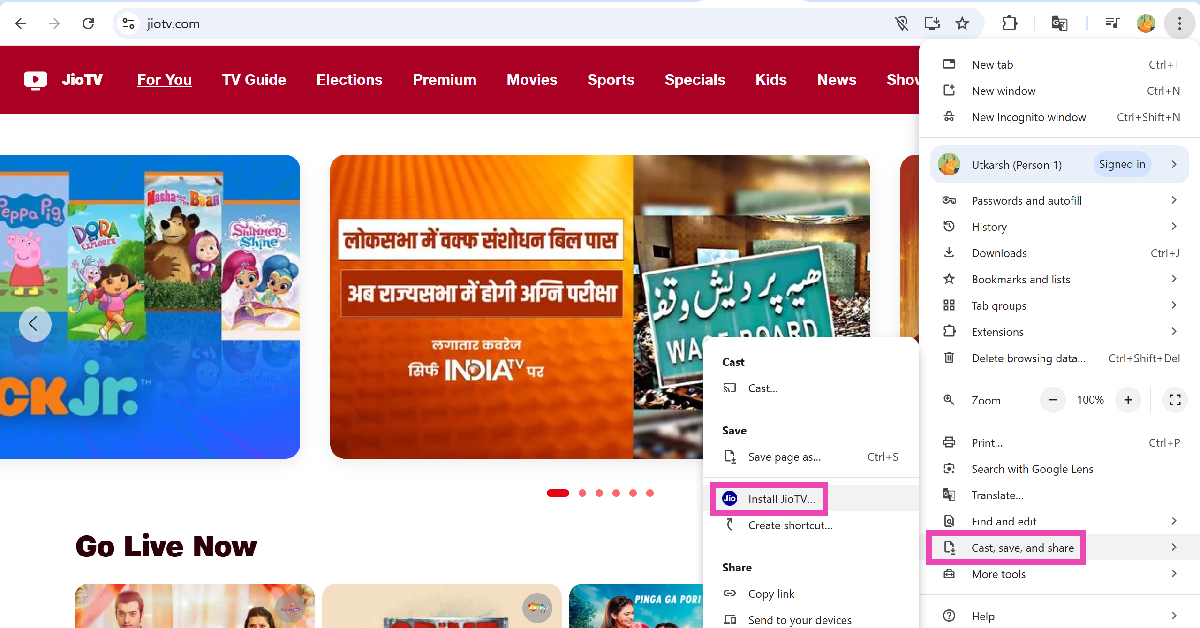
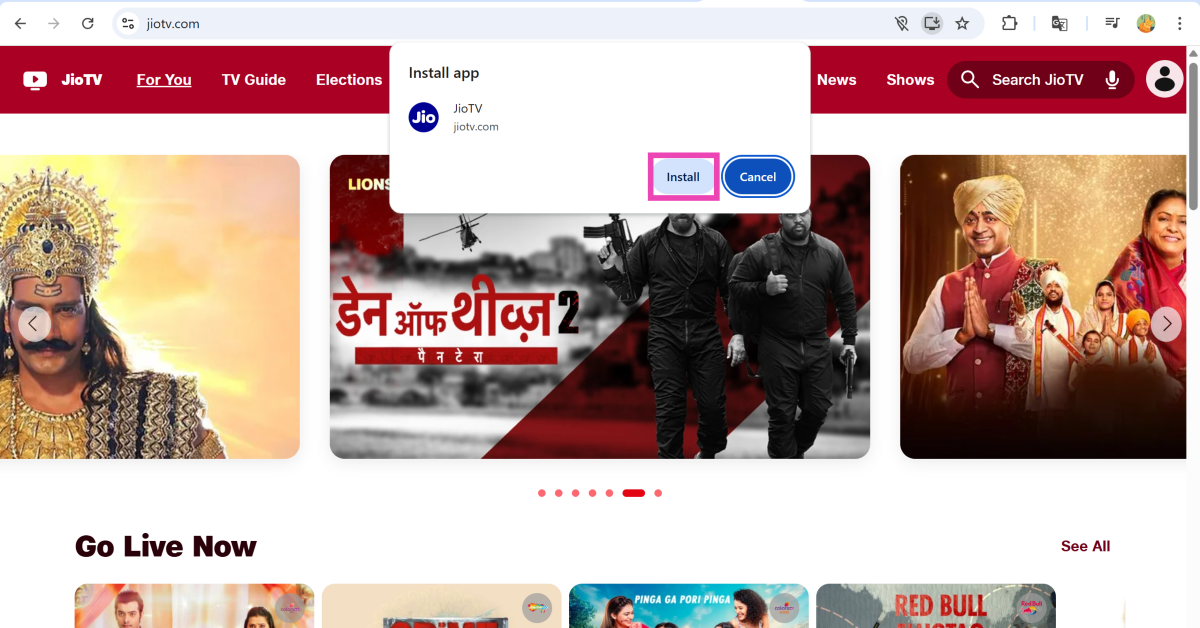
 Step 3: Go to Cast, save, and share and click on Install JioTV.
 Step 4: Hit Install.
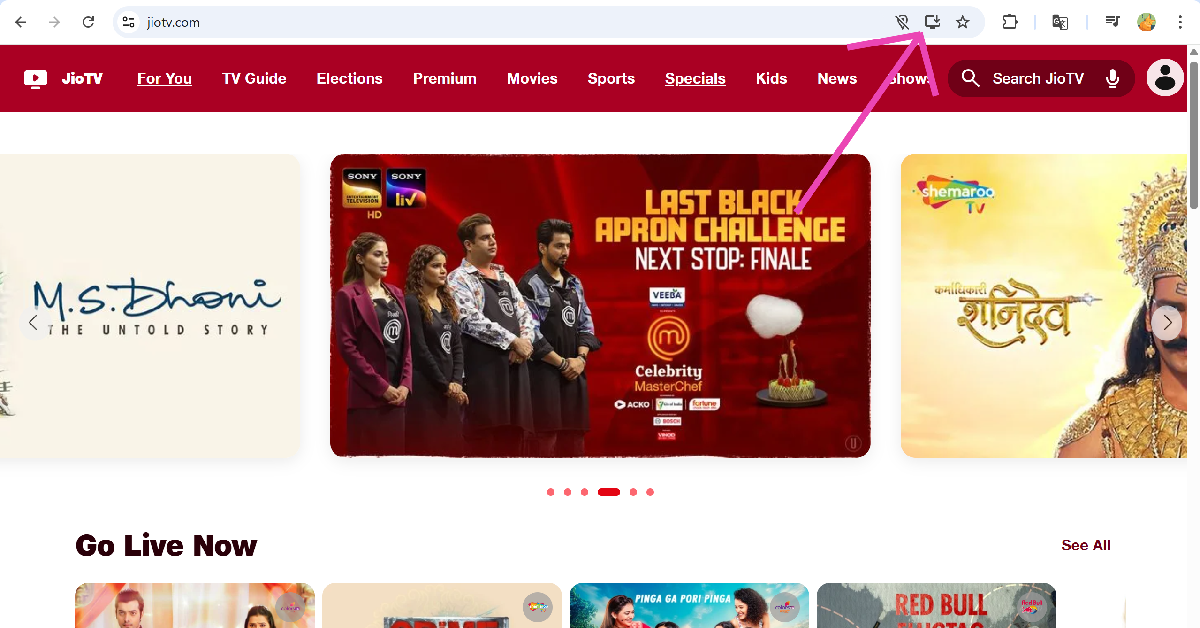 Step 3: Hit Install.
 Step 1:
")


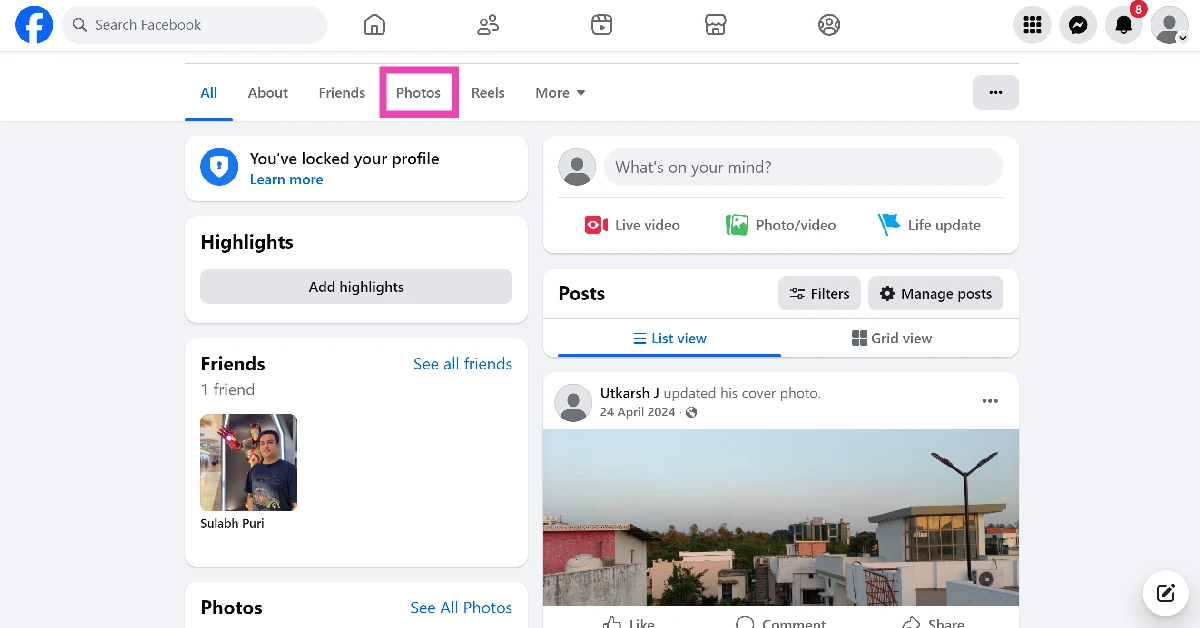
 Step 3:
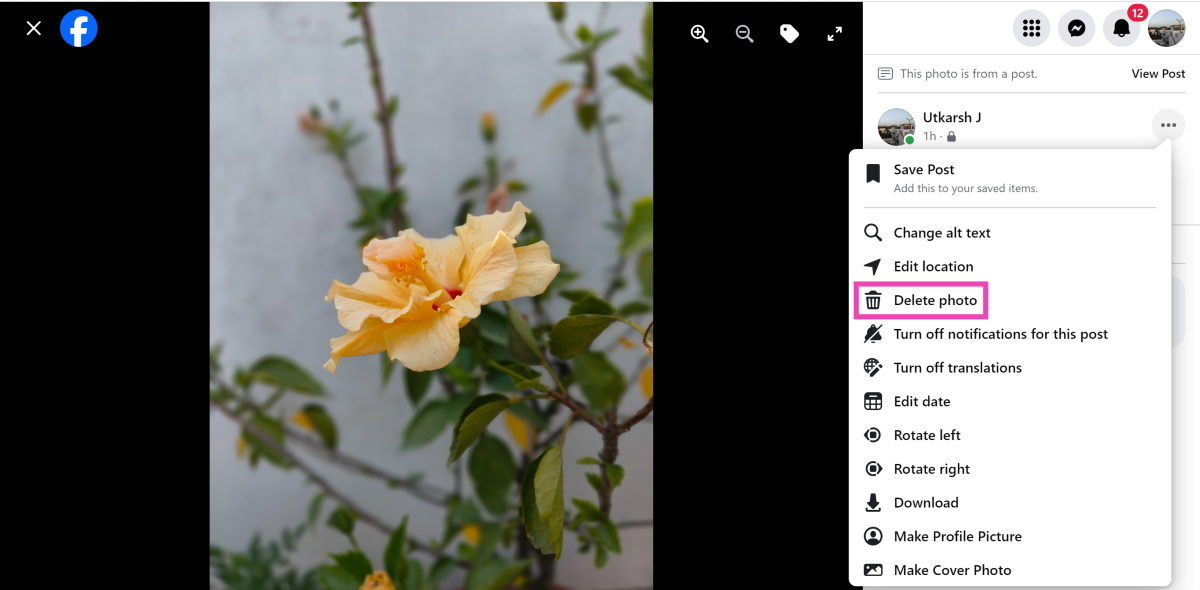
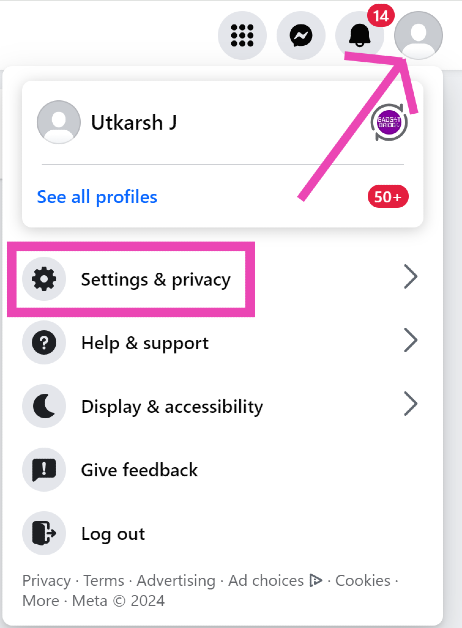
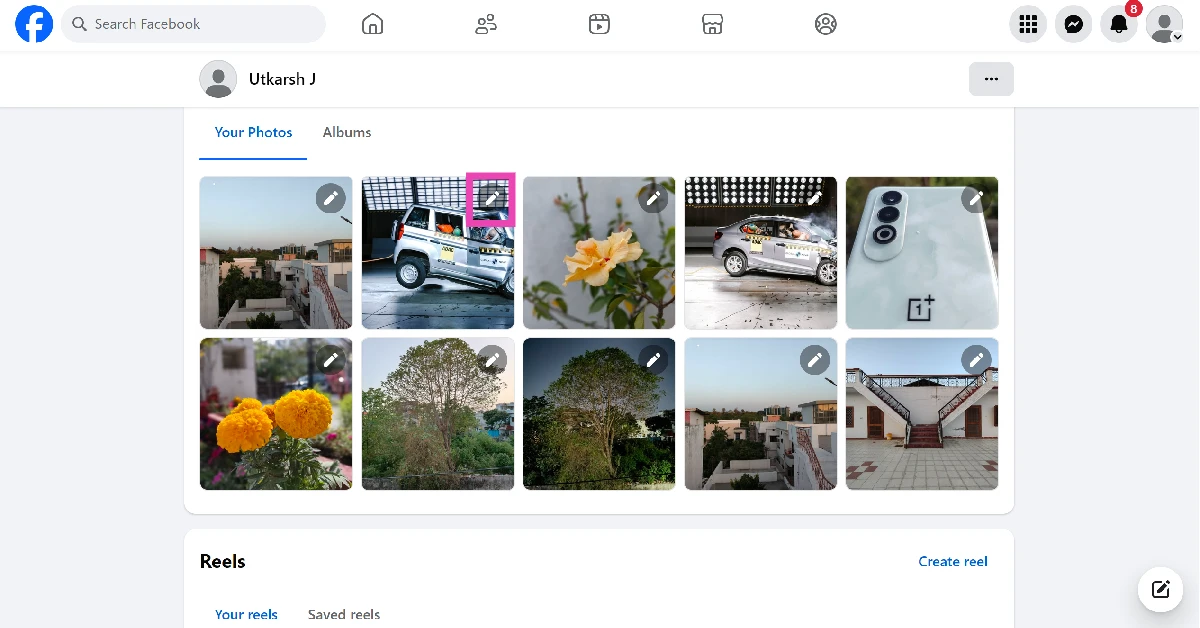
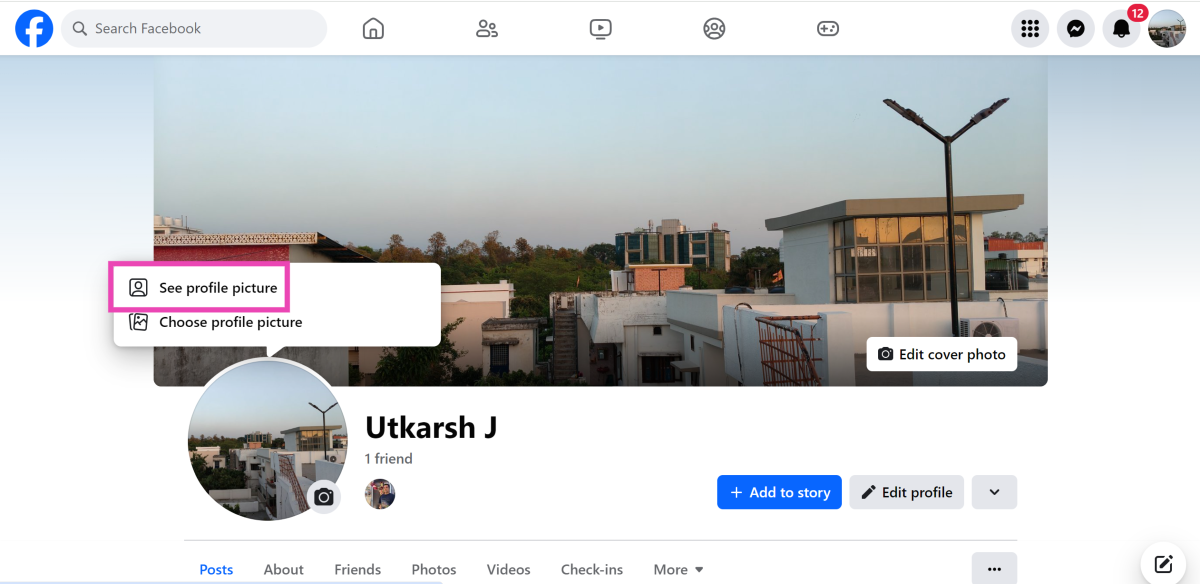
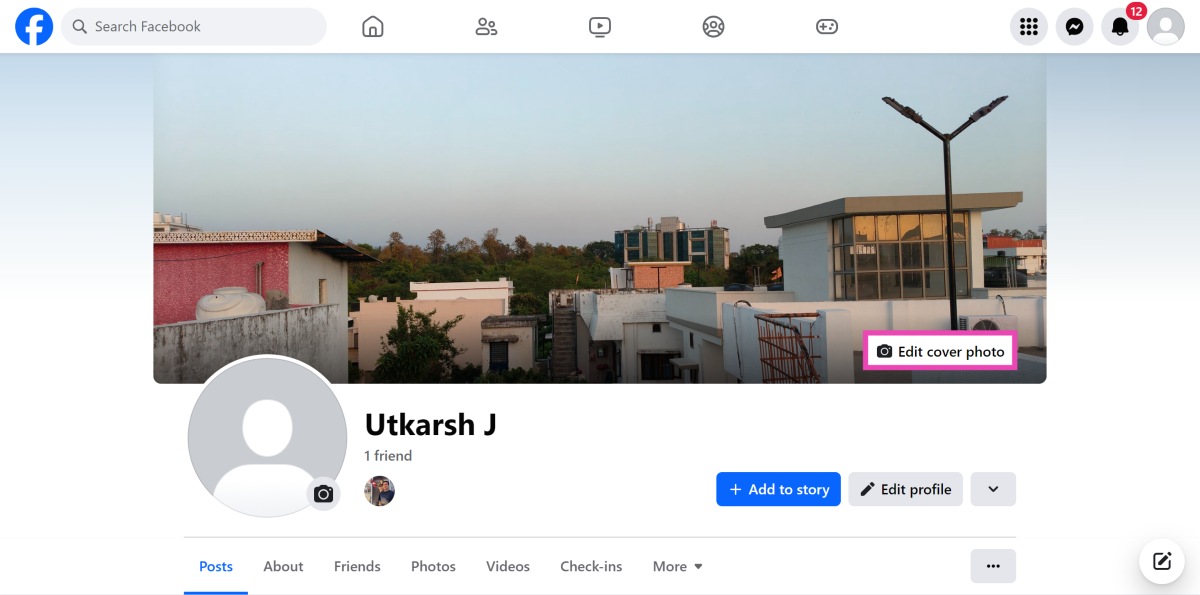
 Step 3: Scroll down and click the pencil icon on the photo you wish to delete.
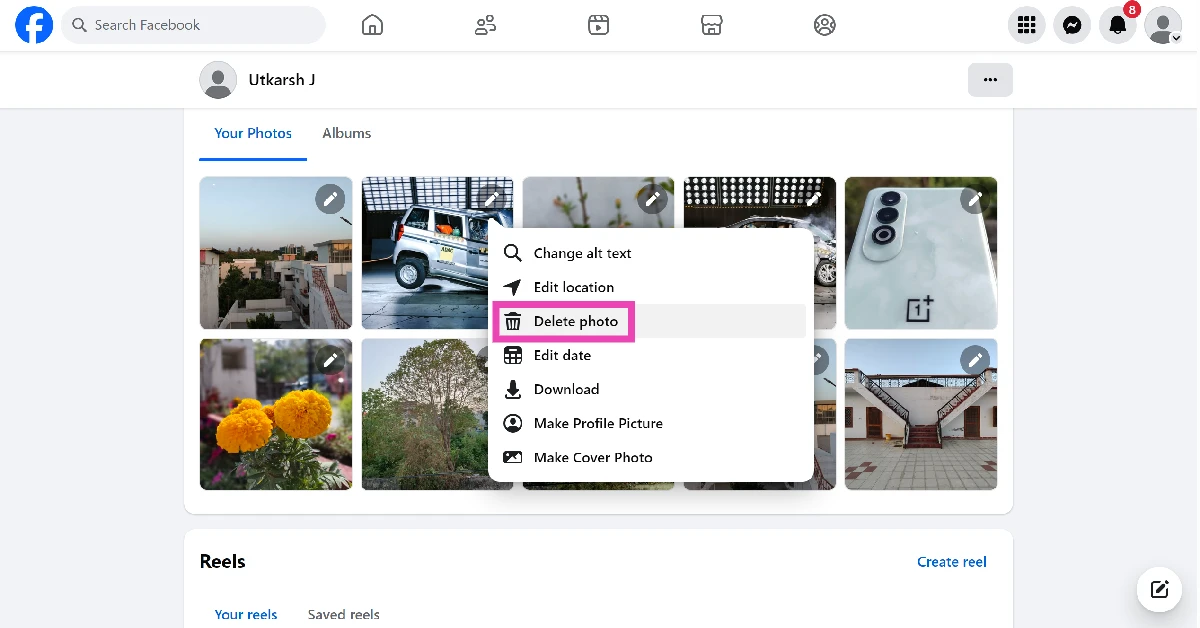
 Step 4: Click on Delete photo.
 Step 3:
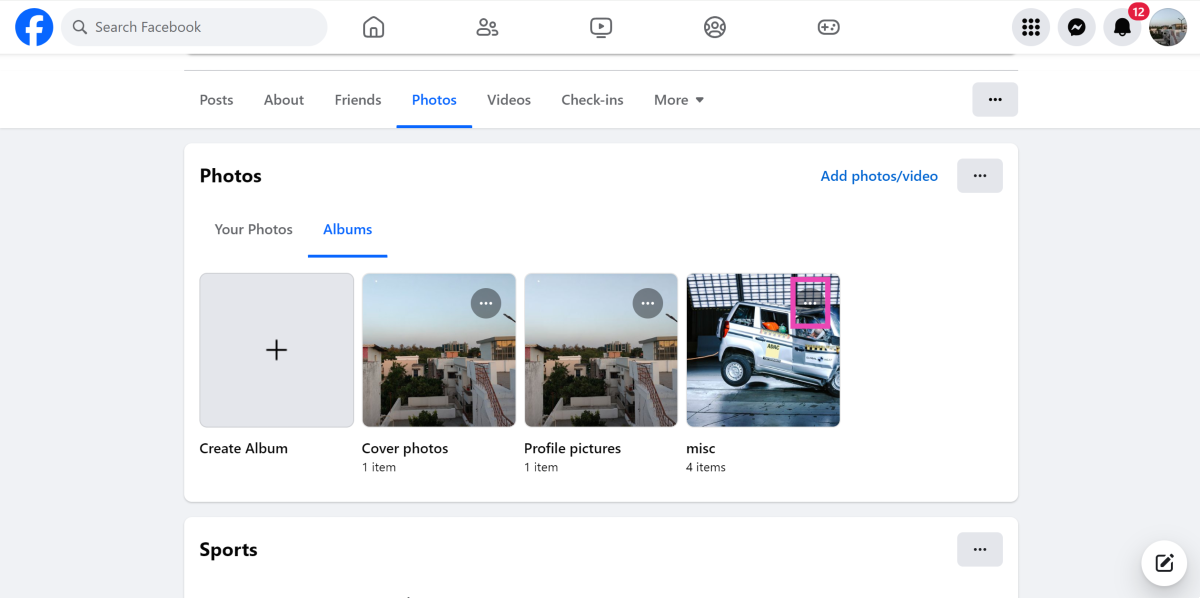 Step 4:
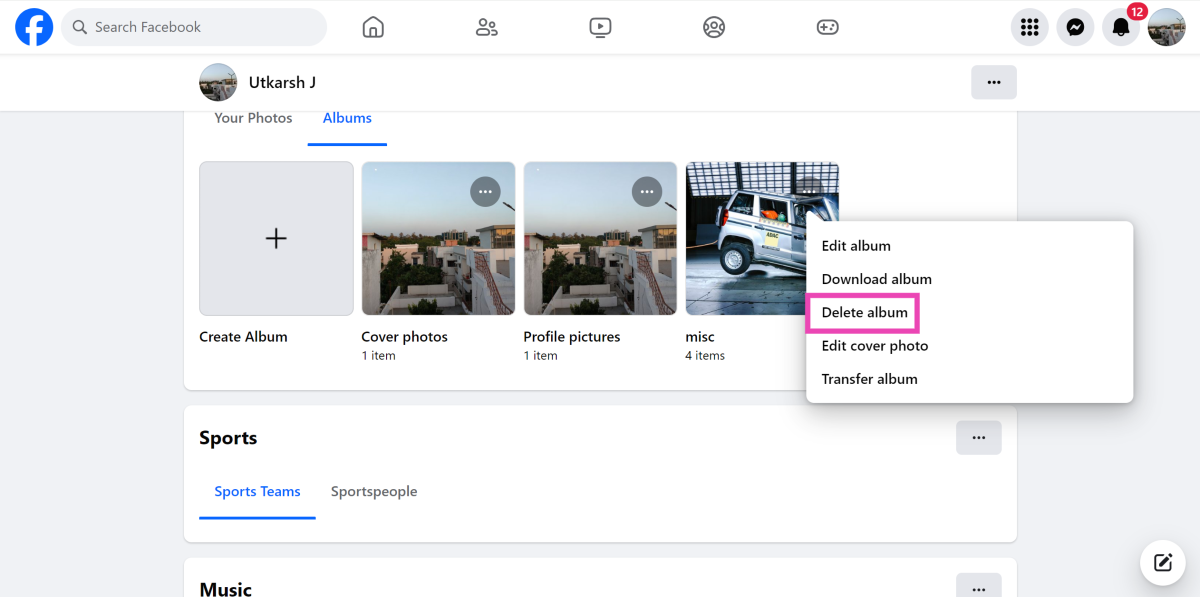 Step 5: Confirm
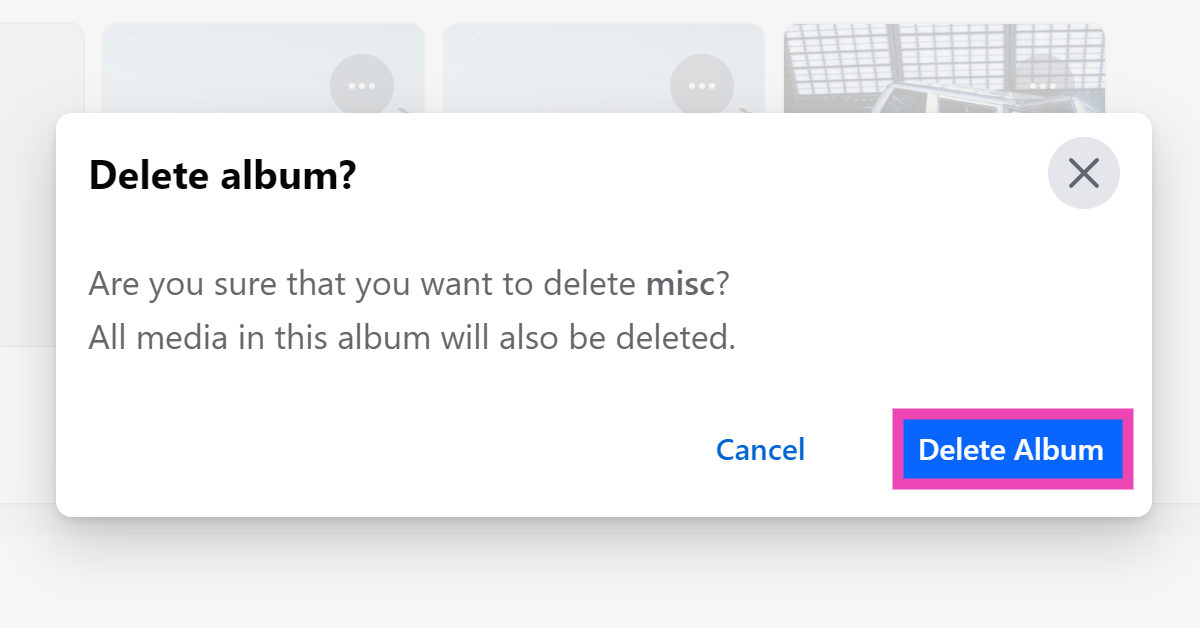
 Step 3:
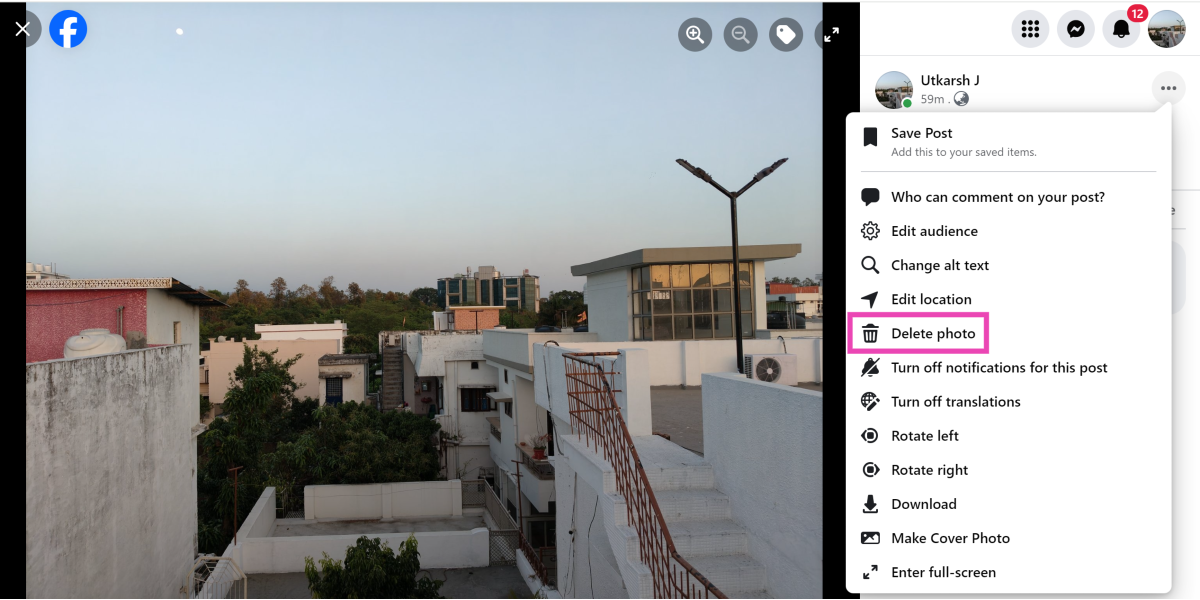
 Step 3:


")
 Step 2:
 Step 3:
 Step 3:
 Step 5:


 Also Read:


 Step 3:
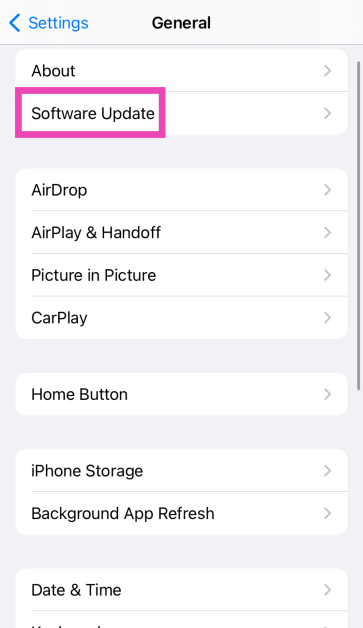 Step 4:
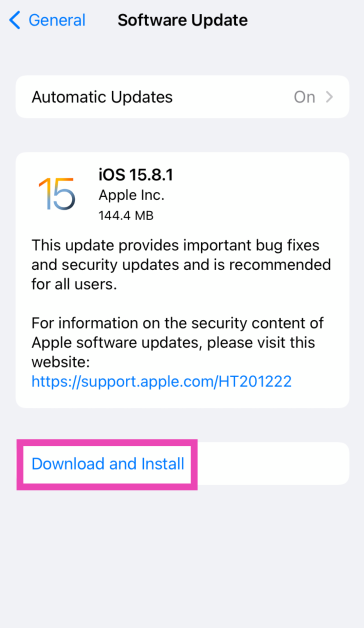

 If you suspect that your AirPods are not going into pairing mode due to hardware damage, try connecting another pair of AirPods to your iPhone. If they connect seamlessly, your iPhone is not at fault. Take your AirPods to an authorised service centre to get them fixed.
 To confirm whether the fault lies with your iPhone, connect your AirPods to another smartphone. If you don’t witness any pairing or connection issues, then your iPhone is to blame. You can try resetting your iPhone to fix this issue. If a factory reset isn’t able to restore normalcy, you will need to take your iPhone to an authorised service centre for further diagnosis.
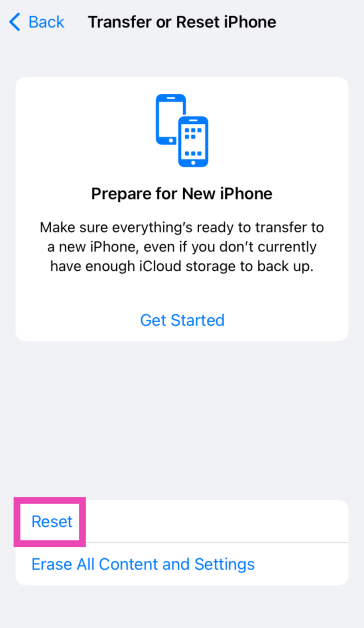
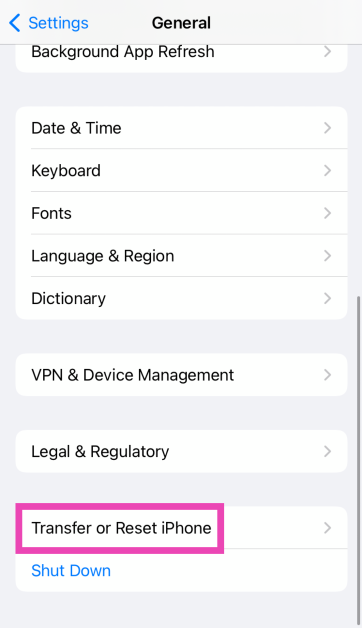 Step 3: Hit Reset.
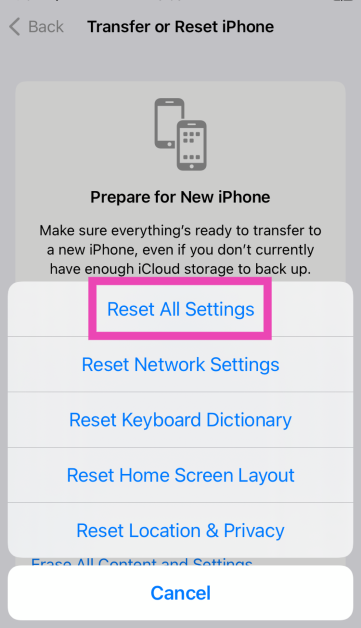
 Step 4: Select Reset All Settings.


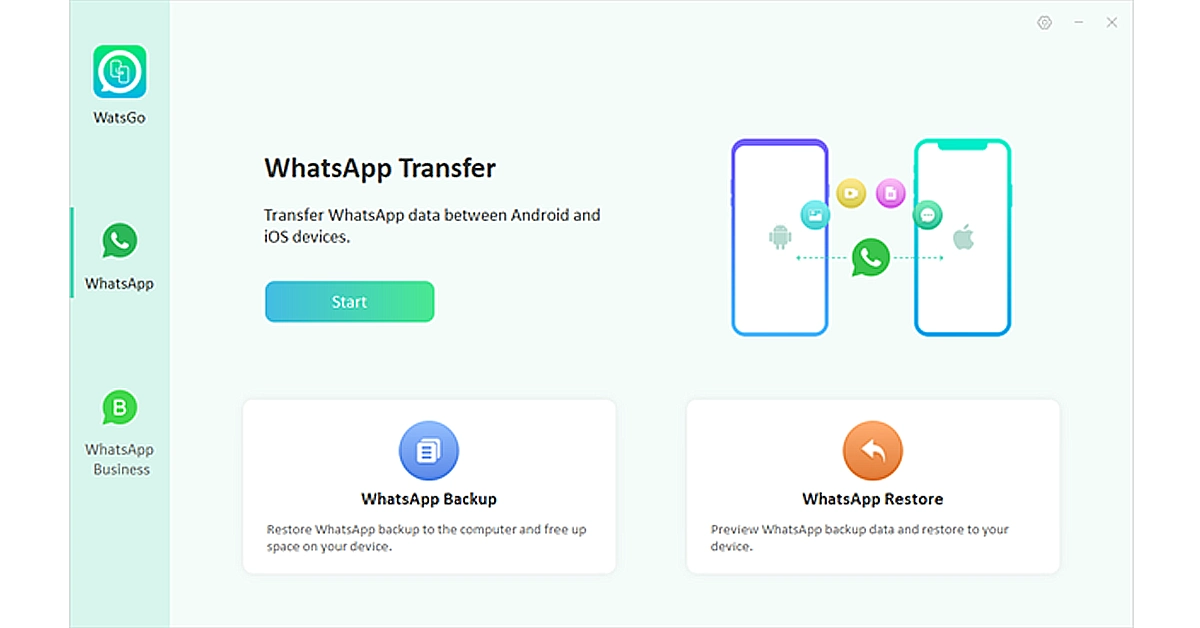 Step 2. Connect both your Android device and iPhone to your computer using USB cables. Once you’ve selected the transfer option, the tool will start scanning both devices for WhatsApp data. After scanning, it will display the WhatsApp data found on your Android device.
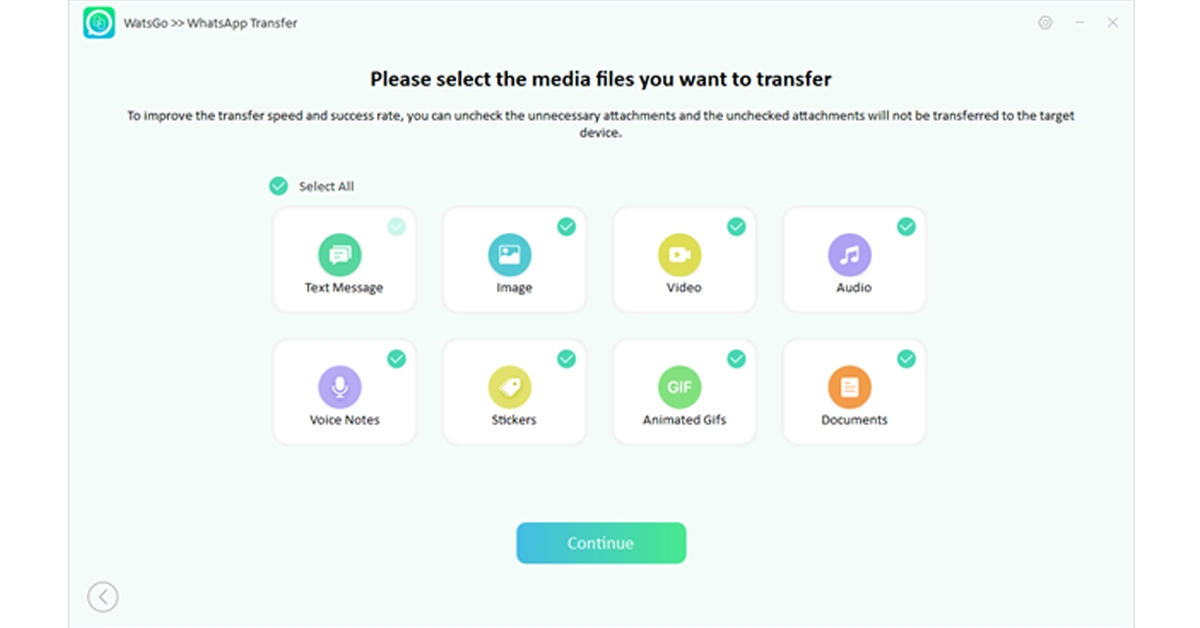
 Step 3. Choose the data that you want to transfer and turn on the encrypted backup option. You can check the instructions on the screen.
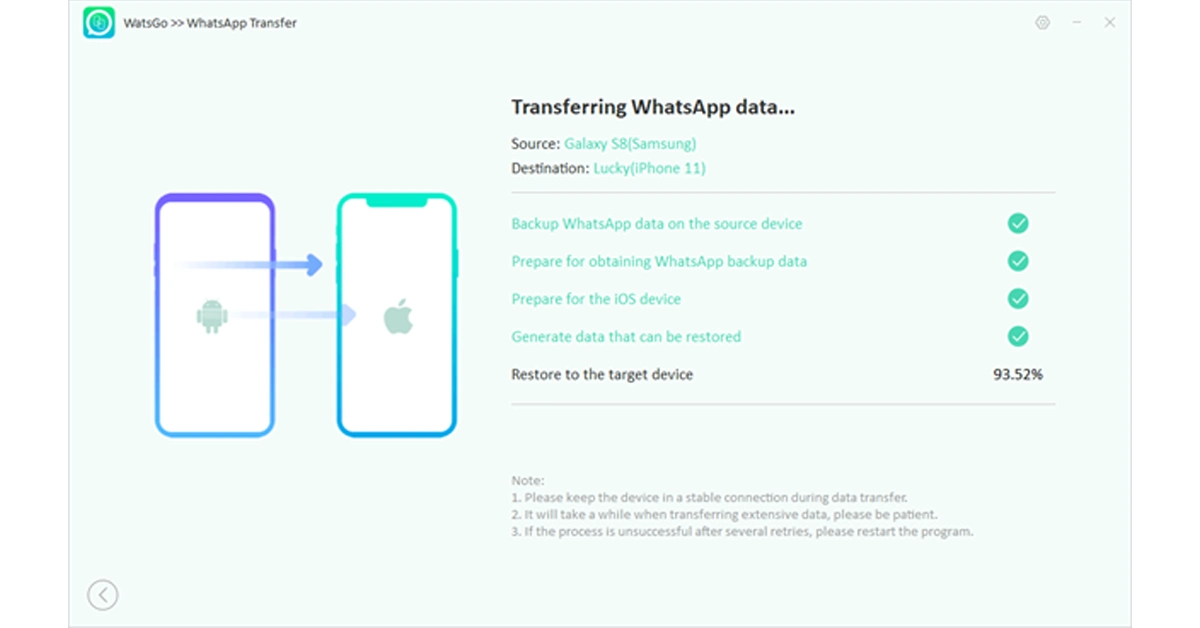
 Step 4. Open your iPhone device and verify your new WhatsApp account. iToolab Watsgo will then begin transferring the selected WhatsApp data from your Android device to your iPhone. The transfer process may take some time, depending on the amount of data being transferred.
 Step 5. Soon, you should be able to see all the transferred conversations, media, and attachments on your new iPhone.


 Let’s explore some of the best gadgets on the market that elevate the online VR gaming experience to new heights.
")

 Step 5:
 Step 6:


")
 Step 2:
 Step 3:
 Step 4:
 Step 5: Tap the screen
 Step 7: