Key highlights
- Google will delete accounts that have been inactive for two years.
- The company introduced this policy in June of this year.
- It will send notifications to users before taking any action.
Finally, Google will take action against inactive Gmail accounts. According to an update to its inactivity policy, it will delete your
Google account and everything in it if it has been inactive or if you have not logged in for at least two years.
As we said, everything
connected to your Google account, so content from your Gmail, Google Photos, Meet, Calendar, Docs, Drive, as well as
YouTube, will be permanently destroyed and cannot be recovered later on. So if you have not used your Google account till now, then it is a matter to be noted because you will lose all your data because your account will be considered inactive.
Note that this is applicable for individuals whose
personal account has been untouched for at least two years to send or receive mail and use other services attached to the account. But if your employer, college, institution, or school has created your account, then you do not need to worry because this does not apply to you.
Also Read: WhatsApp introduced Protect IP Address for calls: Here is how it works
Also,
Google will first drop the bar on accounts that have never been used or untouched. But before it makes this big move, it will notify the users several times. Google will also take into account any existing subscriptions you may have set up through your Google Account, for example, to
Google One, a news publication, or an app. In this case, your account will be counted as active, so it will remain unaffected. Also, Google will not destroy accounts with YouTube videos at this time.
Well, now you might be wondering why Google is going to do this. On this, Google said that “if an account hasn’t been used for an extended period of time, it is more likely to be compromised. This is because forgotten or unattended accounts often rely on old or re-used passwords that may have been compromised, haven’t had
two-factor authentication set up, and receive fewer security checks by the user. Our internal analysis shows abandoned accounts are at least 10x less likely than active accounts to have 2-step verification set up. Meaning, these accounts are often vulnerable, and once an account is compromised, it can be used for anything from identity theft to a vector for unwanted or even malicious content, like spam.”
How to avoid Google from deleting your account?
- Reading or sending an email
- Using Google Drive
- Watching a YouTube video
- Downloading an app on the Google Play Store
- Using Google Search
- Using Google Sign-in to sign in to a third-party app or service


 We’re in the early stages of our work and will continue to evolve our approach as we learn more. Here’s a look at what YouTube will roll out over the coming months and into the new year.”
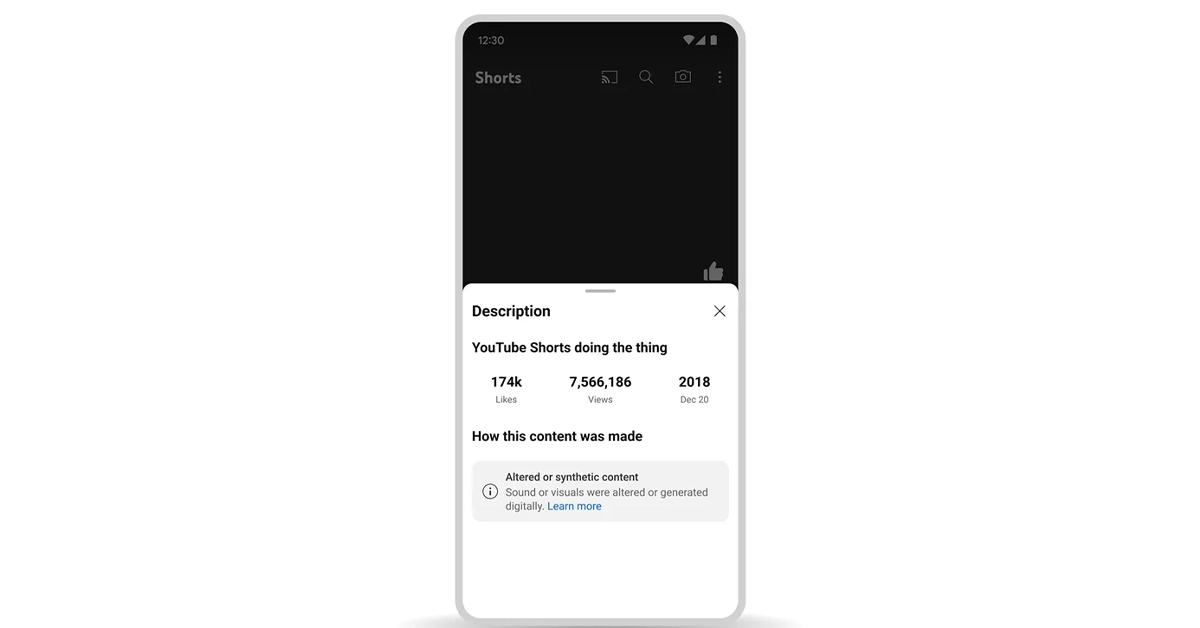
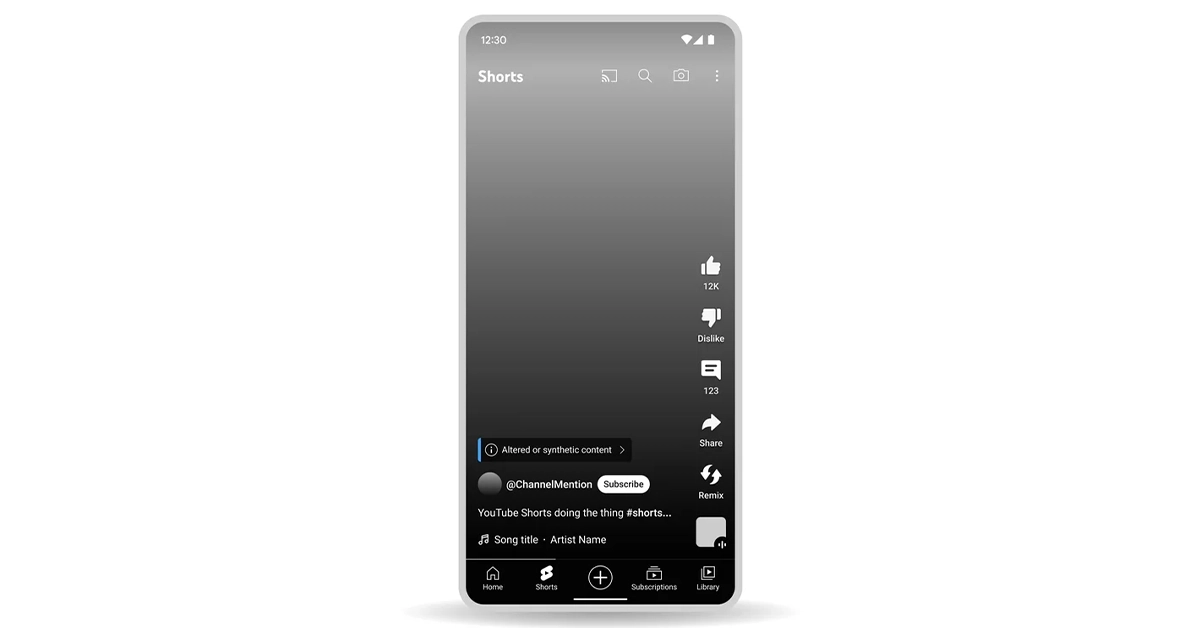
The technically manipulated content generated by AI could endanger viewers or mislead them if they don’t know that the video has been edited or is artificially produced. To address this concern, over the coming months, YouTube will begin informing viewers when the content they’re seeing is synthetic. YouTube will as the content creators notify users when they have used artificial intelligence (AI) tools to produce altered or synthetic content. The company will add new options for creators to select when uploading content, allowing them to flag content that includes realistic altered or synthetic material.
Note that content creators who choose not to disclose this information may be subject to content removal, suspension from the YouTube Partner Program, or other penalties.
YouTube will inform viewers that the content may be altered or synthetic in two ways:
We’re in the early stages of our work and will continue to evolve our approach as we learn more. Here’s a look at what YouTube will roll out over the coming months and into the new year.”
The technically manipulated content generated by AI could endanger viewers or mislead them if they don’t know that the video has been edited or is artificially produced. To address this concern, over the coming months, YouTube will begin informing viewers when the content they’re seeing is synthetic. YouTube will as the content creators notify users when they have used artificial intelligence (AI) tools to produce altered or synthetic content. The company will add new options for creators to select when uploading content, allowing them to flag content that includes realistic altered or synthetic material.
Note that content creators who choose not to disclose this information may be subject to content removal, suspension from the YouTube Partner Program, or other penalties.
YouTube will inform viewers that the content may be altered or synthetic in two ways:
 “We’ve heard continuous feedback from our community, including creators, viewers, and artists, about the ways in which emerging technologies could impact them. This is especially true in cases where someone’s face or voice could be digitally generated without their permission or to misrepresent their points of view,” YouTube said.
Soon it would be possible to request the removal of AI-generated or other synthetic or altered content that simulates an identifiable individual, including their face or voice, using our privacy request process.
As per YouTube not all content will be removed from YouTube it considers a variety of factors when evaluating these requests. In addition to this music partners can also request the removal of AI-generated music content that mimics an artist’s unique singing or rapping voice. Labels or distributors representing artists participating in YouTube’s early AI music experiments will be able to request these removals.
“We’ve heard continuous feedback from our community, including creators, viewers, and artists, about the ways in which emerging technologies could impact them. This is especially true in cases where someone’s face or voice could be digitally generated without their permission or to misrepresent their points of view,” YouTube said.
Soon it would be possible to request the removal of AI-generated or other synthetic or altered content that simulates an identifiable individual, including their face or voice, using our privacy request process.
As per YouTube not all content will be removed from YouTube it considers a variety of factors when evaluating these requests. In addition to this music partners can also request the removal of AI-generated music content that mimics an artist’s unique singing or rapping voice. Labels or distributors representing artists participating in YouTube’s early AI music experiments will be able to request these removals. 


 Step 2:
 Step 3:
 Step 4:
 Step 5:
 Step 2:
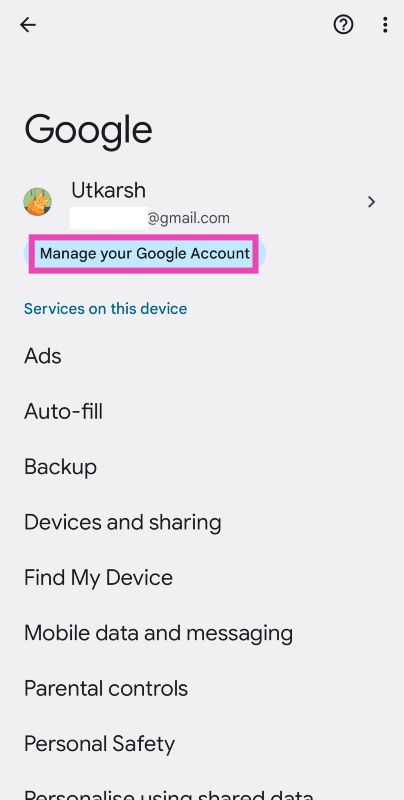 Step 3:
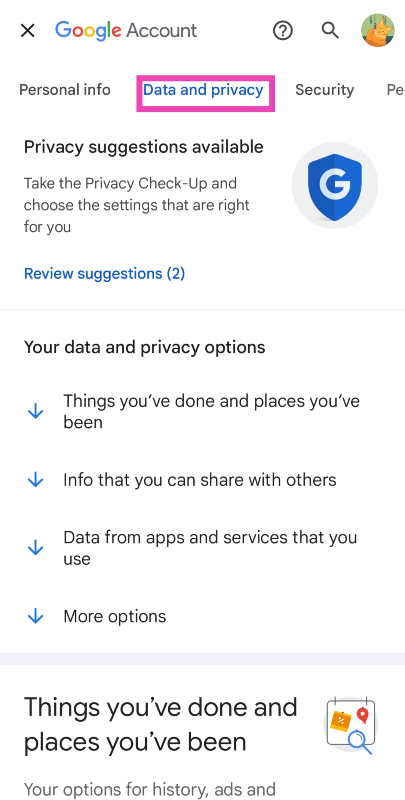 Step 4:
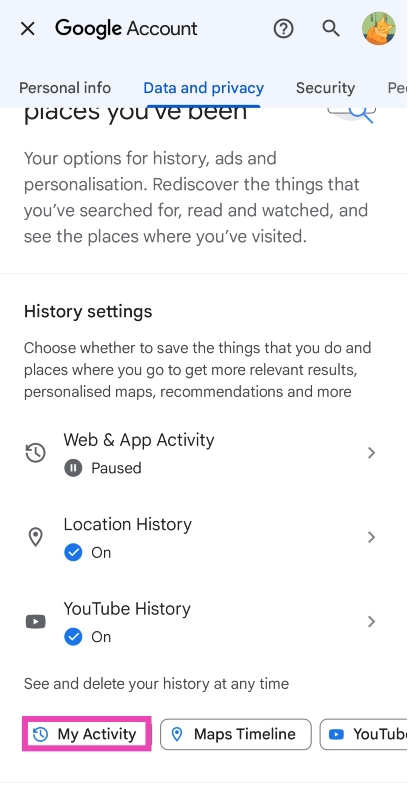
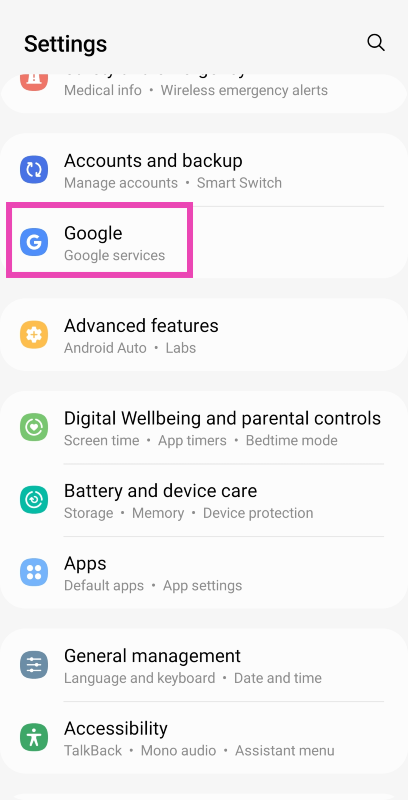
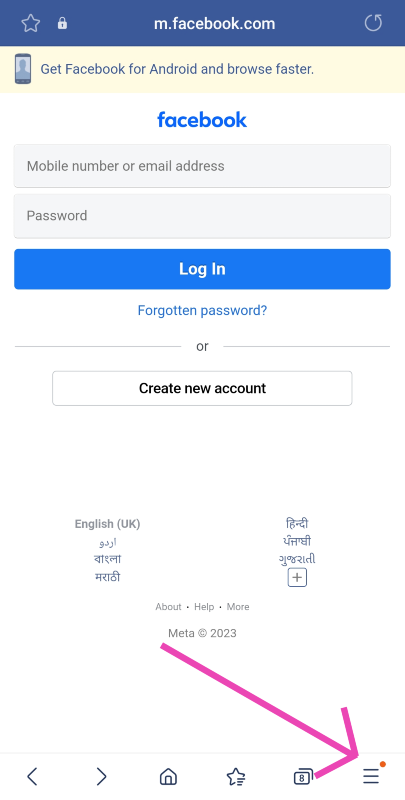
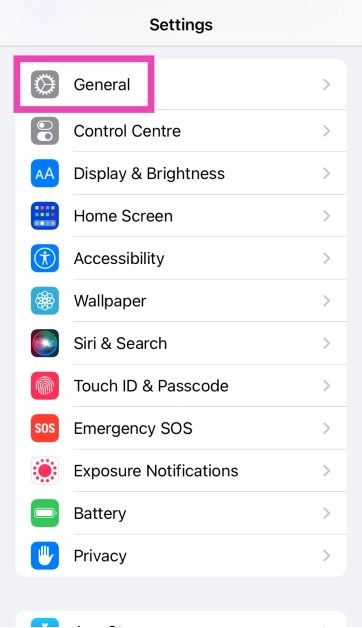
 Step 1:

 Step 4:
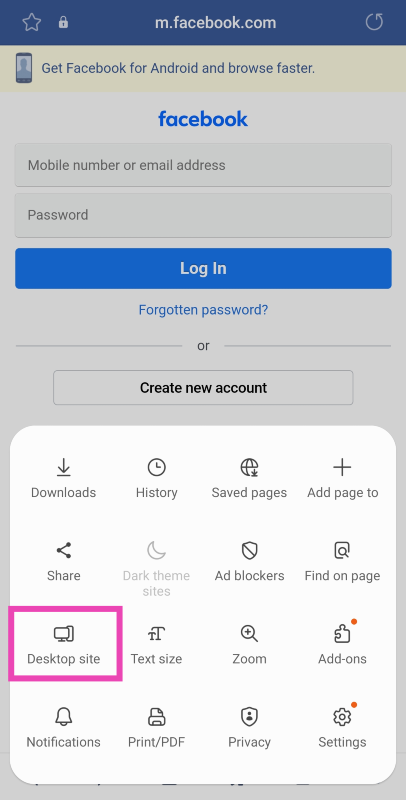
 Step 4:
 Step 4:
")
 Step 2:
 Step 3:
 Step 4:
 Step 5:
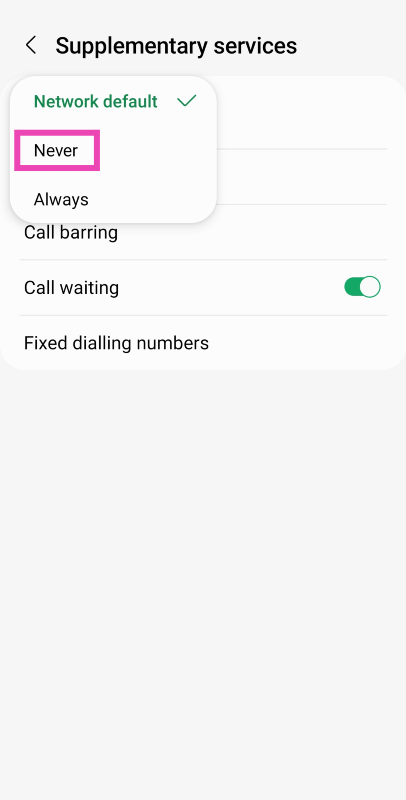
 Step 2:
 Step 3:
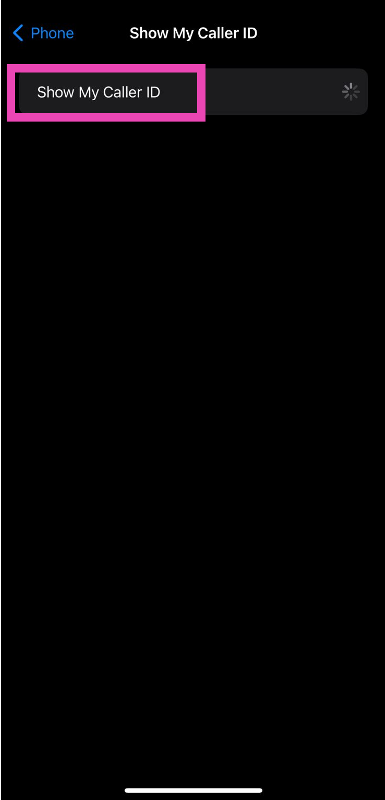


 Step 2:
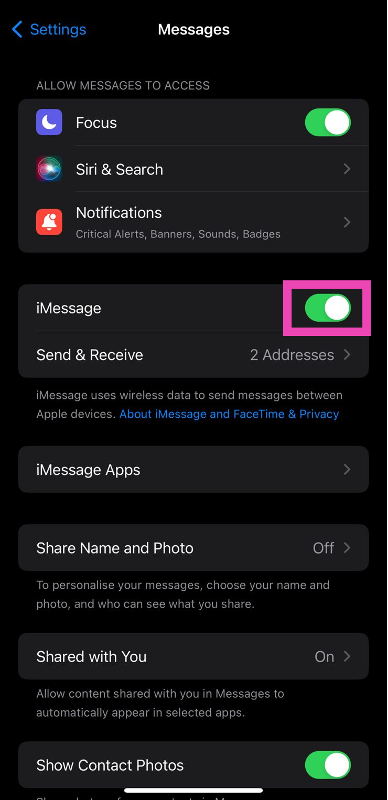 Step 3:
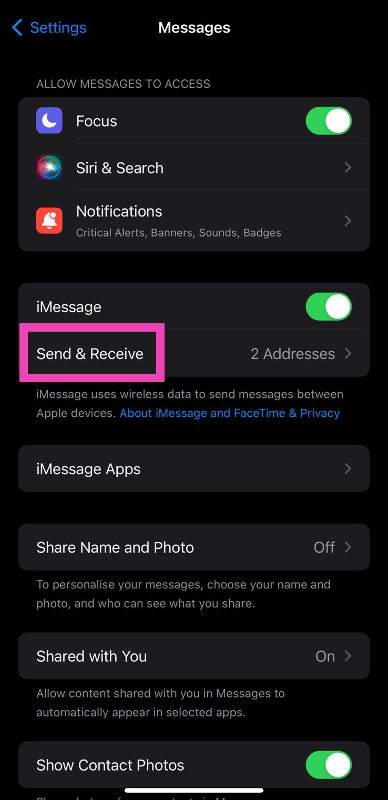 Step 3:
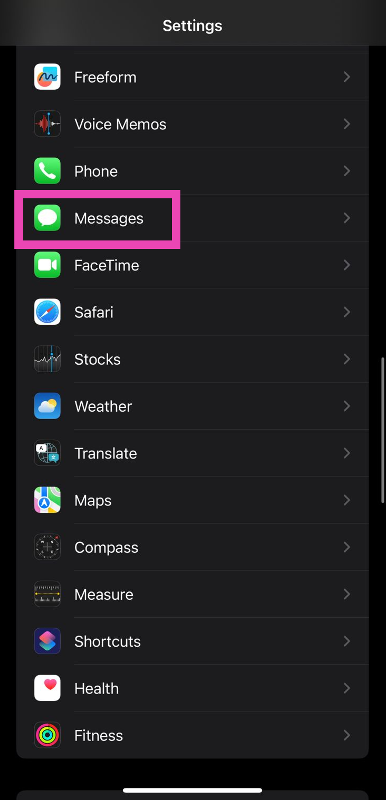
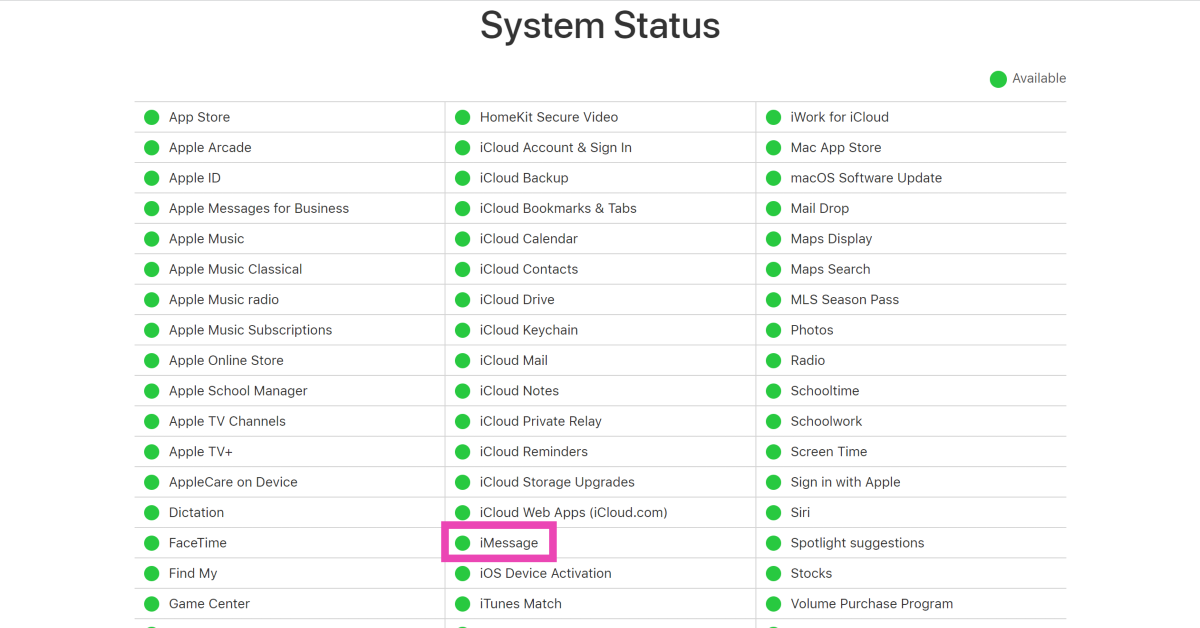
 The lack of a strong internet connection may prompt iMessage to display that you are not signed into your account. This typically happens when your iPhone has not had access to the internet for a long time. Refresh your phone’s mobile data or connect to a WiFi network to resolve this issue.
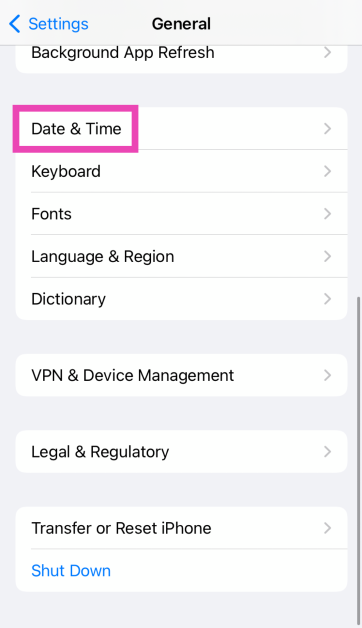
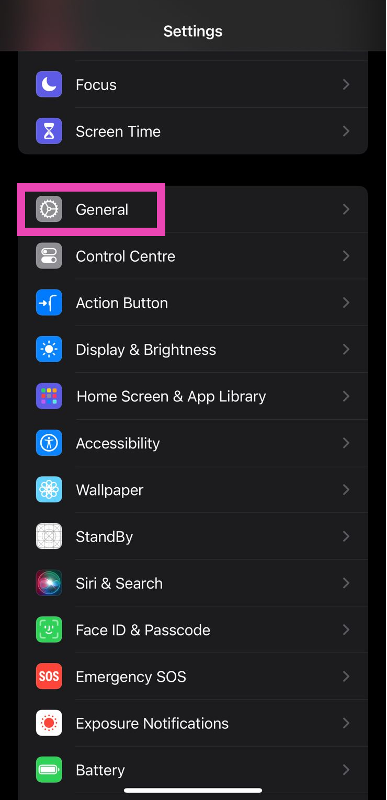
 Step 2: Tap on Date & Time.
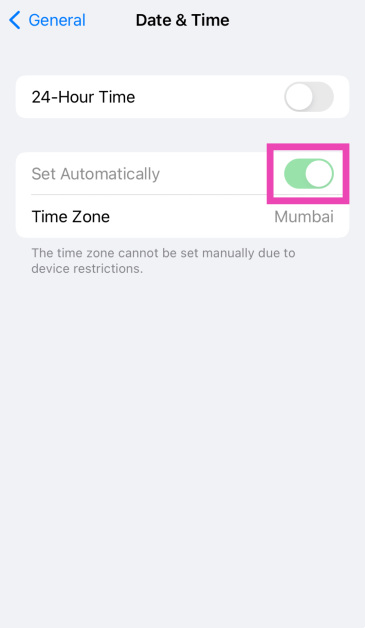
 Step 3: Turn on the toggle switch next to Set Automatically.
 VPN apps and services are known to cause issues with iMessage. iMessage requires certain network ports to function properly on your iPhone. A VPN can block these ports, rendering iMessage useless. If you’re connected to a VPN server, disconnect right away and refresh the iMessage app.
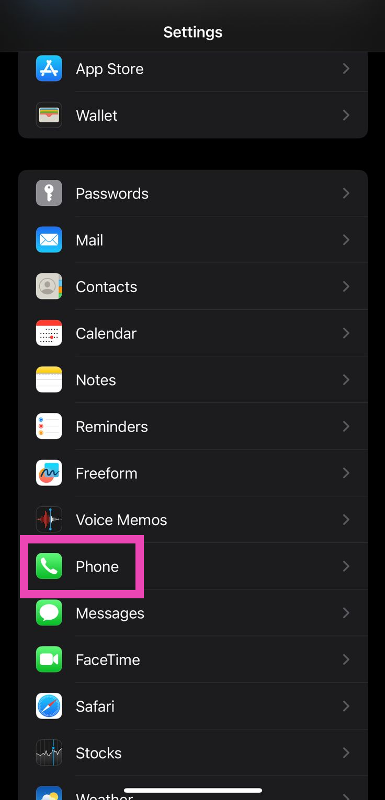
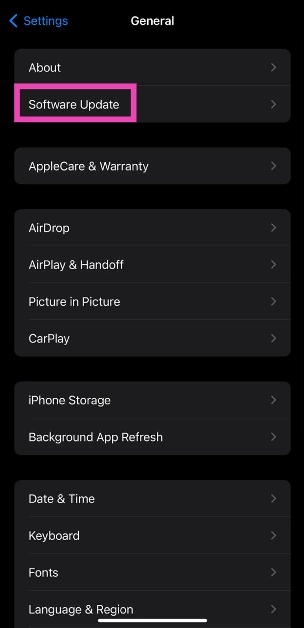
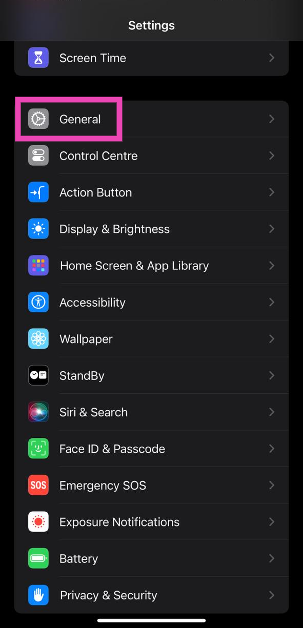 Step 2: Tap on Software Update.
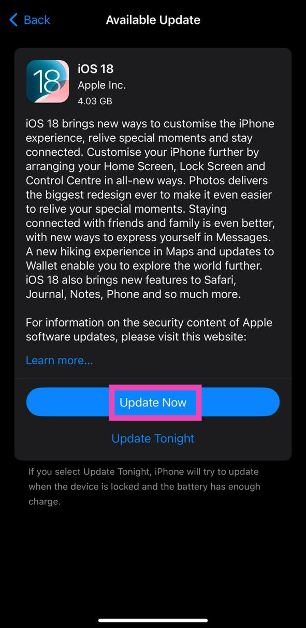
 Step 3: Hit Update Now.
 Step 2:
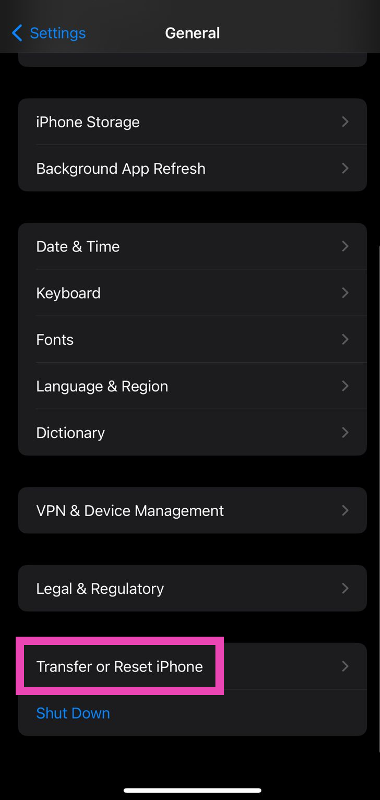 Step 3:
 Step 4:
 Step 5:


 Step 3:
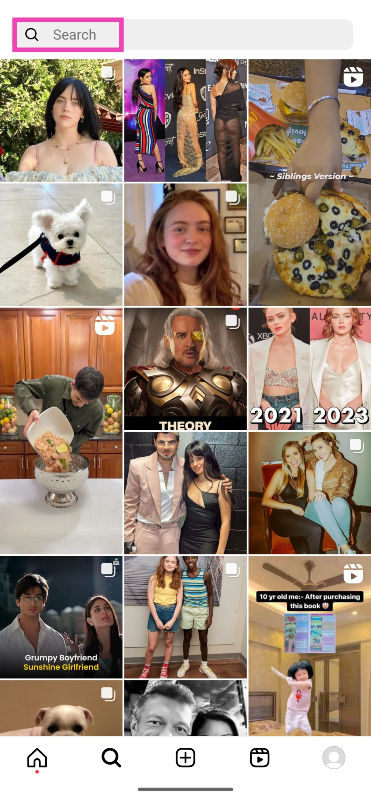 Step 4:
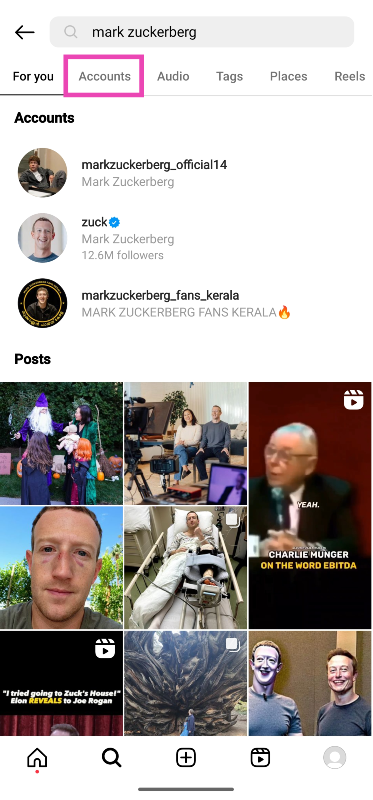 Step 5:
 Step 4:
  Step 5:
 Step 6:
 Step 7:
 Step 8:
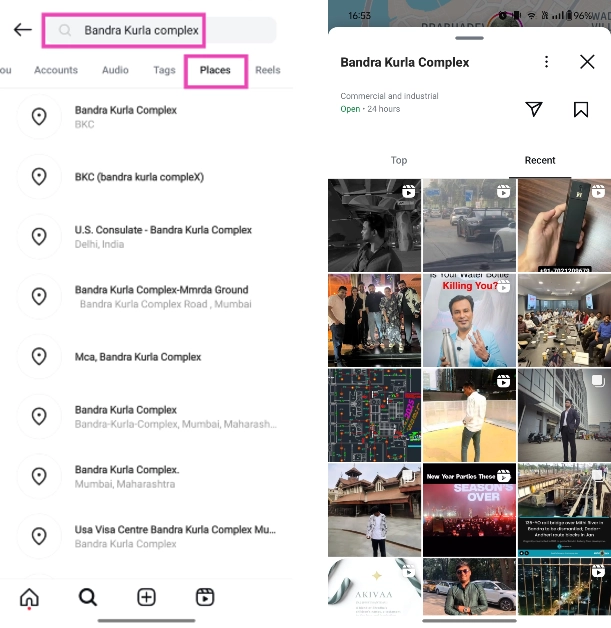 If the person you’re trying to find visited a town, cafe, restaurant, or bar recently, you can look up the place on Instagram and sort through the posts. The user tagged the place, their post will show up in the feed. Go to the search tab and enter the place’s name in the text bar at the top of the screen. Switch to the places tab and select the exact location from the list. Go through the posts to find the person you’re looking for.


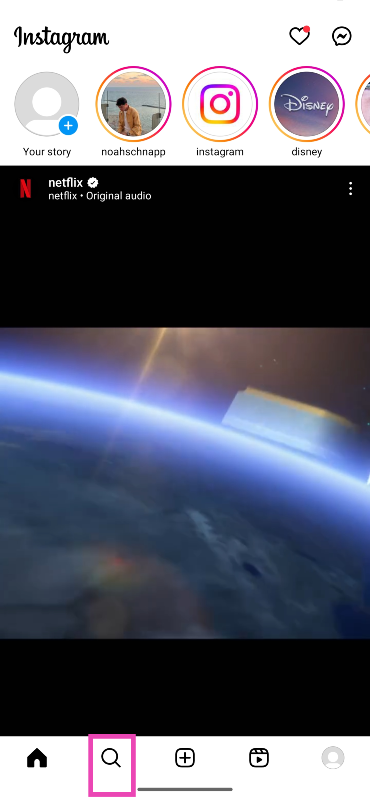
 Step 3:
 Step 3:
 Step 3:
 Step 3:

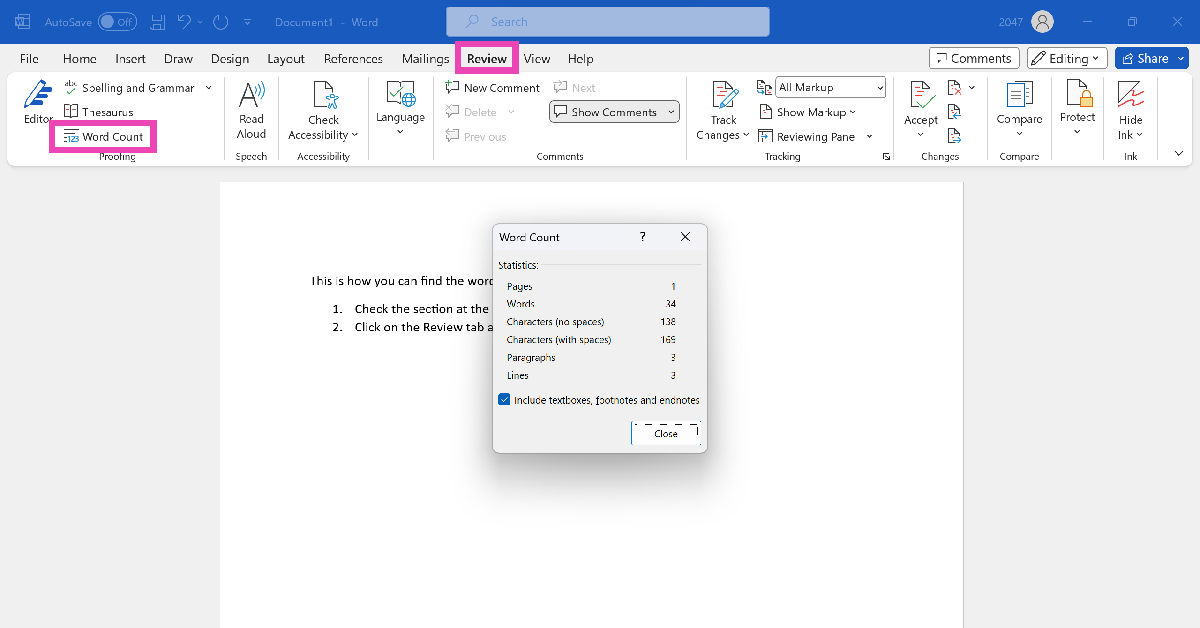
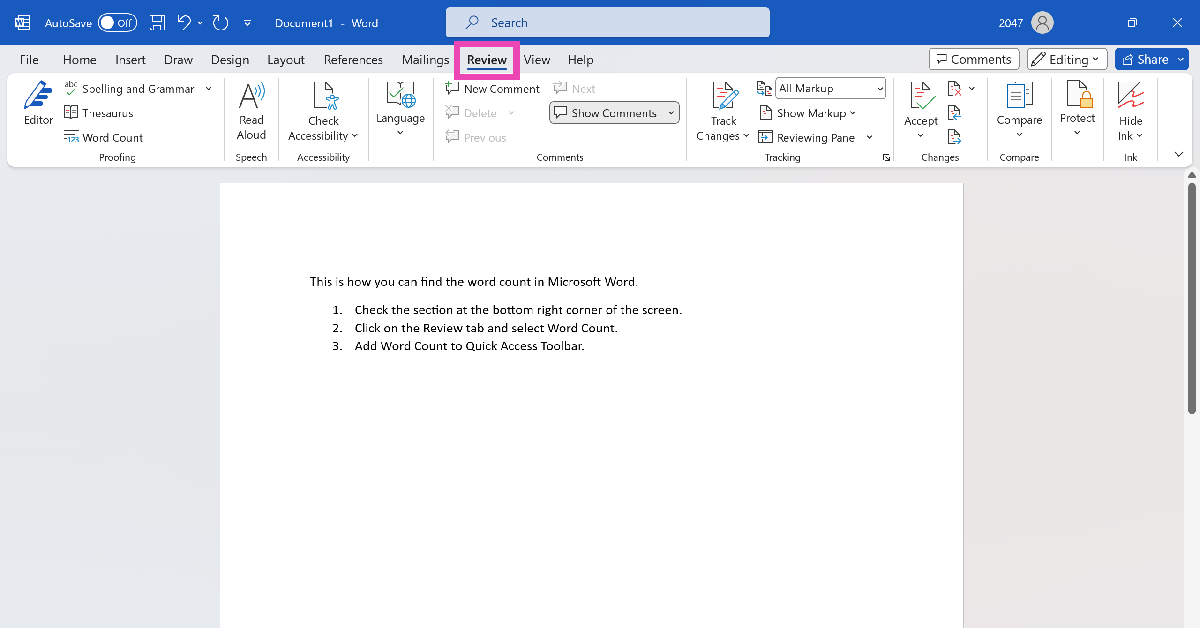
 If you wish to know the word count of a particular line or paragraph, simply highlight it using your keyboard or mouse and check the counter at the bottom of the screen. The word counter will display the number of selected words and the total number of words. This trick helps when you want to trim only a certain section of the text.
 Step 2:
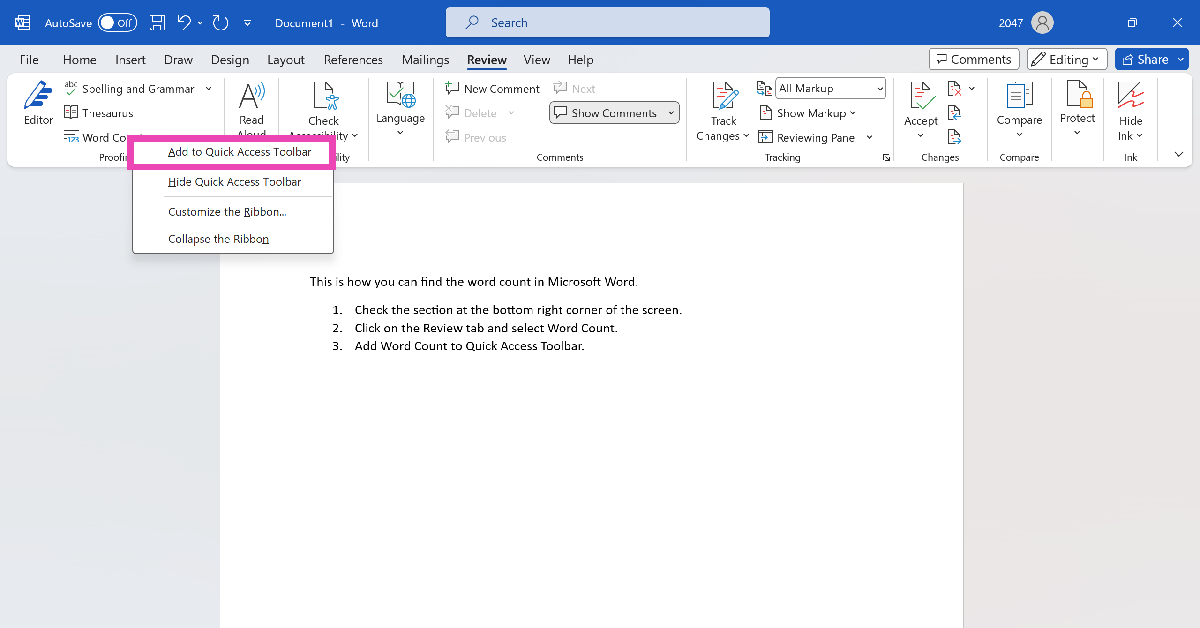 Step 4:
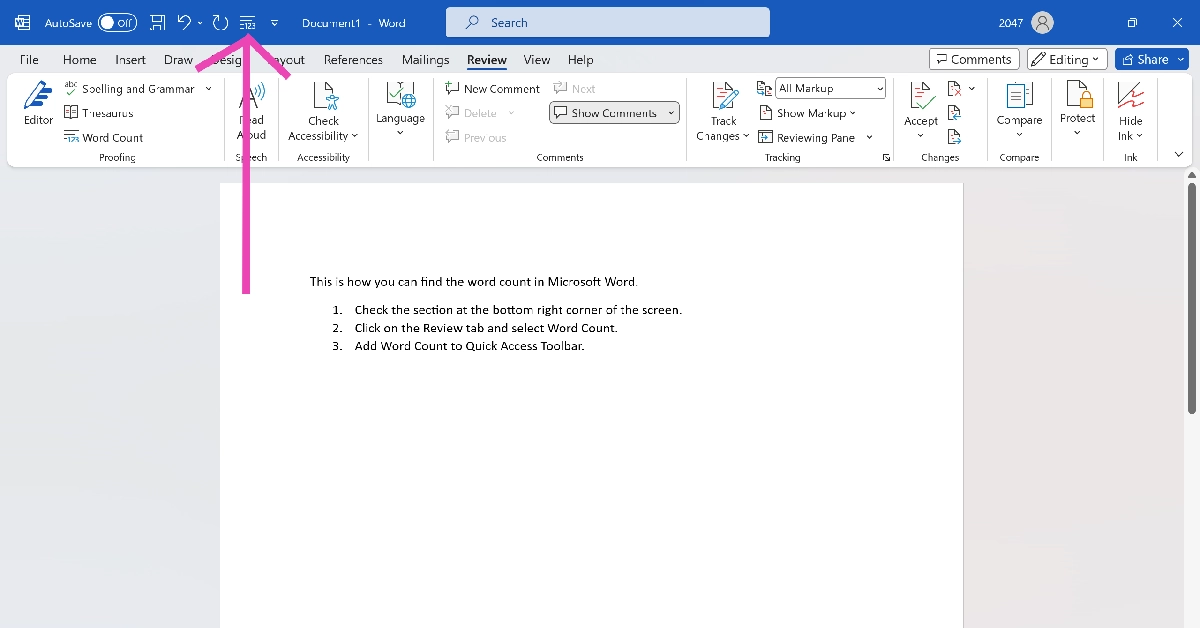

 Samsung Galaxy S23 FE is now

 Key Specs
 Key Specs
 Key Specs
 Key Specs
 Key Specs
 Key Specs
 Key Specs
 Key Specs
 Key Specs
 Key Specs