")
In This Article
What does the Safe Mode do?
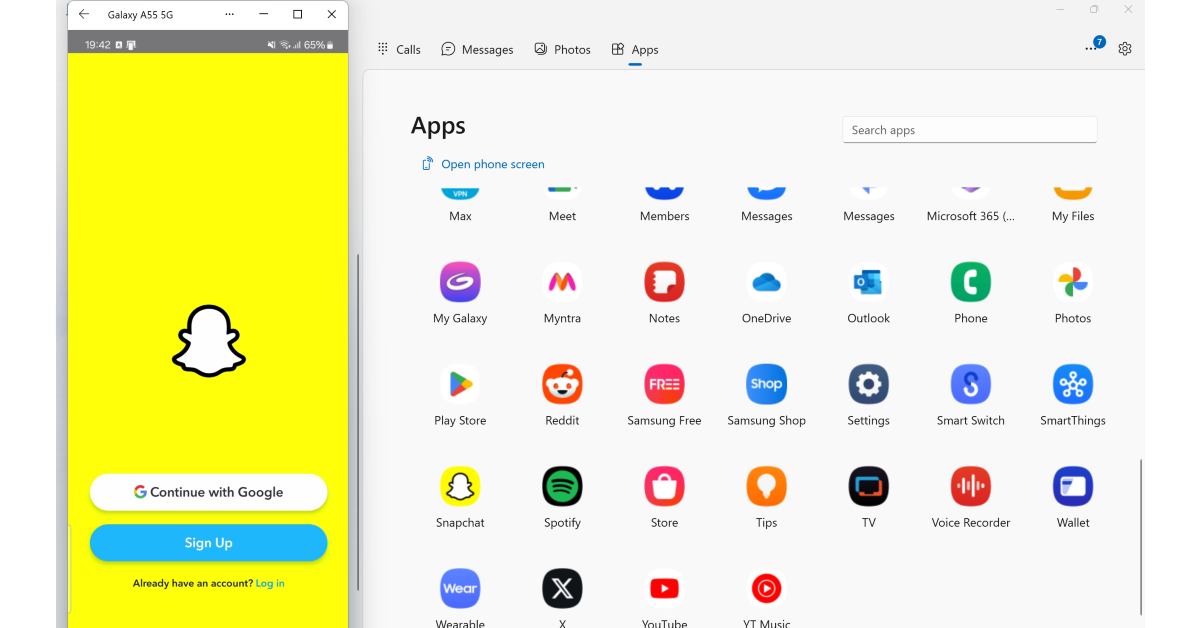
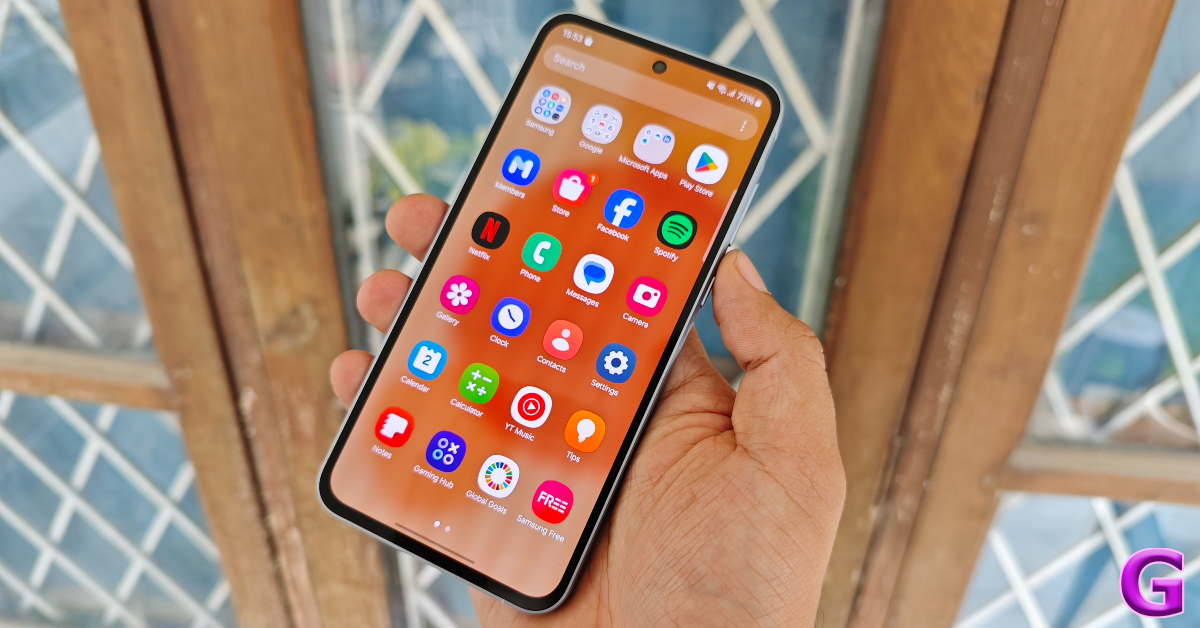
Once you reboot your phone in Safe Mode, all the third-party apps on the device get disabled. You can still view their icons on the home screen and app drawer, but they will be greyed out. Tapping on the icon of a third-party app brings up the ‘App disabled’ message. Some OEM apps may also be temporarily disabled in this mode. In Samsung’s case, the Browser, SmartThings, Wallet, Notes, Calculator, Calendar, and other apps are disabled in this mode. On the flip side, some third-party parts may not get disabled in Safe Mode. We tested out this mode on a Samsung Galaxy A55 (our review here) and observed that the Microsoft OneDrive app was still functional in Safe Mode. You can choose to download new apps while you’re in Safe Mode, but they won’t show up in the app library until you’ve rebooted your phone normally.Turn off Safe Mode using the side button
Step 1: Press and hold the side button on your Samsung phone. If this triggers Bixby, press and hold the side button and volume-down key simultaneously to access the power menu. Step 2: In the power menu, tap on Restart.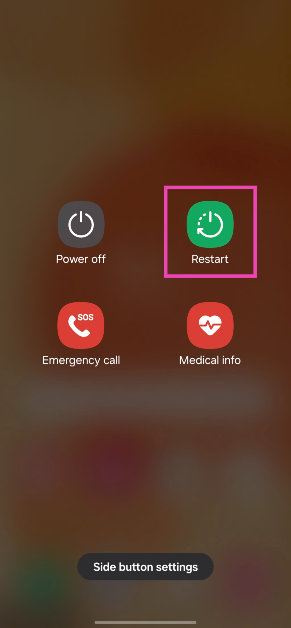 Step 3: Tap on Restart again.
Your Samsung phone will reboot normally.
Step 3: Tap on Restart again.
Your Samsung phone will reboot normally.
Turn off Safe Mode from the notification panel
Step 1: Swipe down from the status bar to reveal the notification shade. Step 2: Tap on the ‘Safe Mode is on’ notification.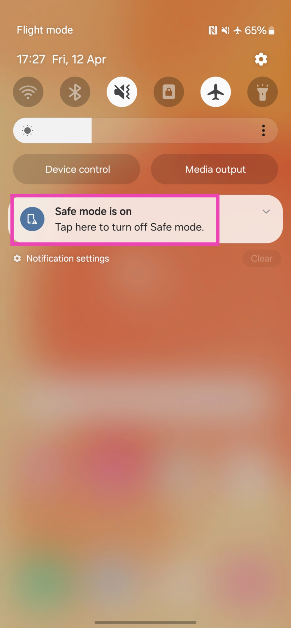 Step 3: In the following popup box, tap on Turn off.
 Your Samsung phone will exit the Safe Mode and reboot normally.
Bonus Tip: How to enter Safe Mode on a Samsung Phone?
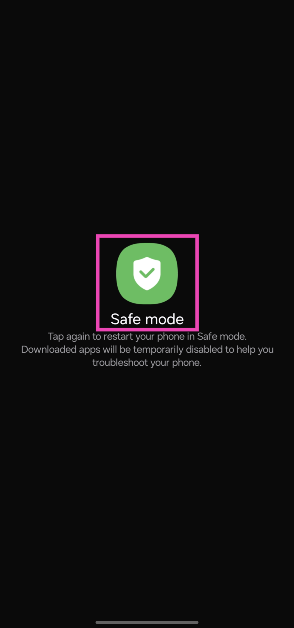
Step 1: Long press the side button. If the side button is programmed to wake up Bixby, press and hold it along with the volume-down key to trigger the power menu. Step 2: Tap and hold the Power off icon.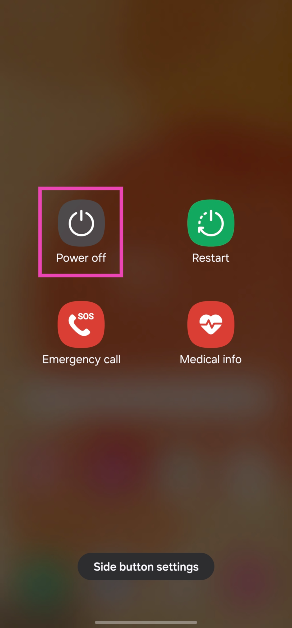 Step 3: Tap on Safe Mode.


 Step 2:
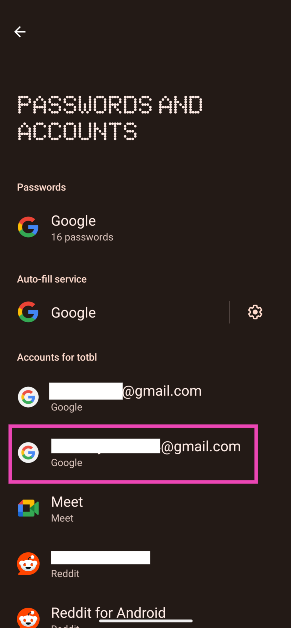 Step 3:
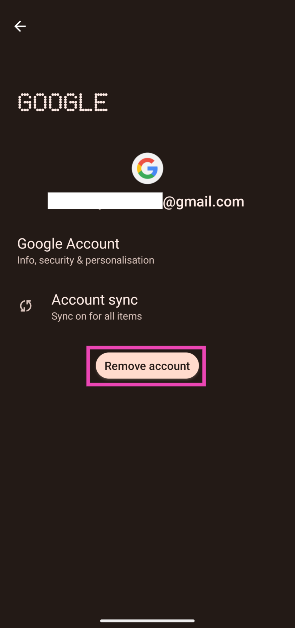 Step 4:
 Step 3:
 Step 4:
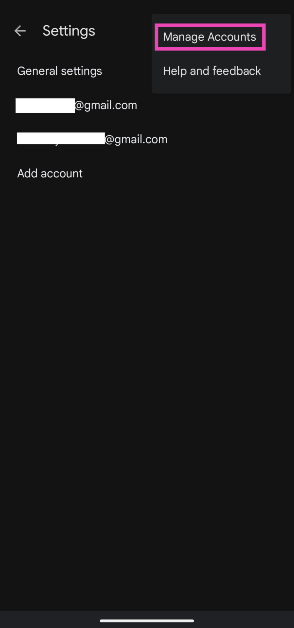 Step 5:
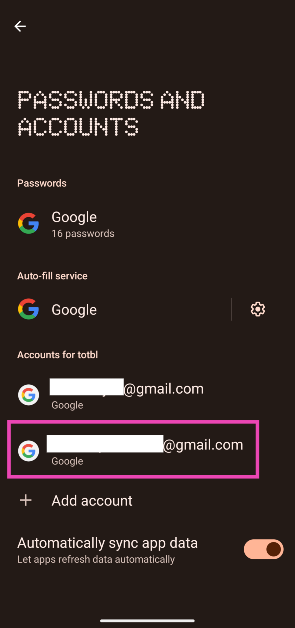 Step 6:
 Step 3:
 Step 4:
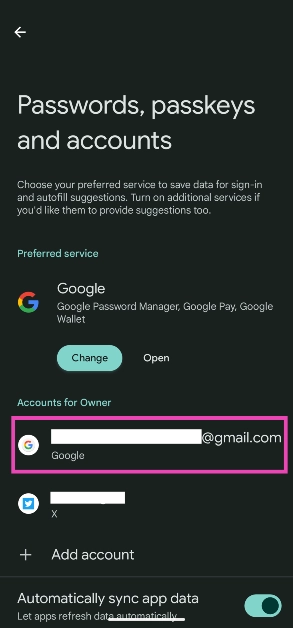
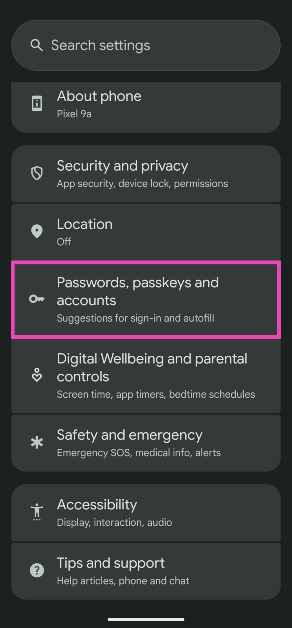 Step 2: Select your Google account.
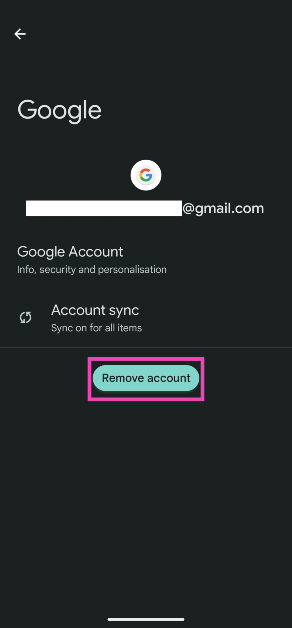
 Step 3: Hit Remove account.
")
 Step 2:
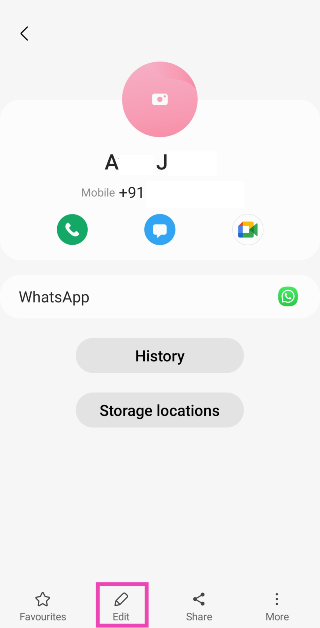 Step 3:
 Step 4:
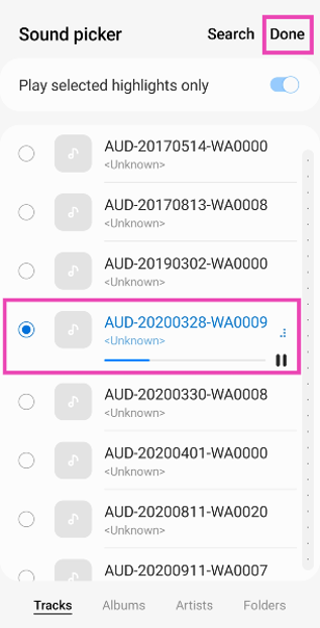
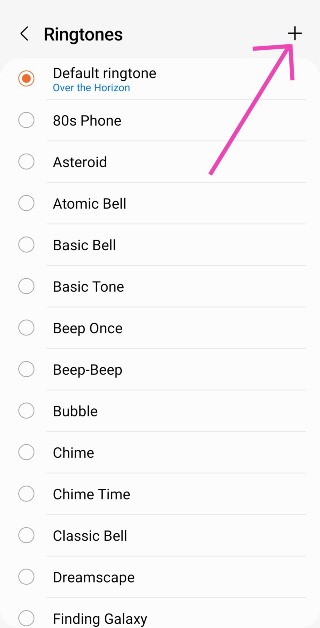 Step 5: Select the silent ringtone and hit Done.
 Step 6:
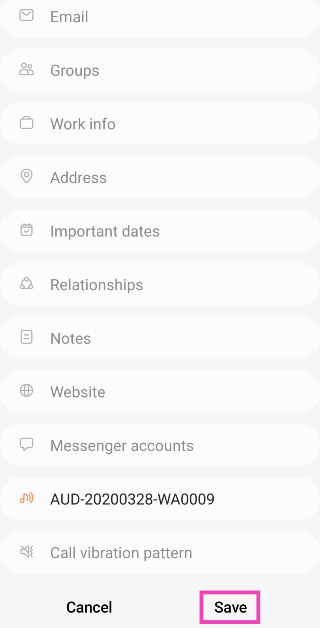
 Step 1: Launch
  Step 2:
 Step 3:
 Step 4:
 Step 5:
 Step 7:
 Step 8:
 Step 9:
 Step 11:
 ")
 Step 4:
  Step 5:
  Step 6:
  Step 3:
  Step 4:
 Step 4:
  Step 5:
 Step 6:

")
 Step 3:
 Step 4:
 Step 5:
 Step 3:
 Step 4:
 Step 5:
 Step 6: Close
  Step 4:
 Step 6:
 Step 7:
 Step 8: Confirm your selection.
 Step 4:
 Step 6: Drag
  Step 7:
 Step 8:
 Step 9:


")


")


")
 Step 4:


 White spots often appear on the screen due to the collection of dust and grime. To prevent this from happening, use a microfibre cloth to clean the display. A microfibre is less likely to scratch the surface and leave minute fibres on the screen. To remove the more stubborn dirt particles, dip the microfibre cloth in isopropyl alcohol before wiping the screen.
 Step 2:
 Step 3:
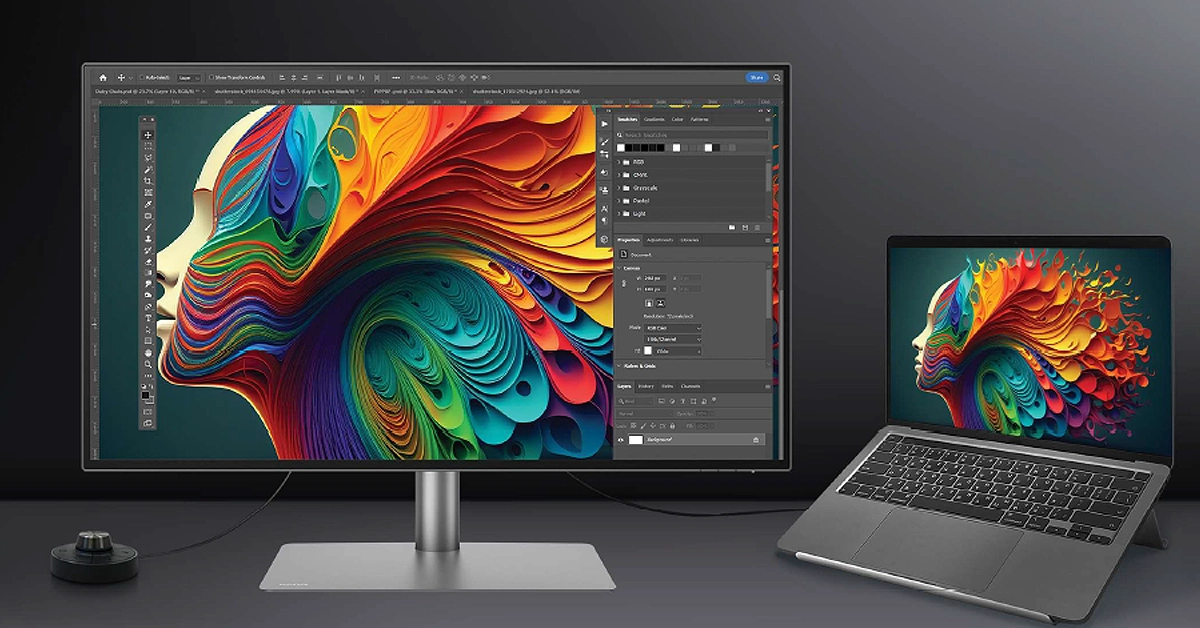 To confirm that this is a hardware issue that’s causing this problem, connect your laptop to an external display. Once connected, press Win + P to go to the projection menu. Choose ‘Duplicate’ or ‘Second screen only’. If the white dots do not appear on the external monitor, it means that something is wrong with your laptop screen’s hardware. Take it to an authorised service centre for further diagnosis.

")
 Key Specs
 Key Specs
 Key Specs
 Key Specs
 Key Specs
 Key Specs
 Key Specs
 Key Specs
 Key Specs
 Key Specs
 Key Specs
 Key Specs
 Key Specs
 Key Specs
 Key Specs