")
In This Article
See who viewed your Instagram Story (Android)
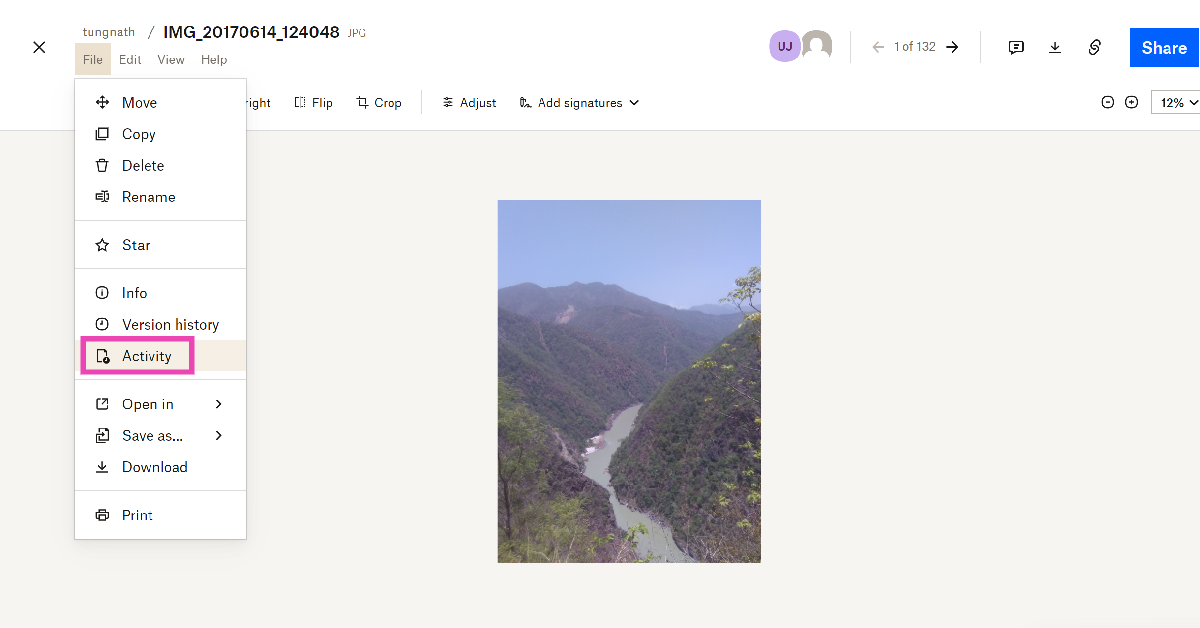
Step 1: Launch the Instagram app on your Android smartphone. Step 2: Tap on Your story at the top left corner of the screen. Step 3: Tap on Activity at the bottom left corner of the screen.
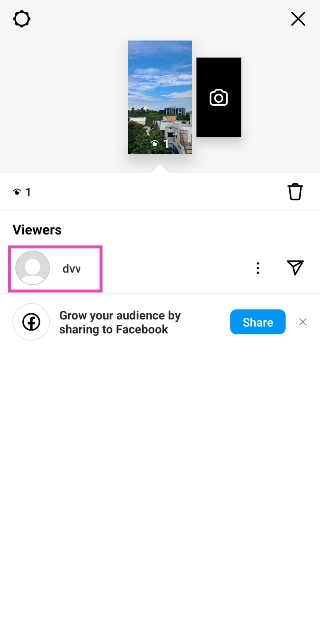
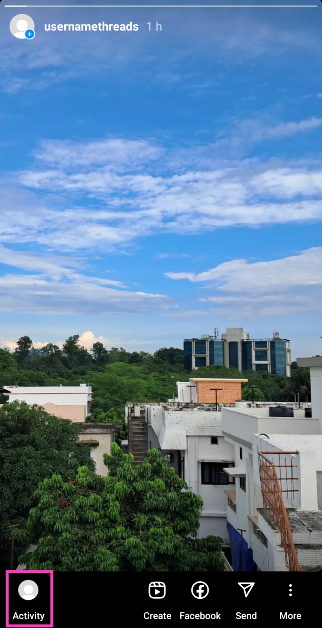 This is where you will be able to see the view count on the story and the people who have viewed it.
See who viewed your Instagram Story (iPhone)
The iPhone app for Instagram is very similar to the Android one. You can use the method mentioned above on your iPhone as well. So, let’s take a look at another way you can see who viewed your Story. Step 1: Launch the Instagram app on your iPhone. Step 2: Tap your Instagram Story at the top left corner of the screen. Step 3: Swipe up to see who viewed your Story. This is where you will see the view count as well.See who viewed your Instagram Story (Windows PC)
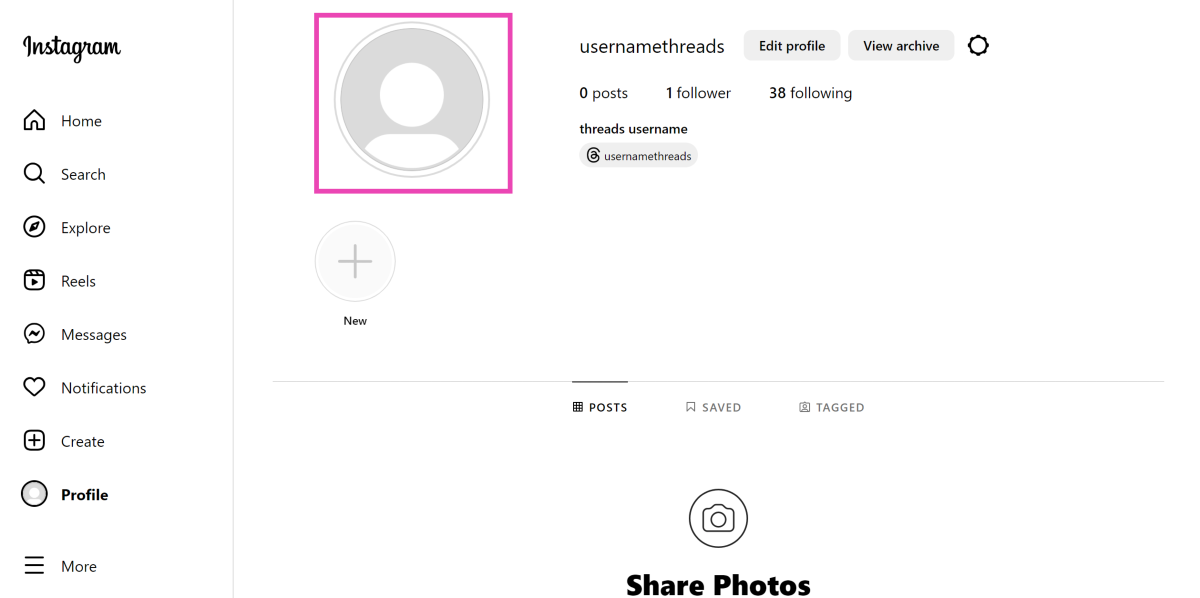
Step 1: Log into Instagram on your PC. Step 2: Click on the Profile option in the side menu.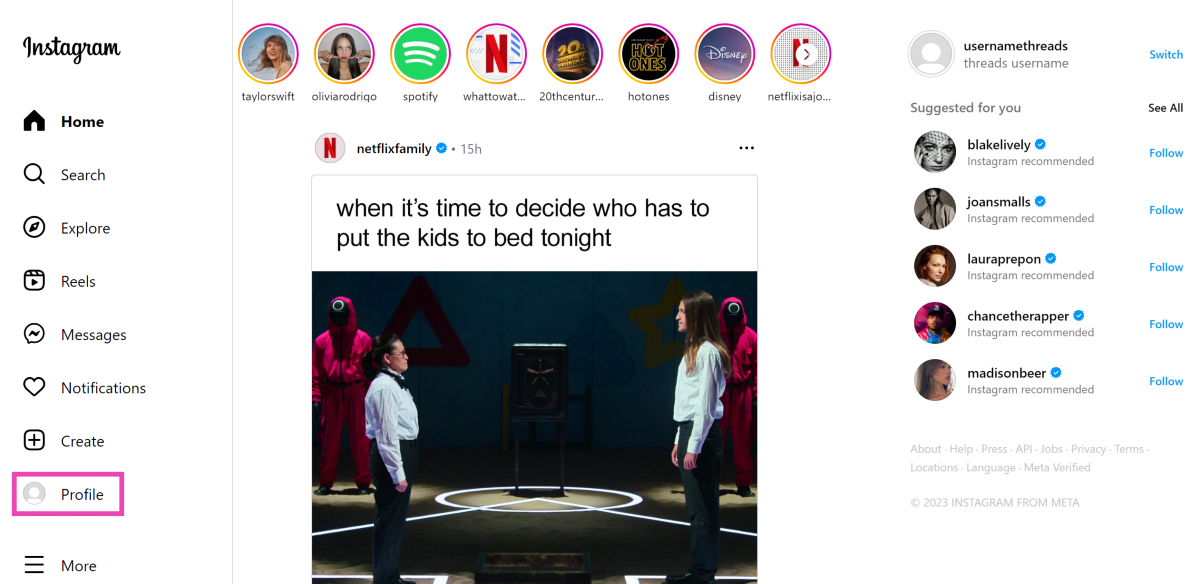 Step 3: Click on your profile picture to load the story.
 Step 4: Select the ‘Seen by’ option at the bottom right corner of the screen.
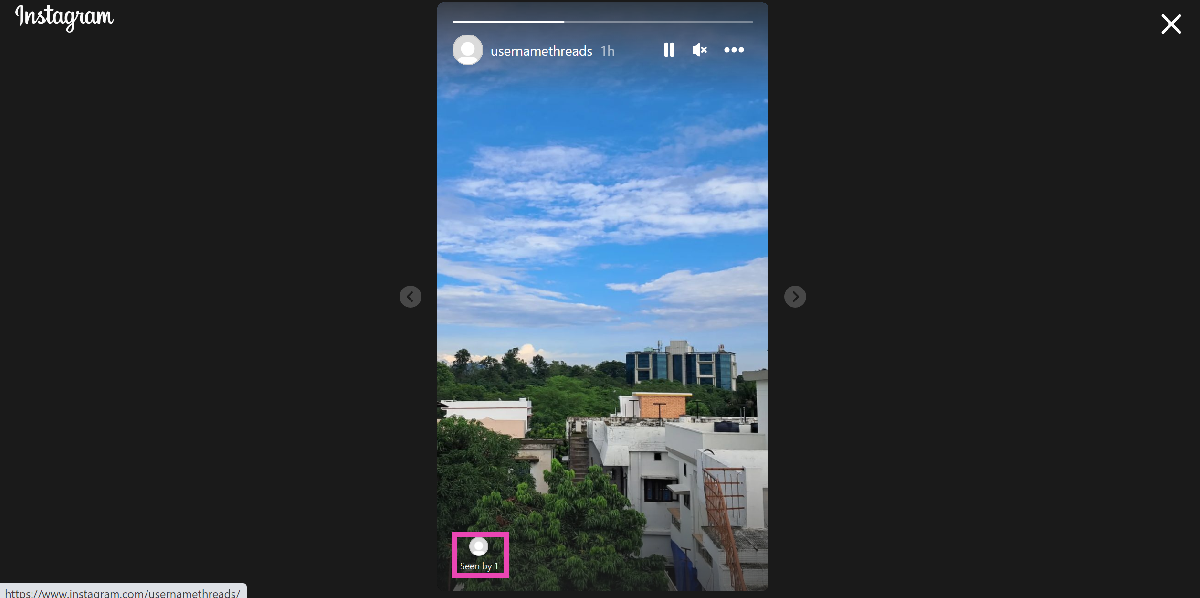 You will be able to see who viewed your Instagram story in a popup box.
See who viewed your Instagram Stories 24 hours after posting them
Your Instagram Story expires 24 hours after being posted. If you’re on vacation and don’t have the time to be on Instagram as often, you may miss out on seeing who viewed your story. Luckily, there is a way you can still check your story viewers. Here’s how. Step 1: Launch the Instagram app on your phone. Step 2: Tap your profile icon at the bottom right corner of the screen.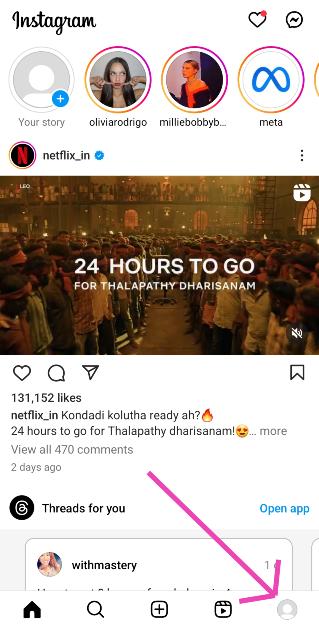 Step 3: Hit the hamburger menu at the top right corner of the screen.
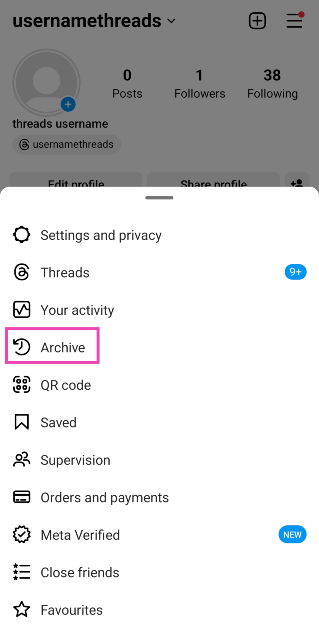
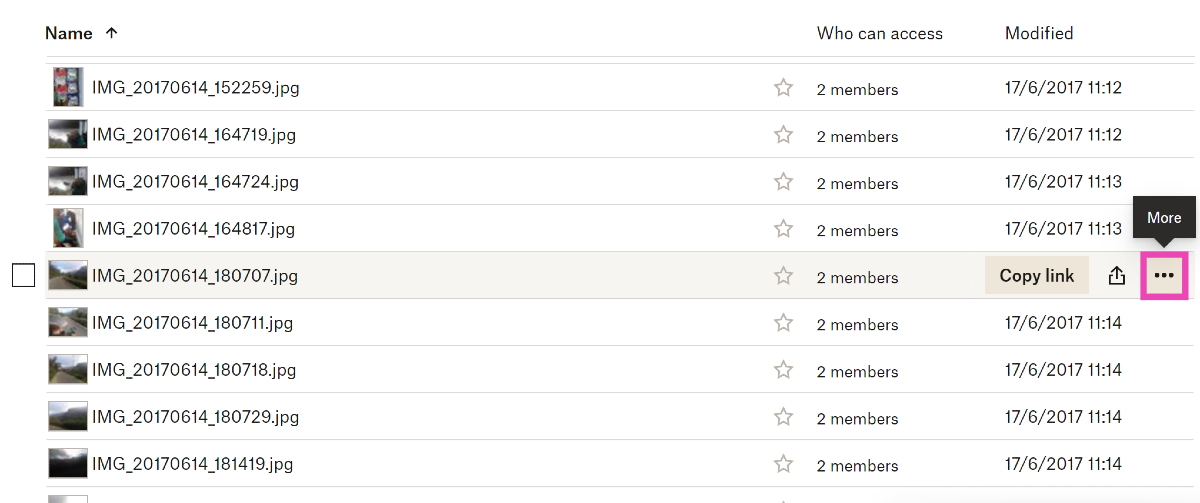
Step 4: Select Archive.
Step 3: Hit the hamburger menu at the top right corner of the screen.
Step 4: Select Archive.
 Step 5: Open the Story for which you want to see the view count.
 Step 6: Tap on Activity.
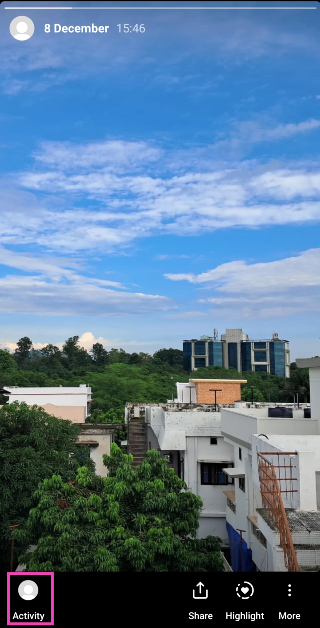 This is where you can see who viewed your Story.
Note: Instagram archives your Story for 48 hours. If more time has lapsed since you posted the story, it will be gone forever.
This is where you can see who viewed your Story.
Note: Instagram archives your Story for 48 hours. If more time has lapsed since you posted the story, it will be gone forever.
How do I view someone’s story without showing up in their viewers list?
Unlike WhatsApp, Instagram does not let you view someone’s story inconspicuously, even though both are owned by Meta. Every time you view a story on Instagram, your profile will end up on the viewer’s list. Certain apps falsely claim to get around this situation by letting you peep stories while staying anonymous. Make sure you don’t fall prey to these claims as these apps may push malware on your device. So, is there a way to view someone’s story without them knowing about it? Well, you can always make a throwaway account, but that only works if the poster’s profile is public. If not, you’re at a dead end. Or, are you? There are a couple of workarounds, but they come with certain limitations. These methods only work for the first and the last story that the person has uploaded in their carousel. Let’s a quick look.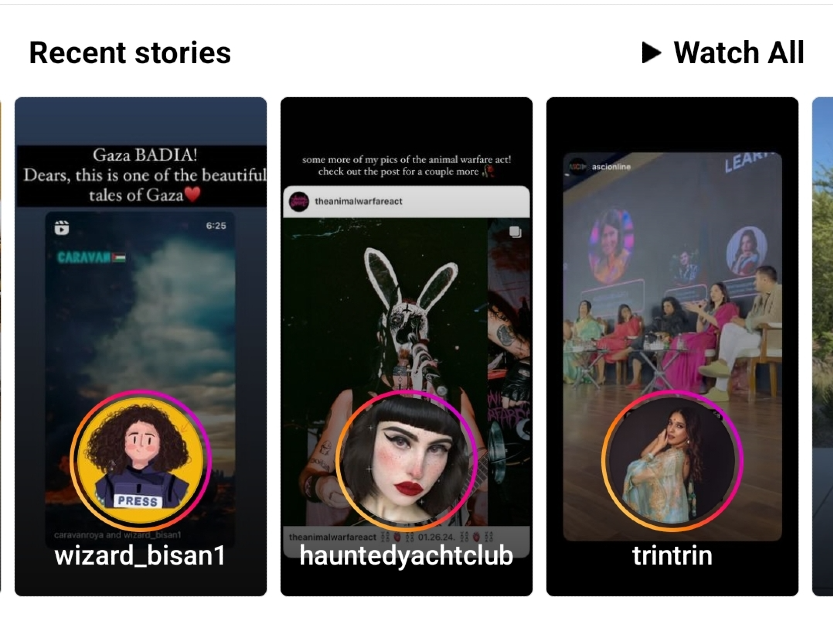 There are a bunch of ways you can view someone’s Instagram Story. The most direct way is by tapping on their profile icon in the story bar on your Insta home page. You can also visit their profile to see what they have posted on their story. When you’re scrolling through your Instagram feed, you may have noticed a preview section full of stories from the people you follow. These previews always display the first story posted by the user. Tapping on it will count as a view, but merely glancing at them while you’re on your feed will go unnoticed.
 Another way you can stay incognito while watching stories is by pressing and dragging a story to move on to the one posted by the next user in the list. The only catch is to not drag it all the way so that it doesn’t completely load on your device. If that happens, you will end up on the viewer list. If you wanna check out the last story posted by the user, load the story posted by the person on their right and drag the screen to the right.


 Step 2:
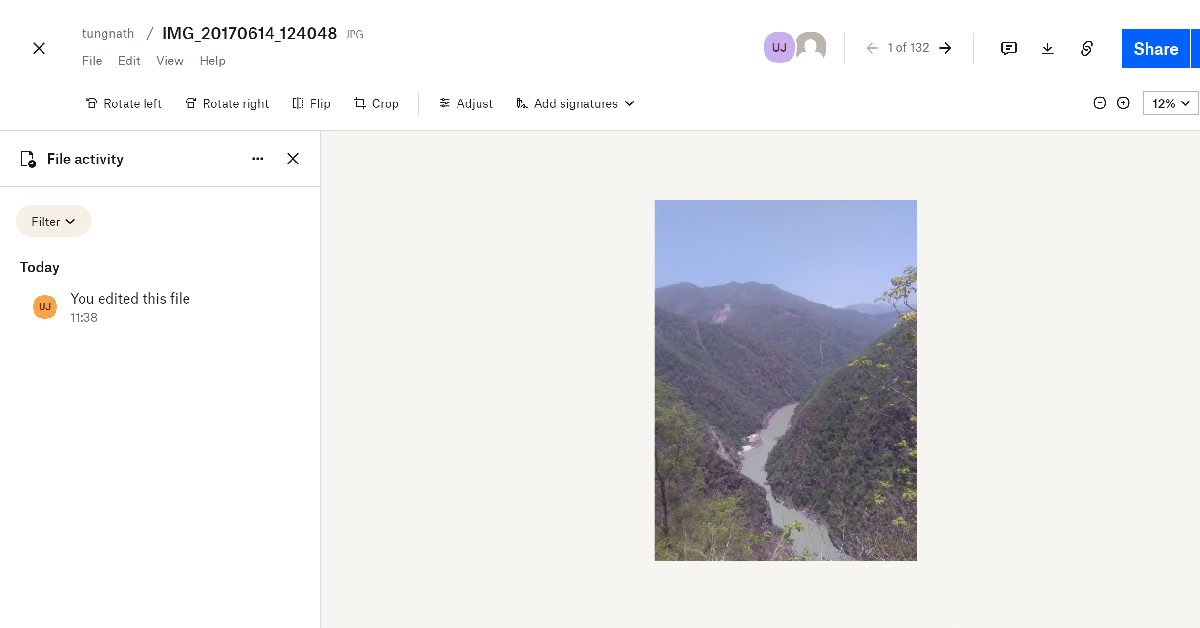
 Step 3:


 More often than not, the video games industry is how mainstream gaming is most commonly known. Earlier this year,
  Now as we mentioned earlier, the iGaming sector falls under the remit of different licensing and regulations, compared to mainstream gaming. But essentially, this covers the kind of online casino games and sites that Aussies will find at
 Step 2:
 Step 3:
 Step 5:
 Step 4:
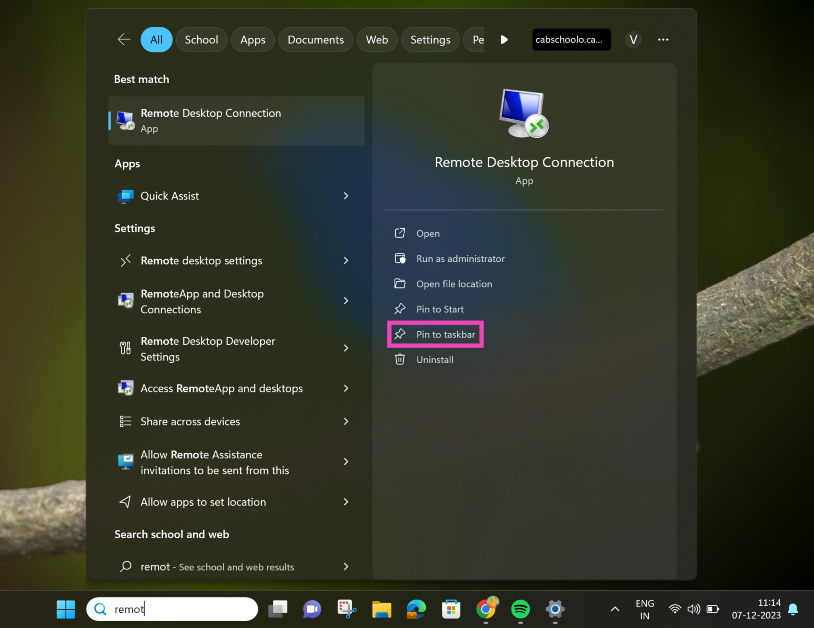
 Step 5:
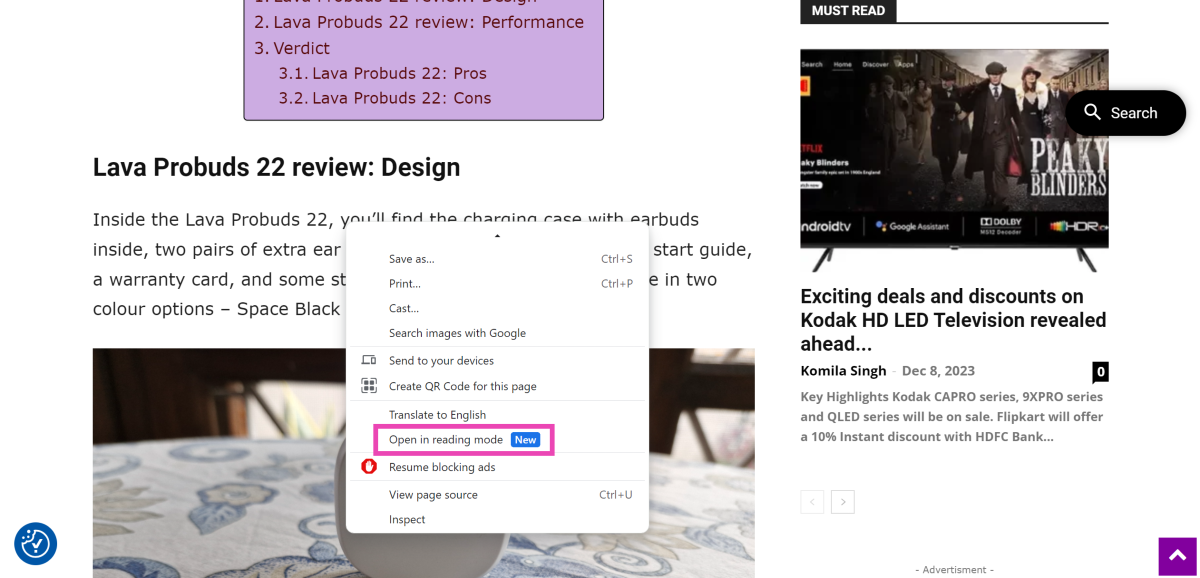
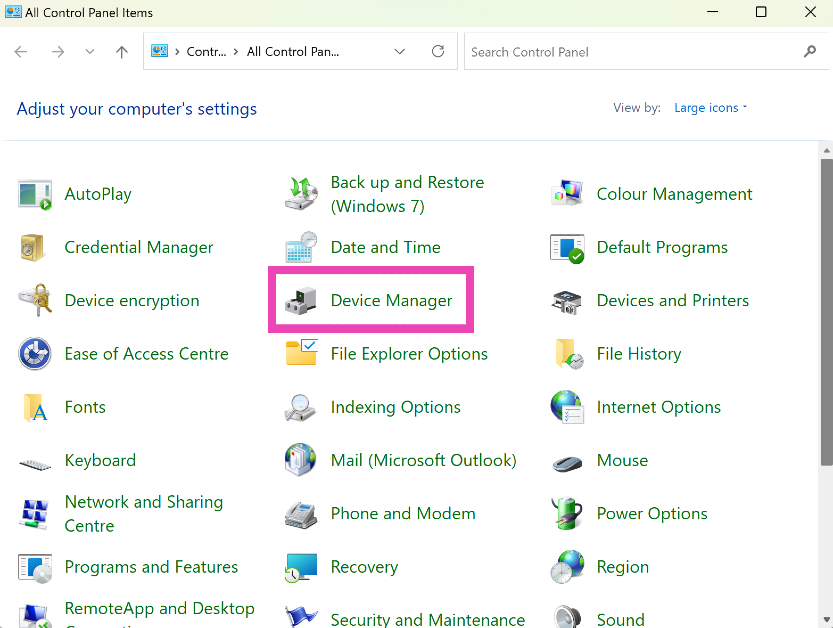
 Step 3: Right-click
 Step 4:
 Step 2:
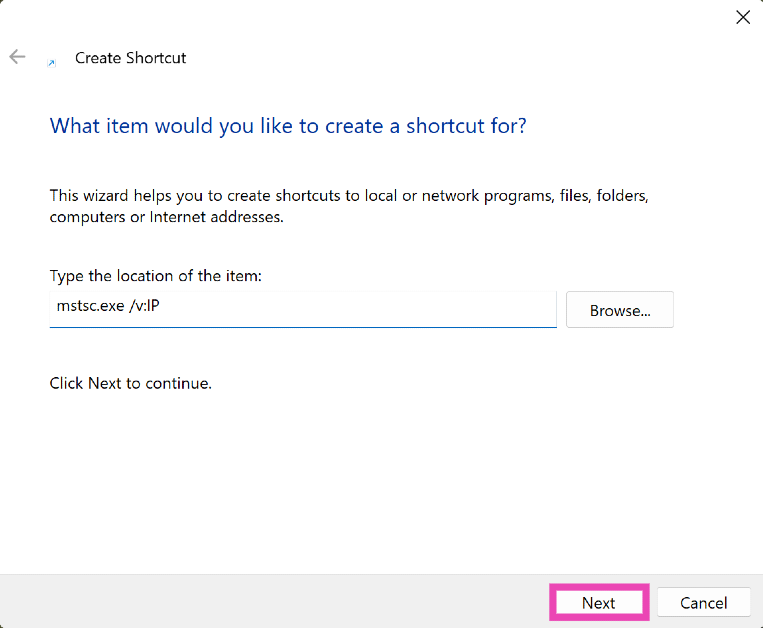 Step 3:
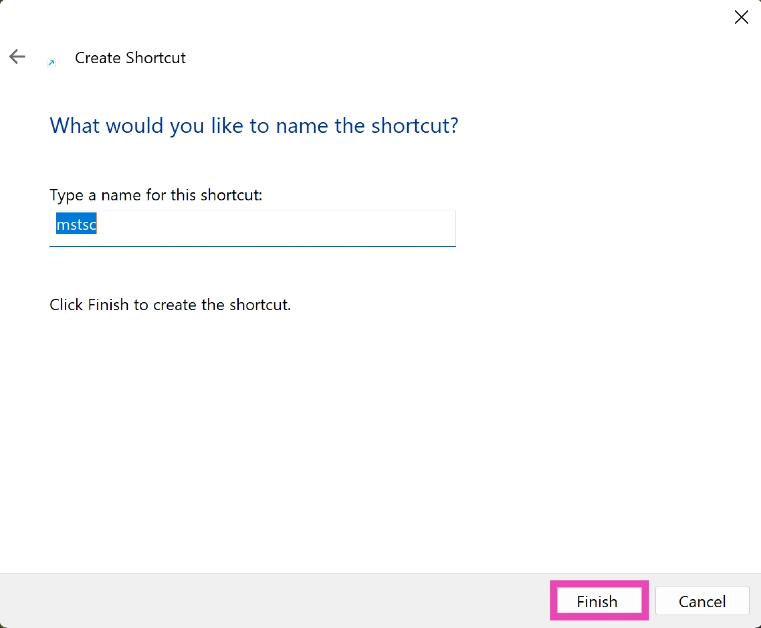


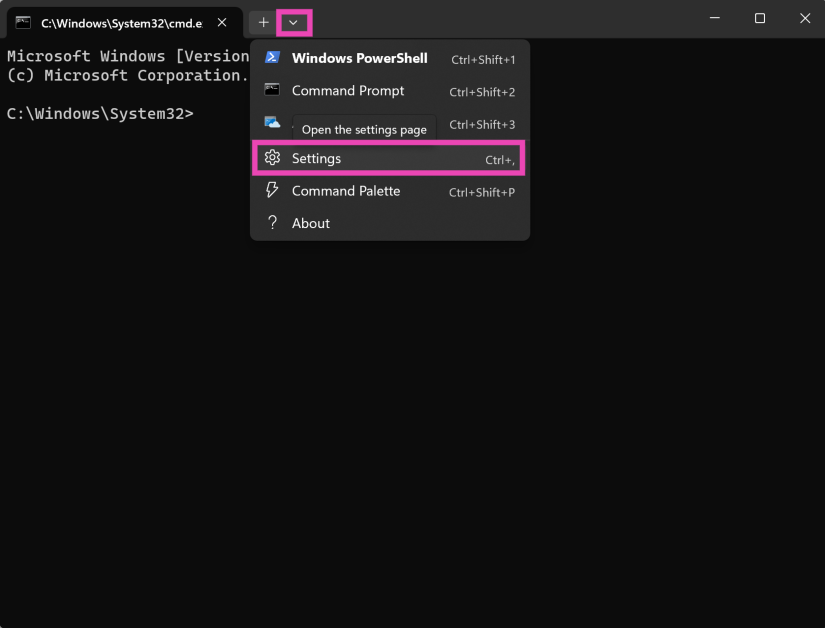
 Step 2:
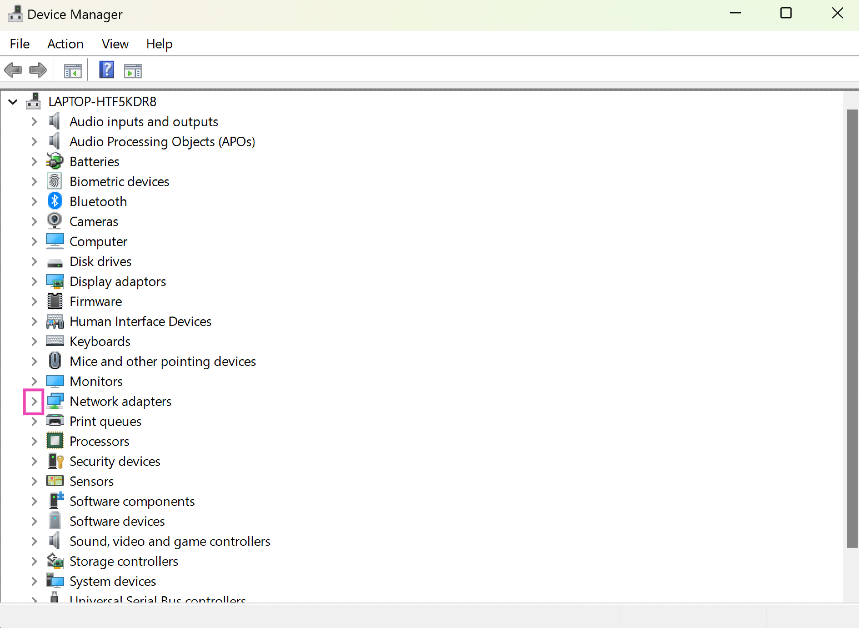 Step 3:
 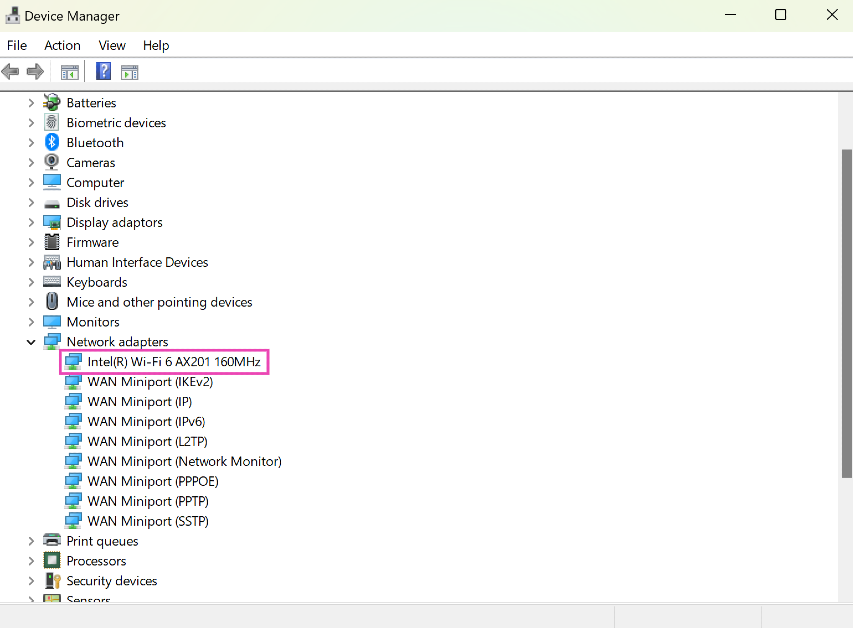 Step 4:
 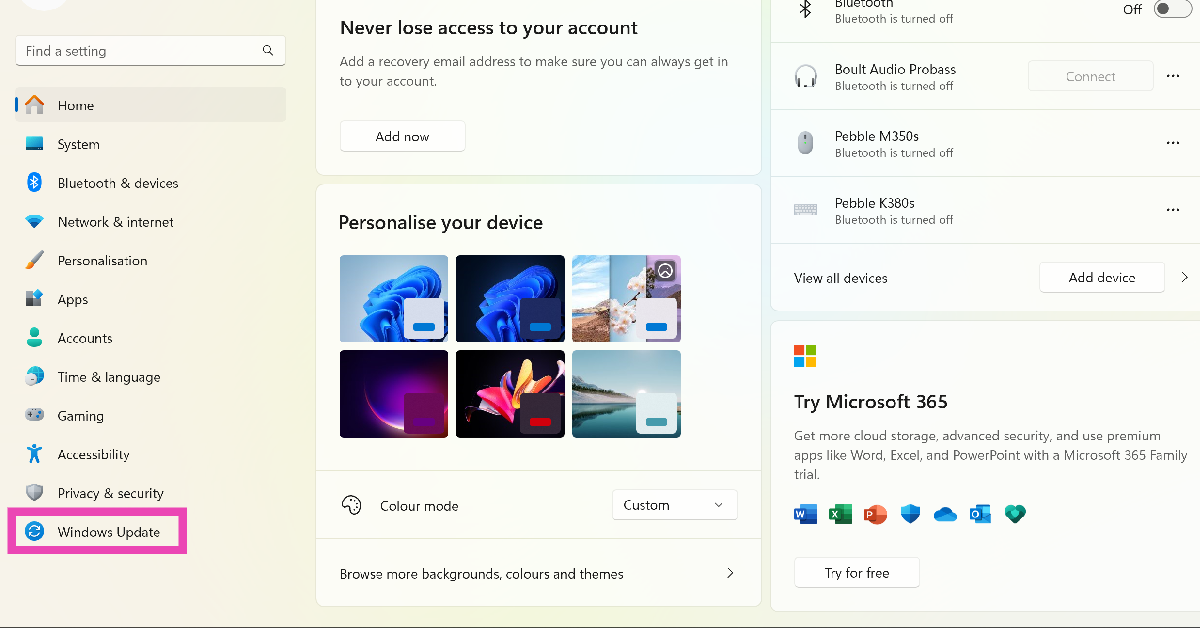 Step 2:
 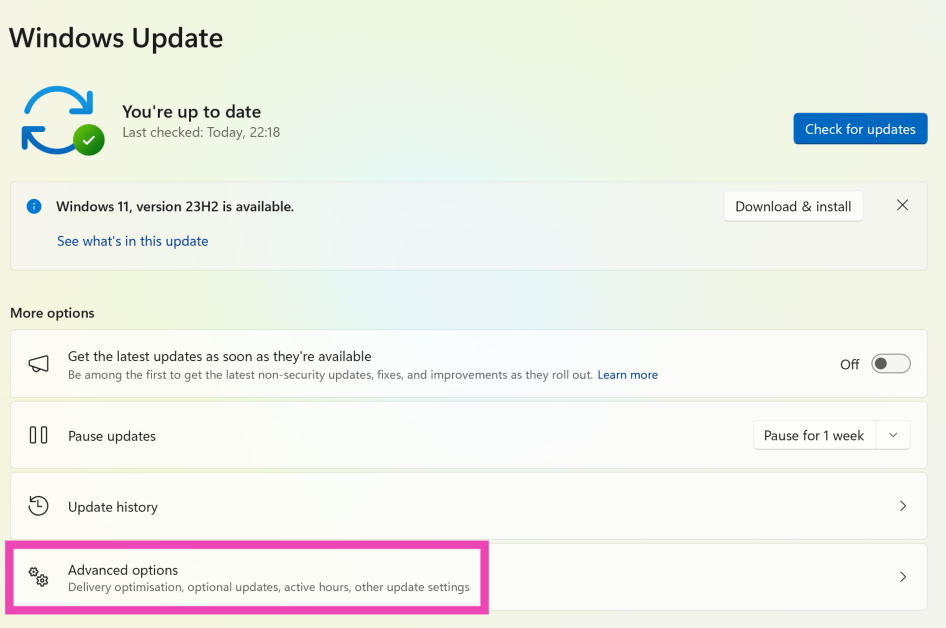 Step 3:
  Step 4:


 Step 3:
 Step 3:
 Step 3:
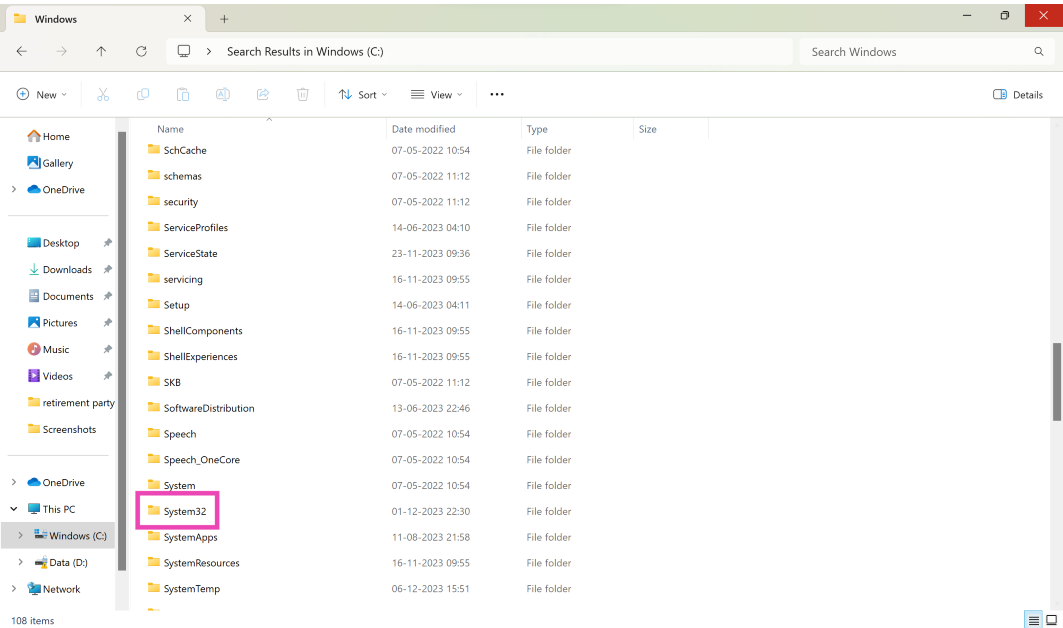 Step 4:
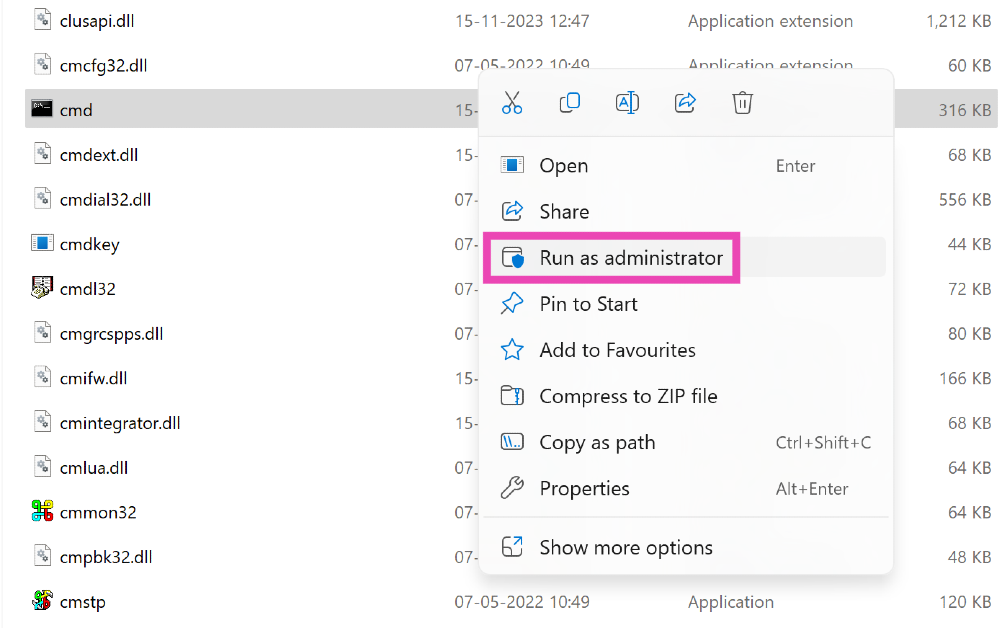 Step 5:
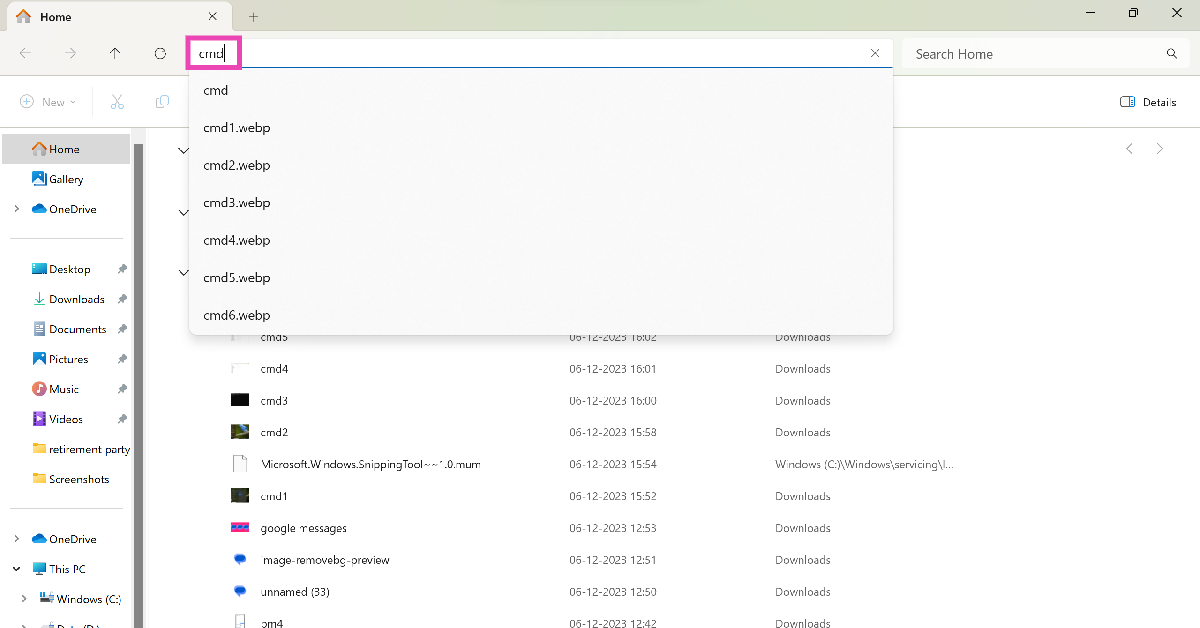
 Step 4:
 Step 5:
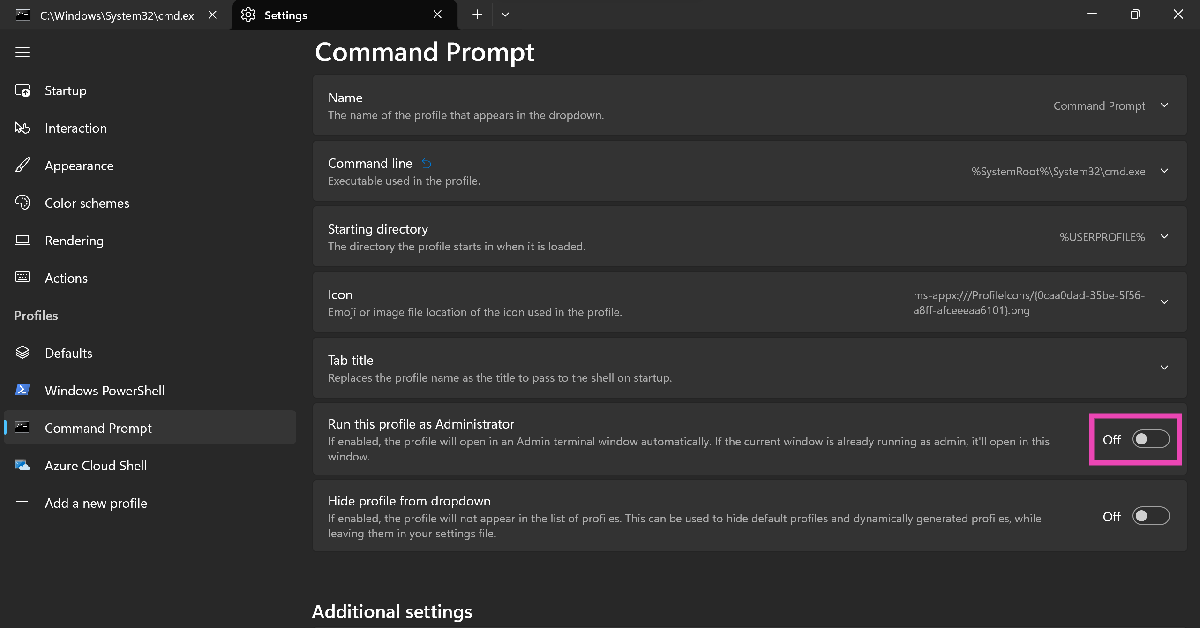
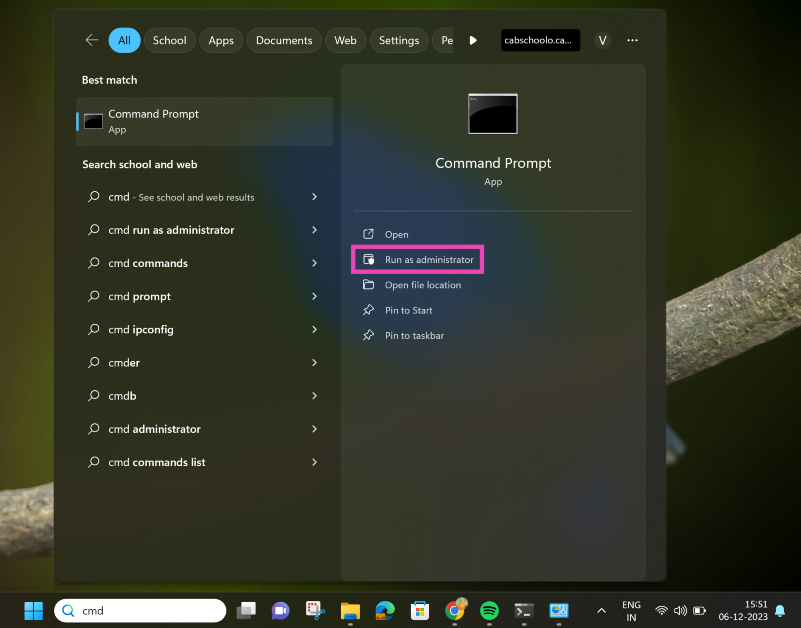
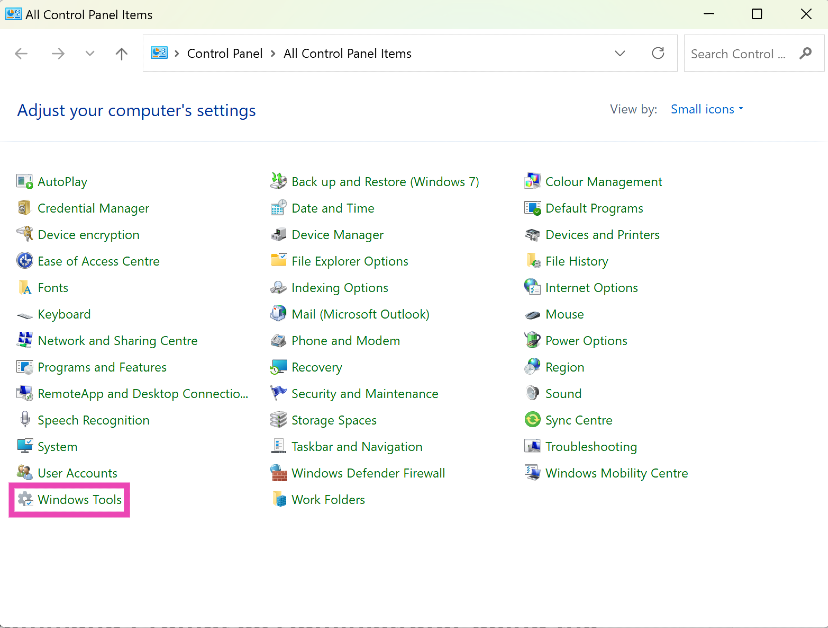 Step 2: Right-click
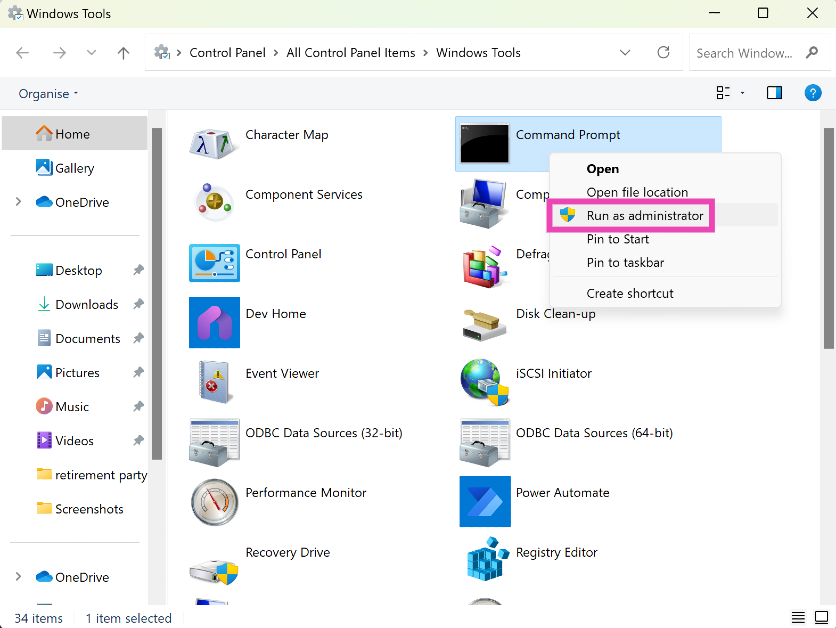
 Step 3:
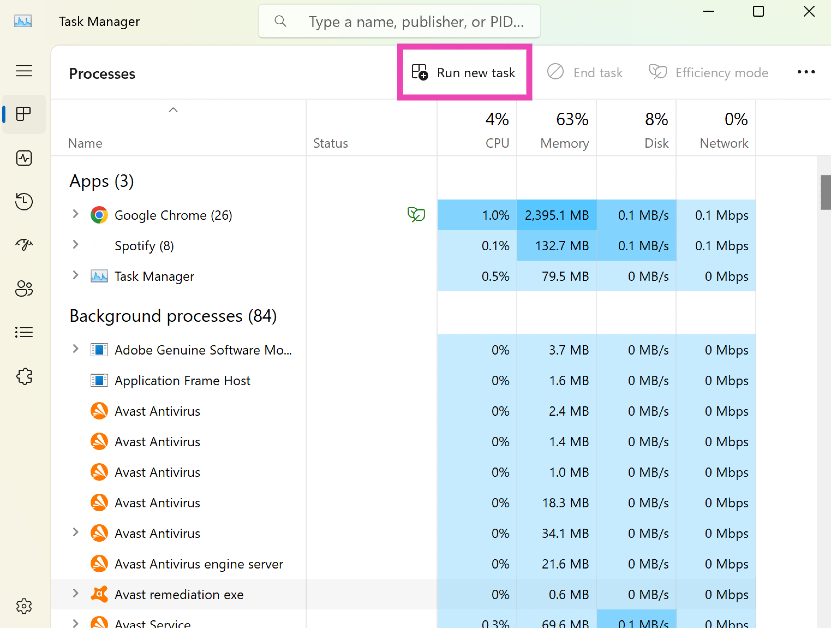 Step 4:
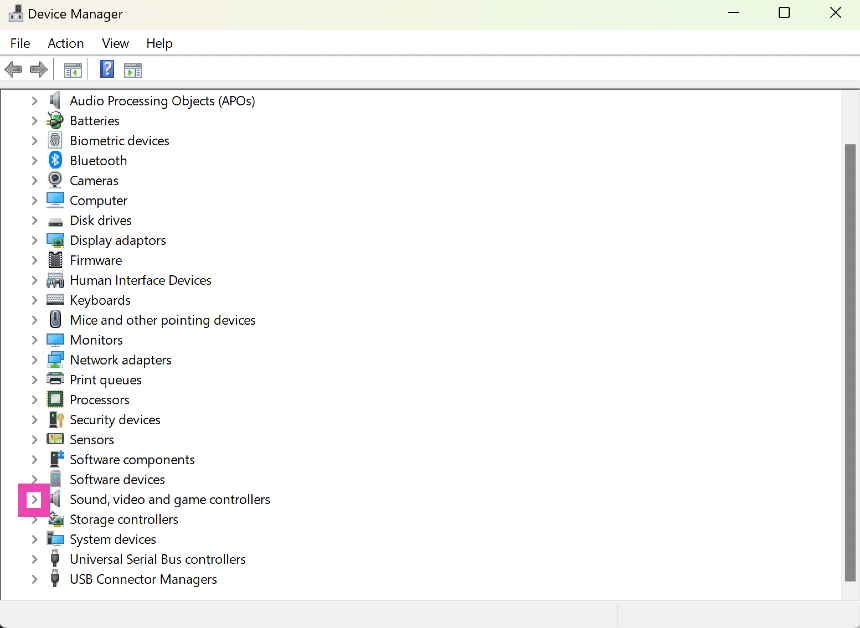
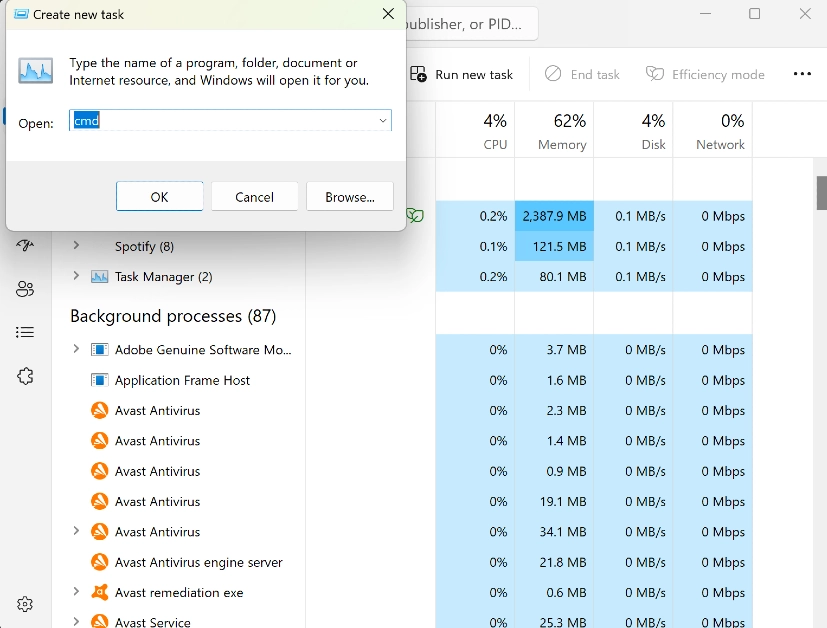 Step 5:


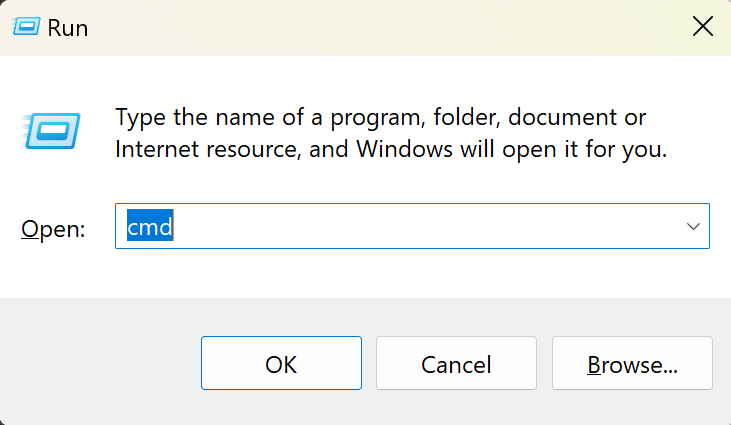
 Step 2:
 Step 3:
 Step 4:


 Step 3:
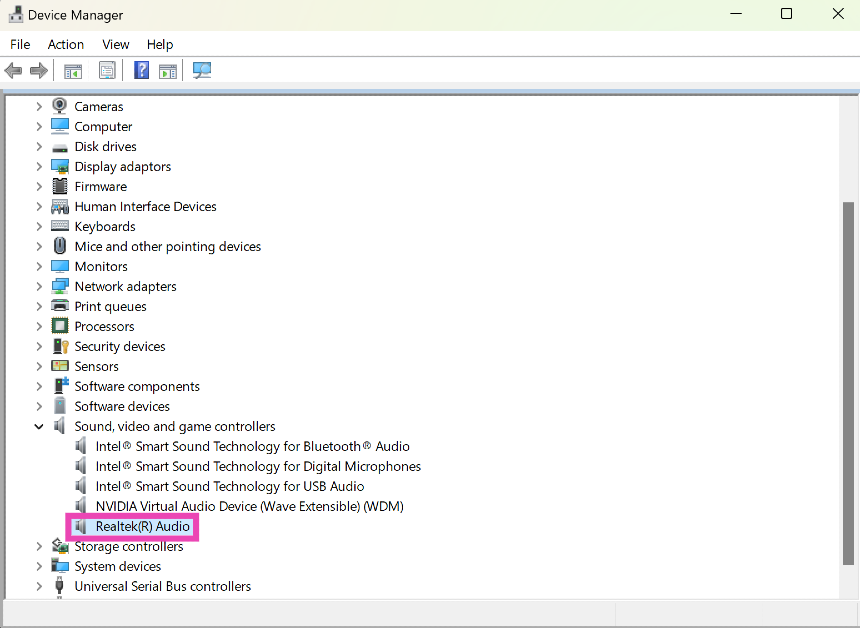 Step 4: