

Key Highlights
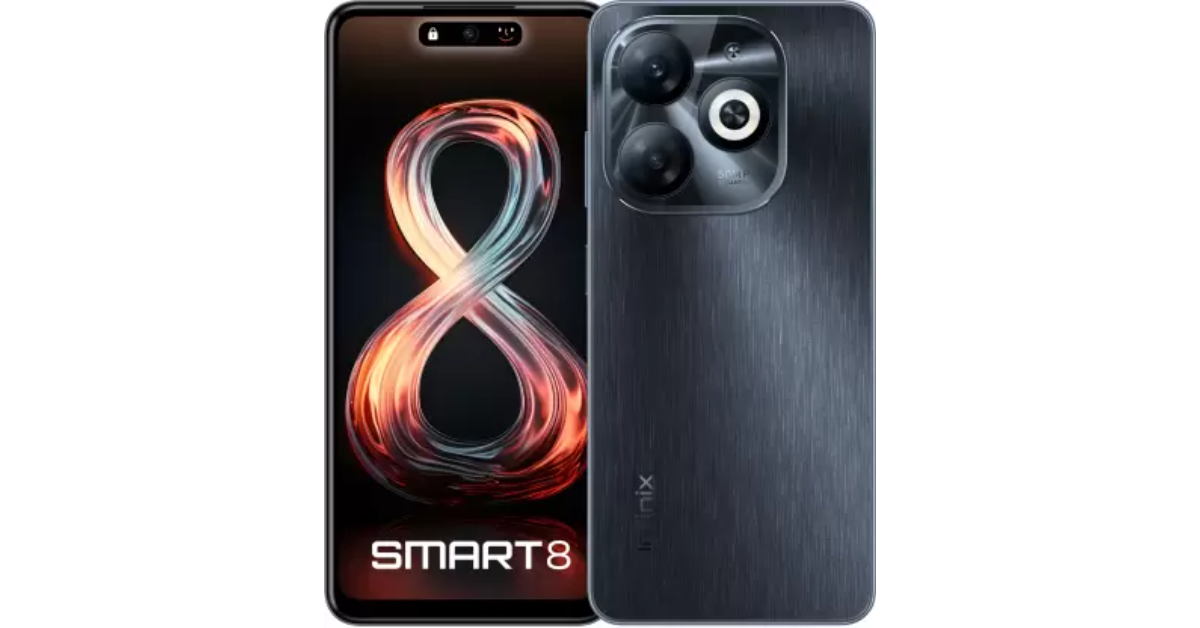
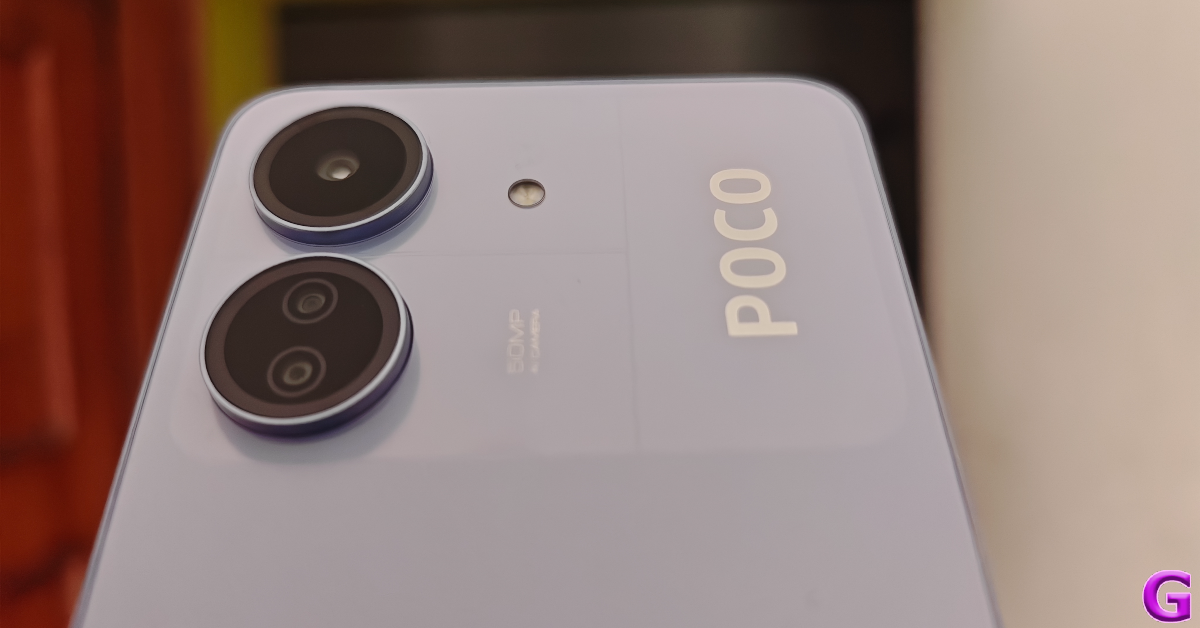
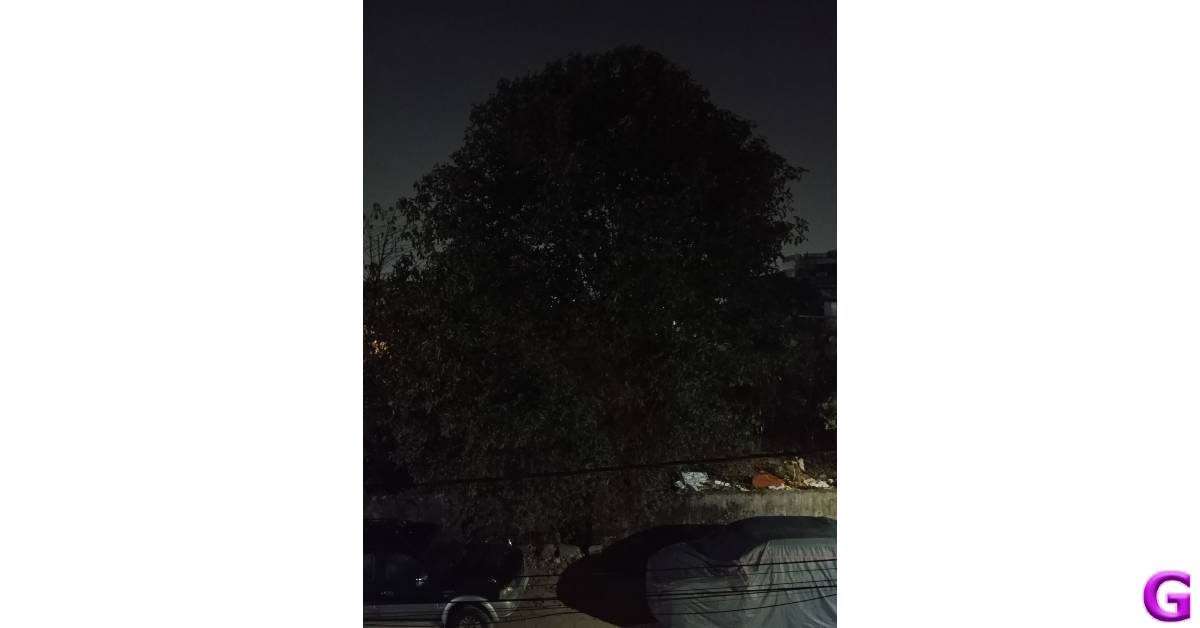
- The Infinix Smart 8 features a 50MP dual-AI camera.
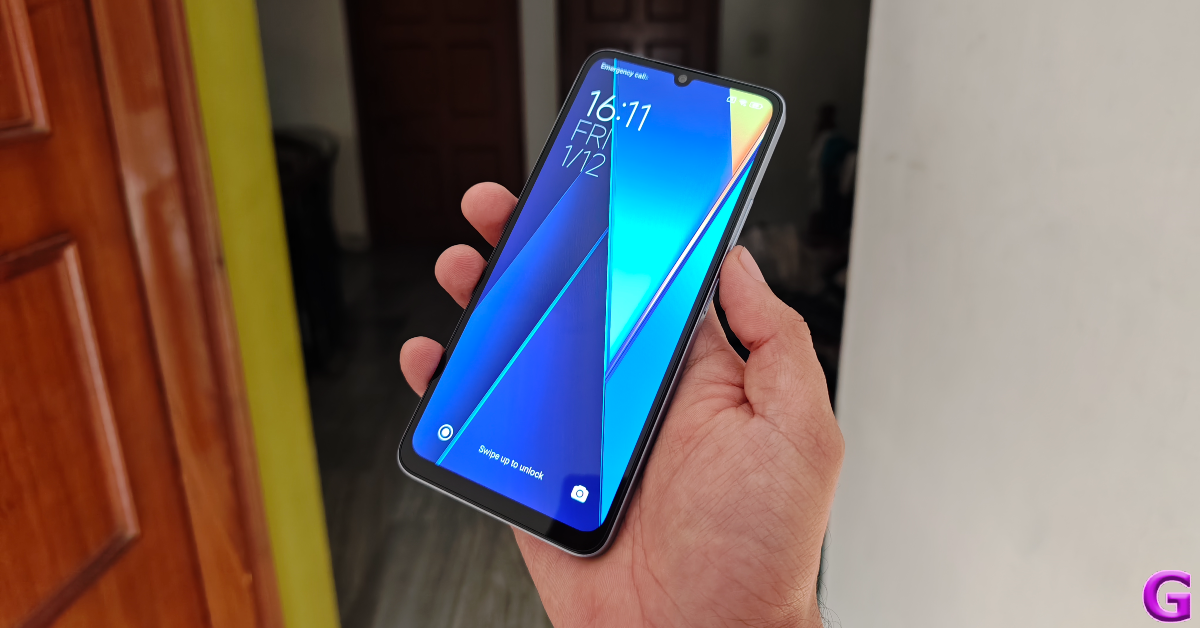
- It has a 6.6-inch HD+ display with 1,612 x 720 pixels of resolution.
- The screen supports a 90-Hz refresh rate.
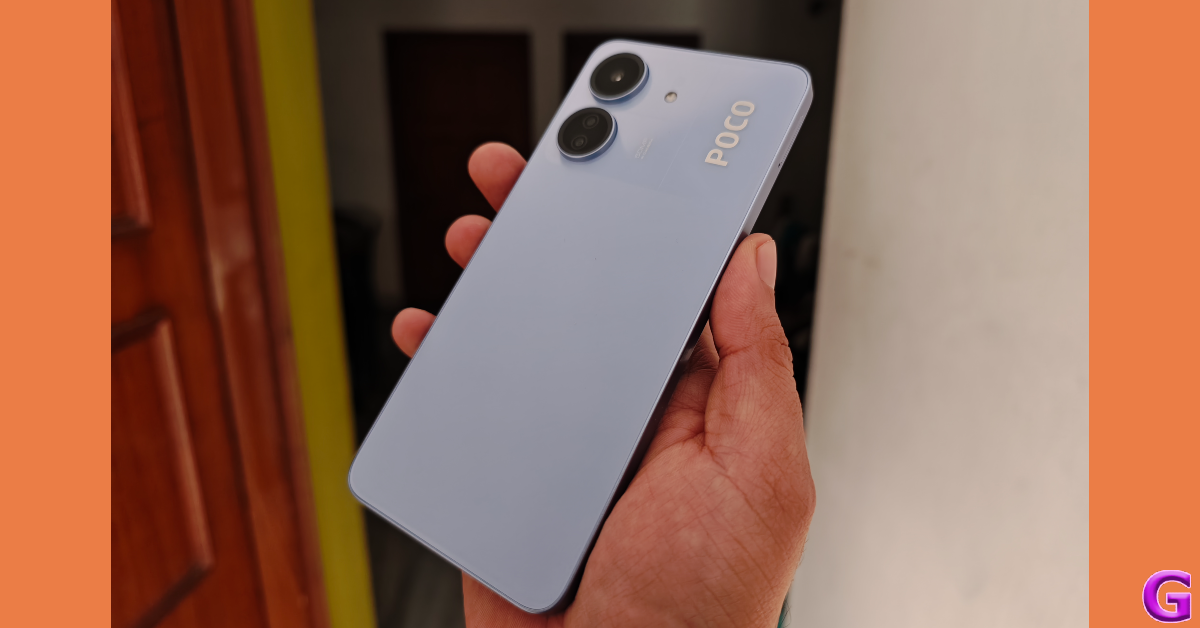
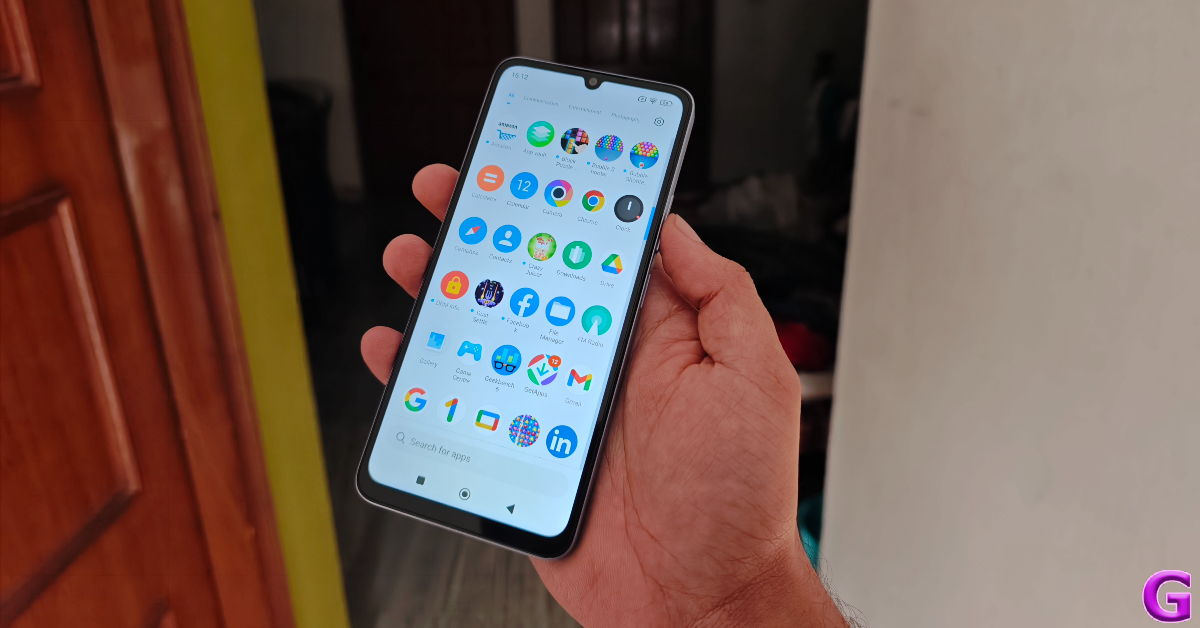
The Infinix Smart 8 has debuted in India. The smartphone arrived in India after its launch in Nigeria last year. A MediaTek Helio G36 SoC powers the newly launched phone. It is shipped with Android 13 Go Edition-based XOS 13. The handset comes equipped with a 5,000 mAh battery. In addition to this, there is a dual rear camera setup that includes a 50-megapixel sensor.
Infinix Smart 8 price in India, sale details
The Infinix Smart 8 price in India has been set at Rs 7,499 for a single 4GB of RAM with 64GB of storage. But as a part of the launch offer, the company is initially offering the smartphone at Rs 6,749. The phone is currently available for purchase through Flipkart in the country. It comes in Galaxy White, Rainbow Blue, Shiny Gold, and Timber Black colourways.
Infinix Smart 8 specifications
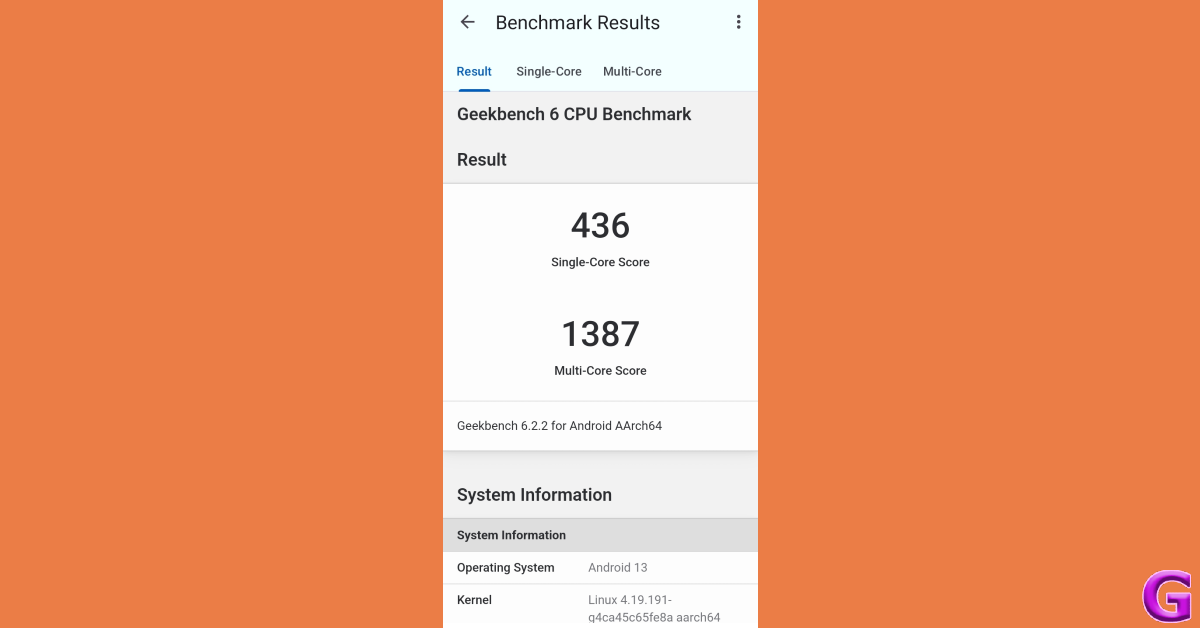
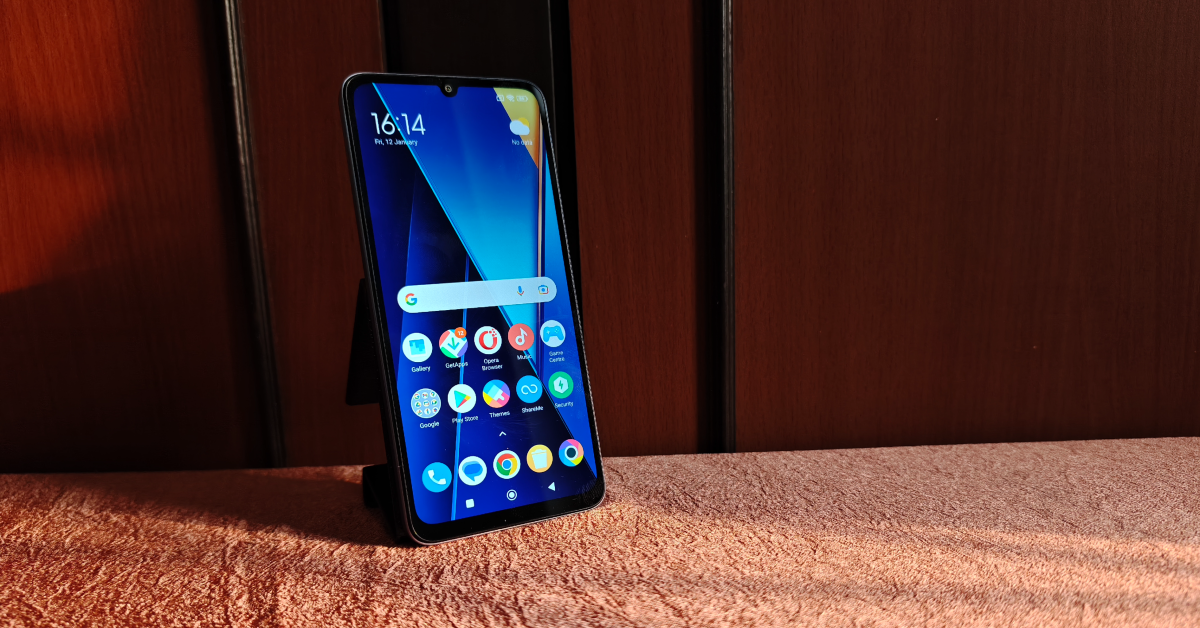
The Infinix Smart 8 comes with a 6.6-inch HD+ display with 1,612 x 720 pixels of resolution. The screen supports a 90Hz refresh rate and a touch sampling rate of 180Hz. The front panel supports 500 nits of peak brightness. An octa-core Unisoc T606 SoC powers it with 4GB of LPDDR4X RAM and 64GB of eMMC 5.1 storage. The smartphone also includes an expandable RAM feature, while the internal storage can be further expanded up to 2TB using a microSD card. The phone runs on XOS 13 skinned over Android 13.
Also Read: Samsung offering a discount on the Galaxy M14, Galaxy F14 in India: DetailsThe Infinix Smart 8 features a 50-megapixel main sensor, an AI camera, and a quad-LED Ring flash for photos and videos. In terms of selfies, there is an 8-megapixel front-facing camera with an LED flash.
The Infinix Smart 8 has a Magic Ring feature akin to Apple’s dynamic island. The expandable notch feature enables functions such as face unlock, background call management, charging animations, and charge completion reminders, adding a layer of convenience and personalisation for users.
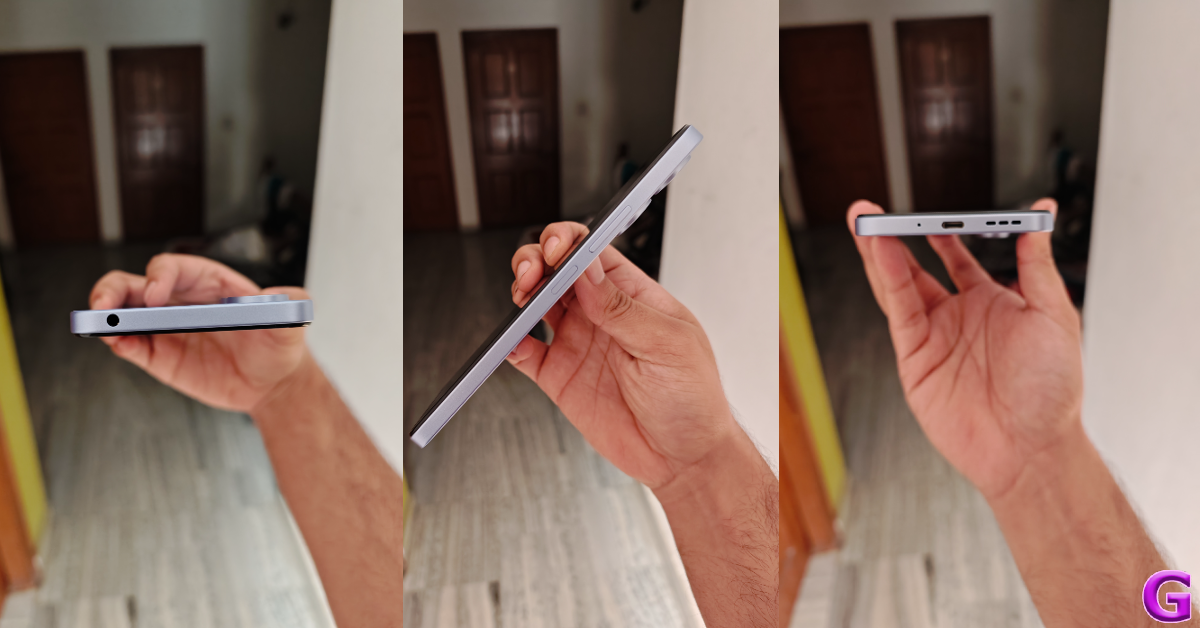
Also Read: Nothing announced massive up to Rs 10,000 discount on Phone 2: Additional discountsThe device includes dual 4G, nano SIM, Wi-Fi, Bluetooth 5.0, GPS, GLONASS, and a USB Type-C port for connectivity. Additionally, the handset packs a 5,000mAh battery.
")
 Step 3:
 Step 4:
 Step 3:
 Step 4:
 Step 5:
 Step 6:
 Step 3:
 Step 5:
 Step 6:
 Step 2:
 Step 4:

 Step 2:
 Step 3:
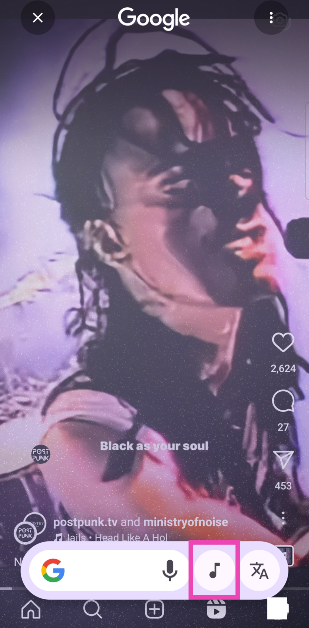
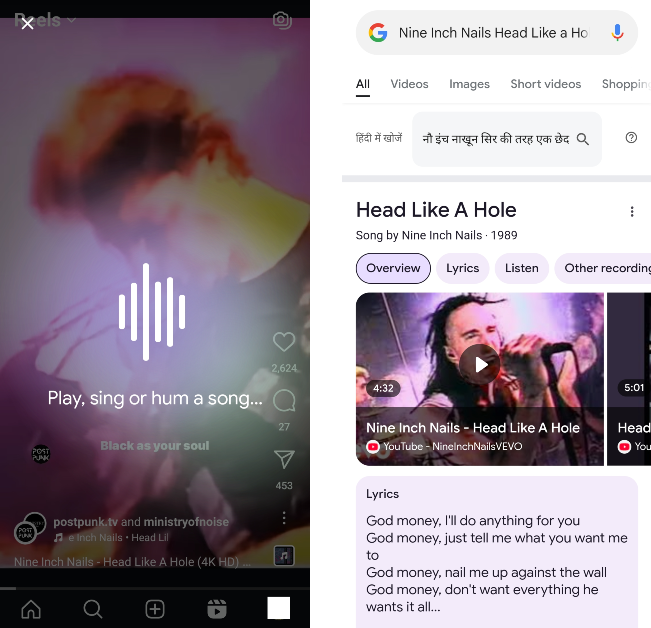
 Step 3: Select the Song search tile from the bottom panel.
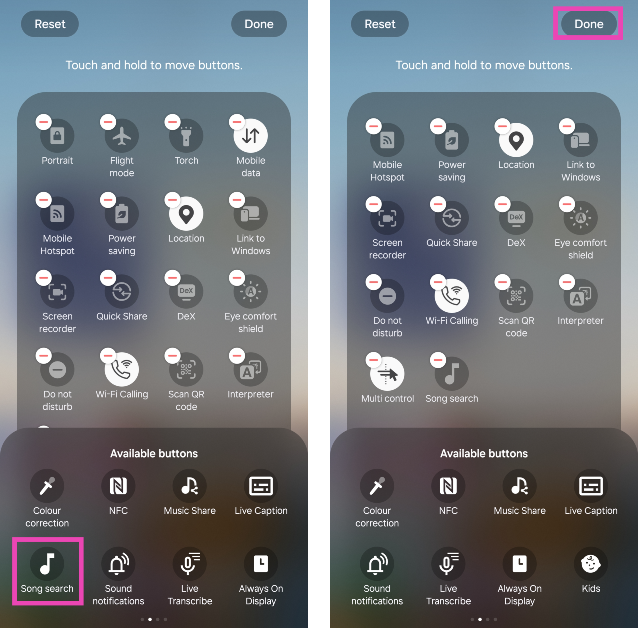 Step 4: Hit Done.
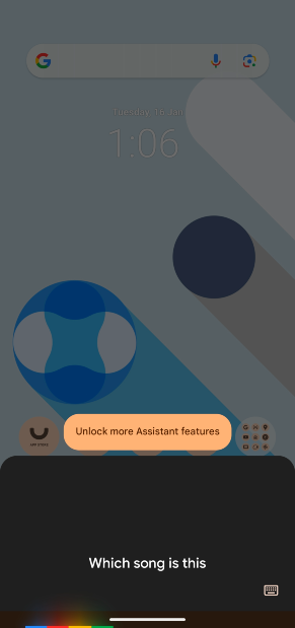
Step 5: Tap the Song search tile when a song is playing near you.
Step 4: Hit Done.
Step 5: Tap the Song search tile when a song is playing near you.
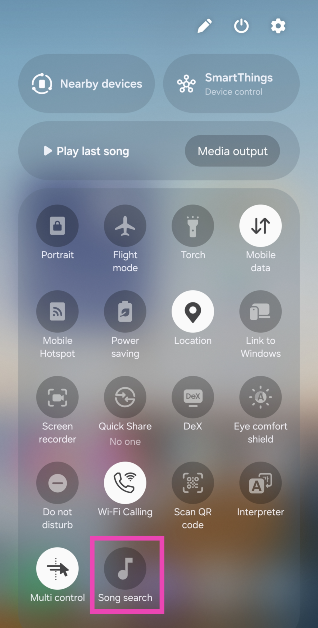 Step 6: Google Assistant will analyse the song and present the relevant search results.
 Pros
Pros
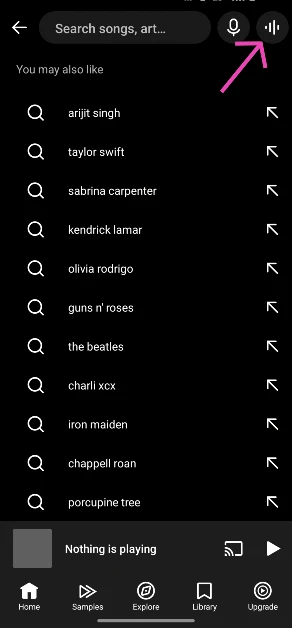
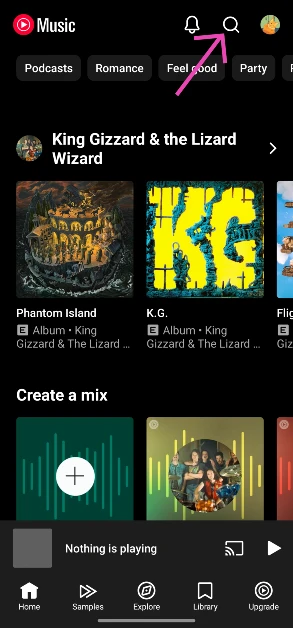 Step 3: Tap the wavelength symbol at the top right corner of the screen.
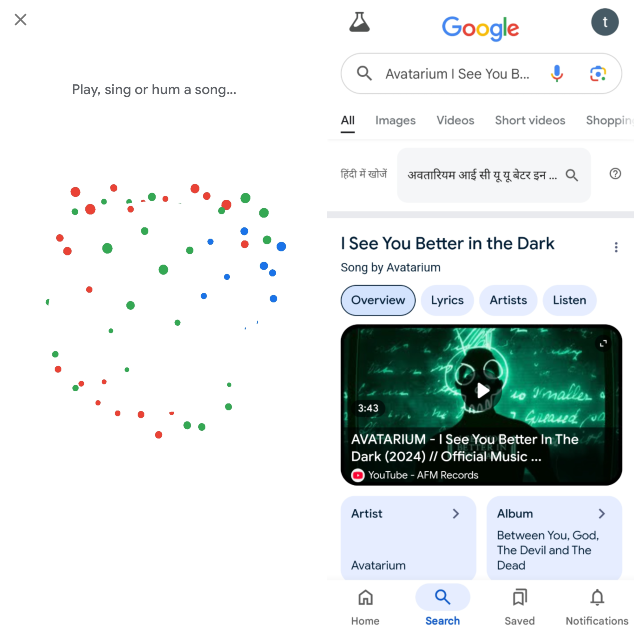
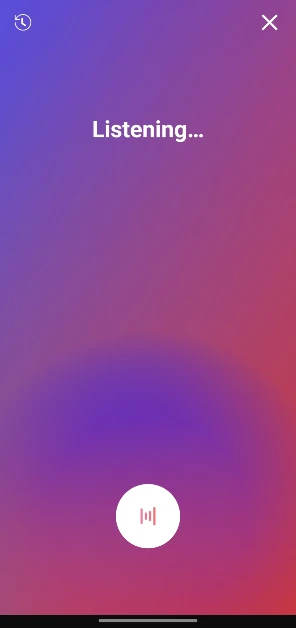
 Step 4: Hum the song for 20-30 seconds or move your phone closer to the speaker playing the song.
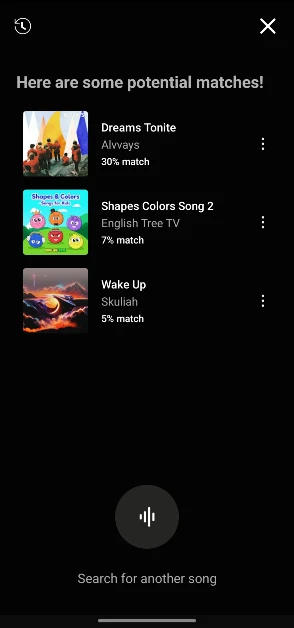
 Step 5: Google’s AI algorithm will look up the song that matches the melody. The song title, along with the artist name, album name, and release year, will appear on the screen.
 Pros
Pros
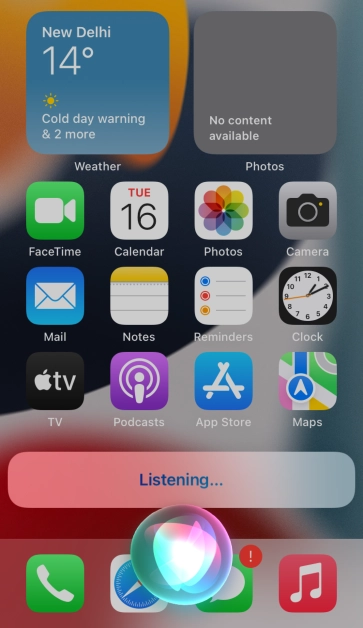
 Step 4: Your phone will listen to the song for a few seconds and then open the Google search results for the song title.
 Pros
Pros
 Step 2:
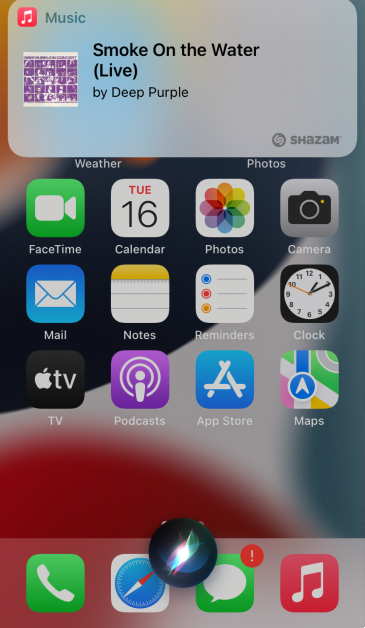 Step 3:
 Step 2:
 Step 3:
 Pros
Pros


")
 Step 3:
 Step 4:
 Step 3:
 Step 4:
 Step 5:
")
 Step 3:
 Step 4:
 Step 3:
 Step 4:
 Step 5:

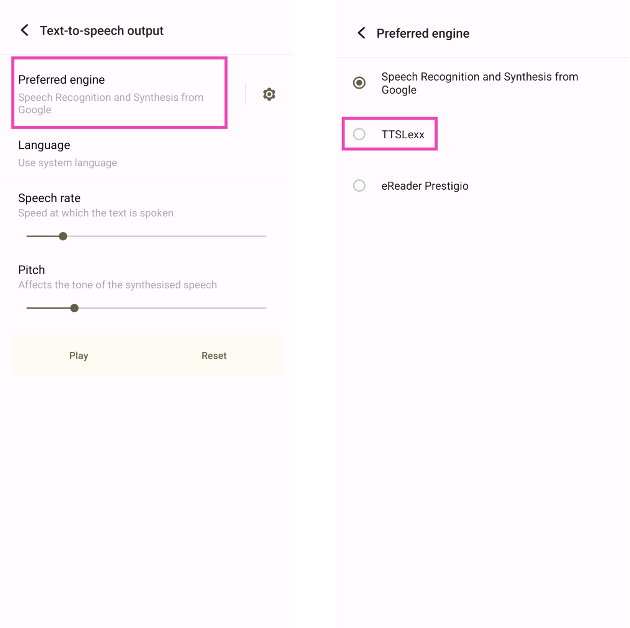
 Step 3: Tap on Text-to-speech output.
 Step 4: Tap on Preferred Engine and select TTSLexx. Save the changes.
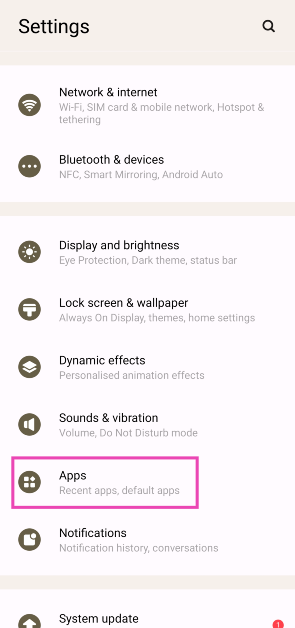
 Step 5: Go back to Settings and select Apps.
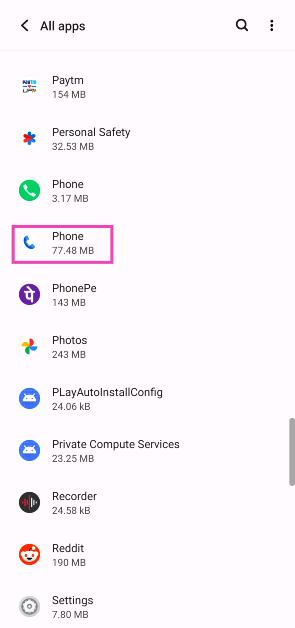
 Step 6: Scroll down to Google Phone and select it.
 Step 7: Go to Storage and select Clear Data and Clear Cache.
Step 8: Restart your phone.
Step 7: Go to Storage and select Clear Data and Clear Cache.
Step 8: Restart your phone.

 Step 3:
 Step 4: Copy
  Step 5: Generate
  Step 8:
 Step 2:
 Step 3:
 Step 5:

![[Working] Top 2 ways to copy and merge YouTube playlists? (2024)](https://www.gadgetbridge.com/wp-content/uploads/2024/01/youtube-768x402.webp "[Working] Top 2 ways to copy and merge YouTube playlists? (2024)")
 Step 3:
 Step 5:
 Step 6:
 Step 3:
 Step 4:
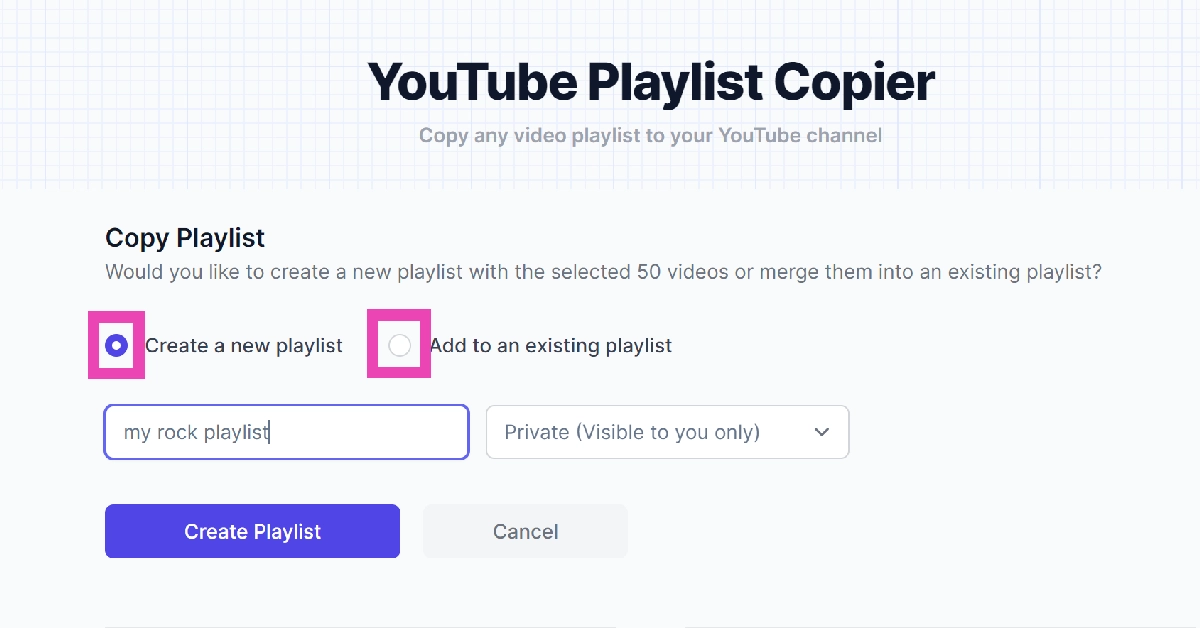 Step 6:
 Step 7:
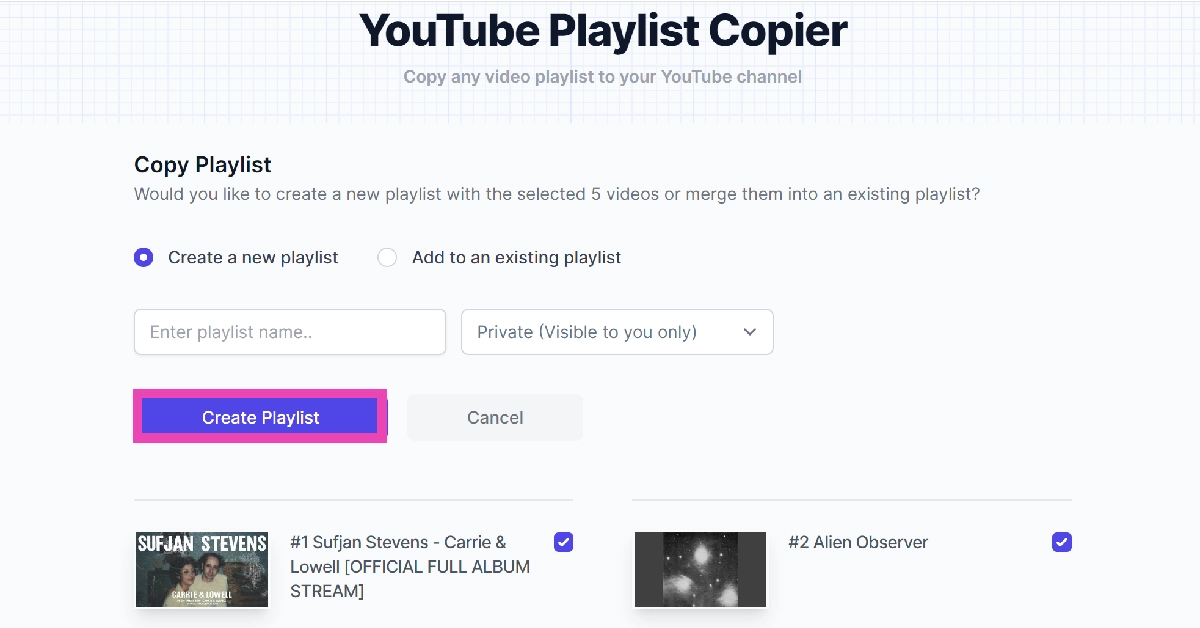 Step 8: Sign out


 Step 3: Point
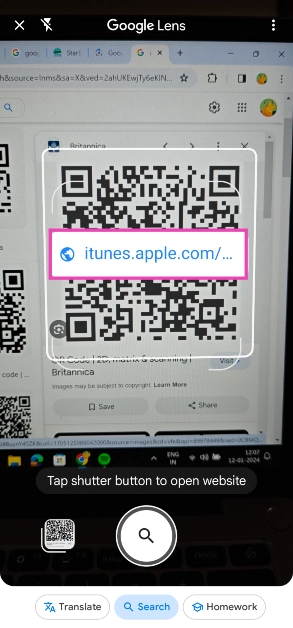
 Step 3: Point
  Step 3:
 Step 4:
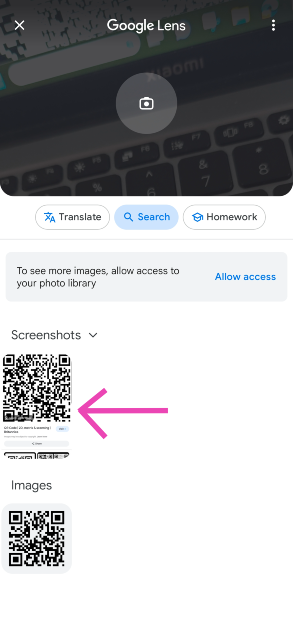 Step 5:
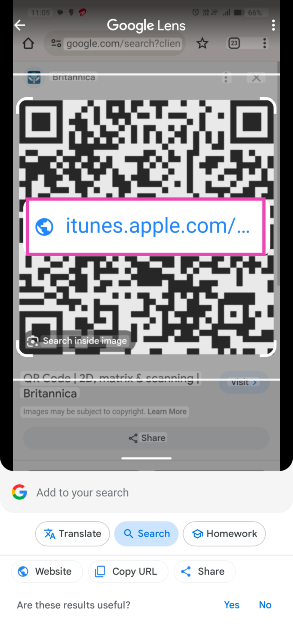
 Step 4:
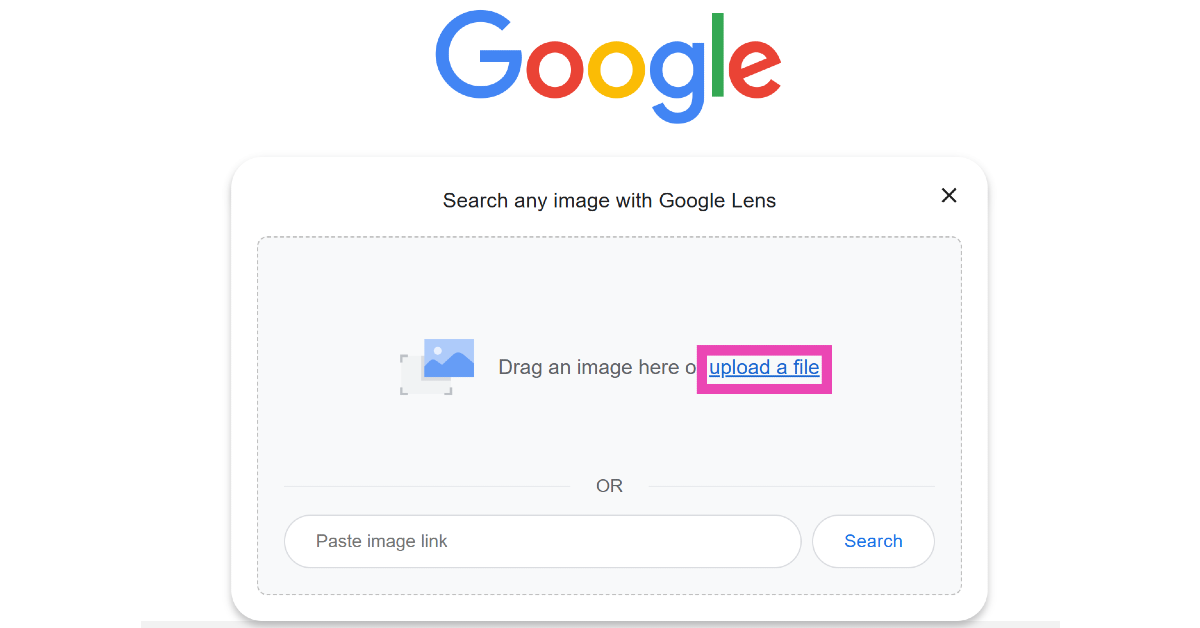
 Step 3: Click on Upload a file and upload the QR code image from your PC’s internal storage.
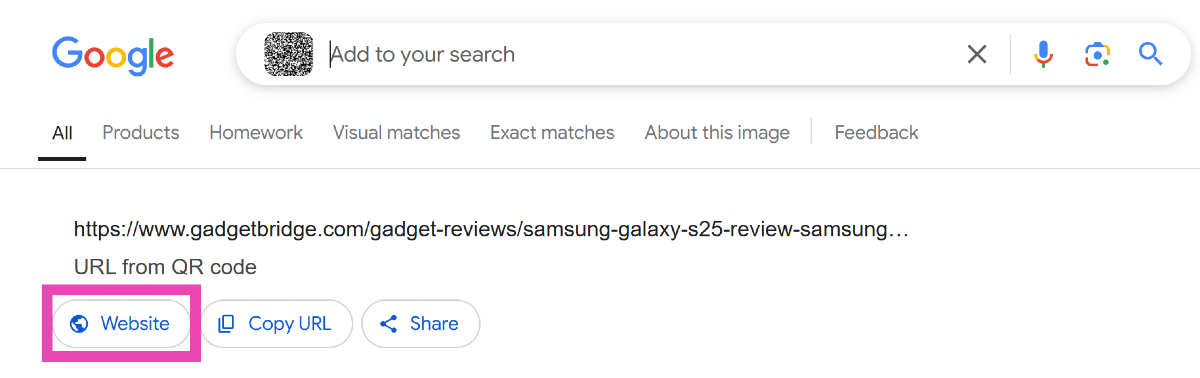
 Step 4: Google Lens will scan the code for you. Click on Website to go to the link embedded in the QR code.
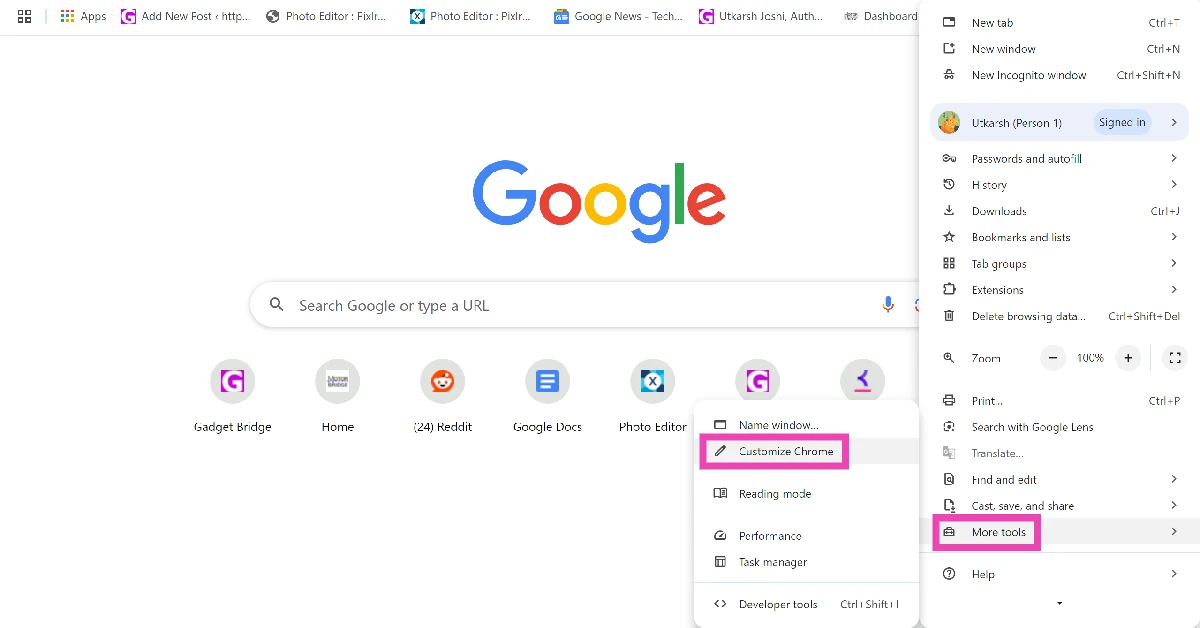
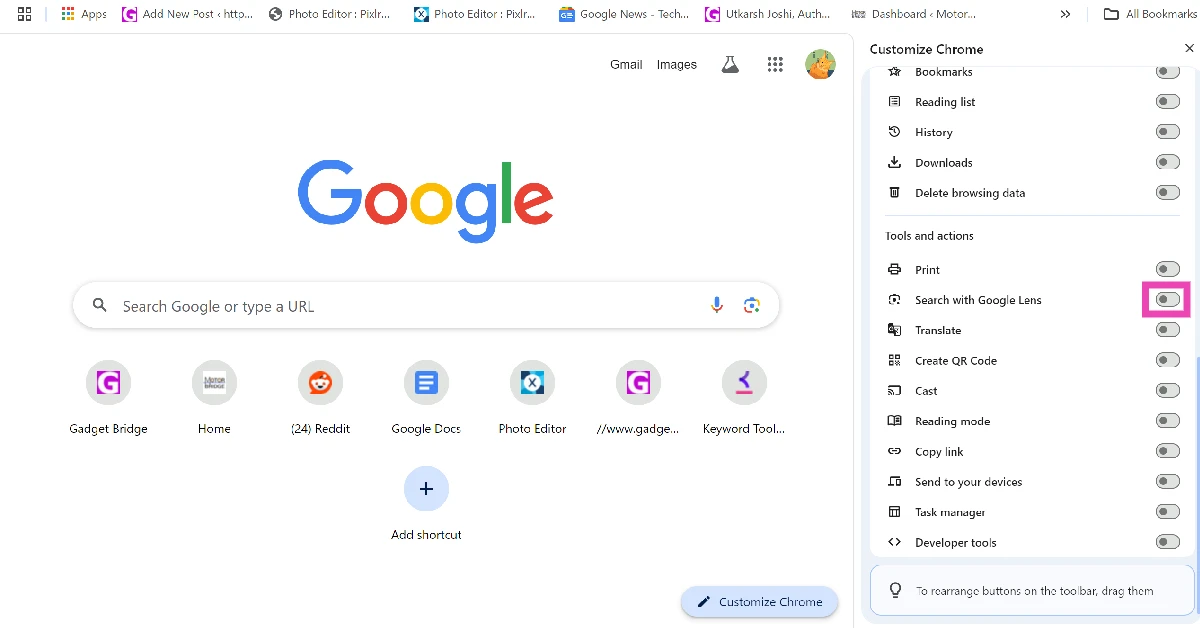
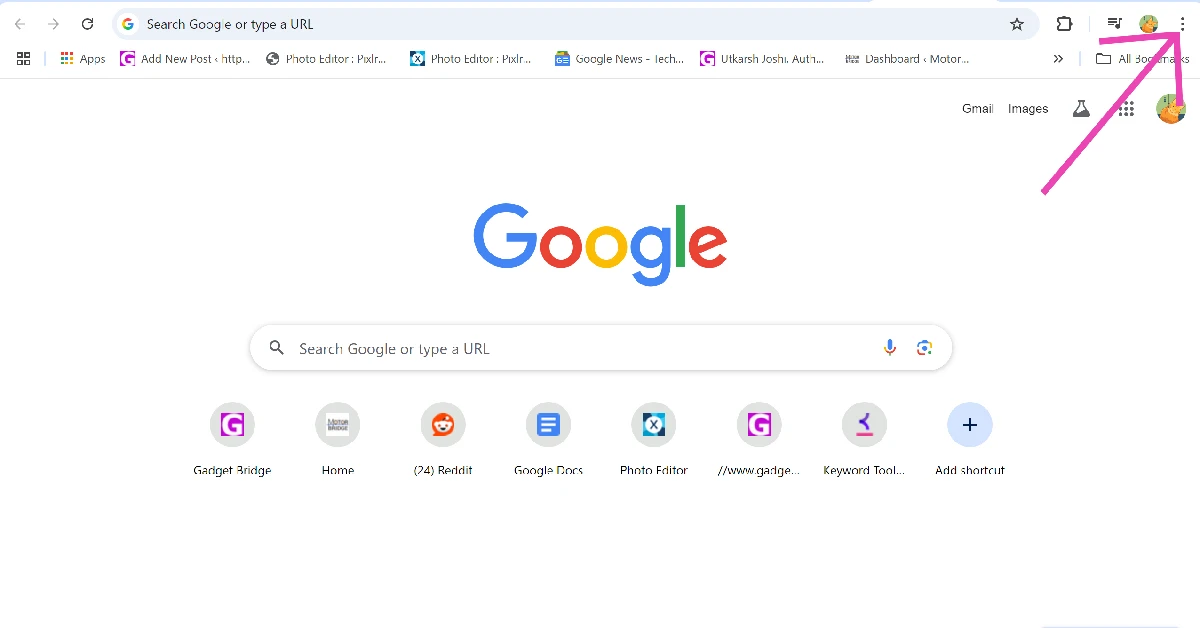 Step 2: Go to More Tools and select Customize Chrome.
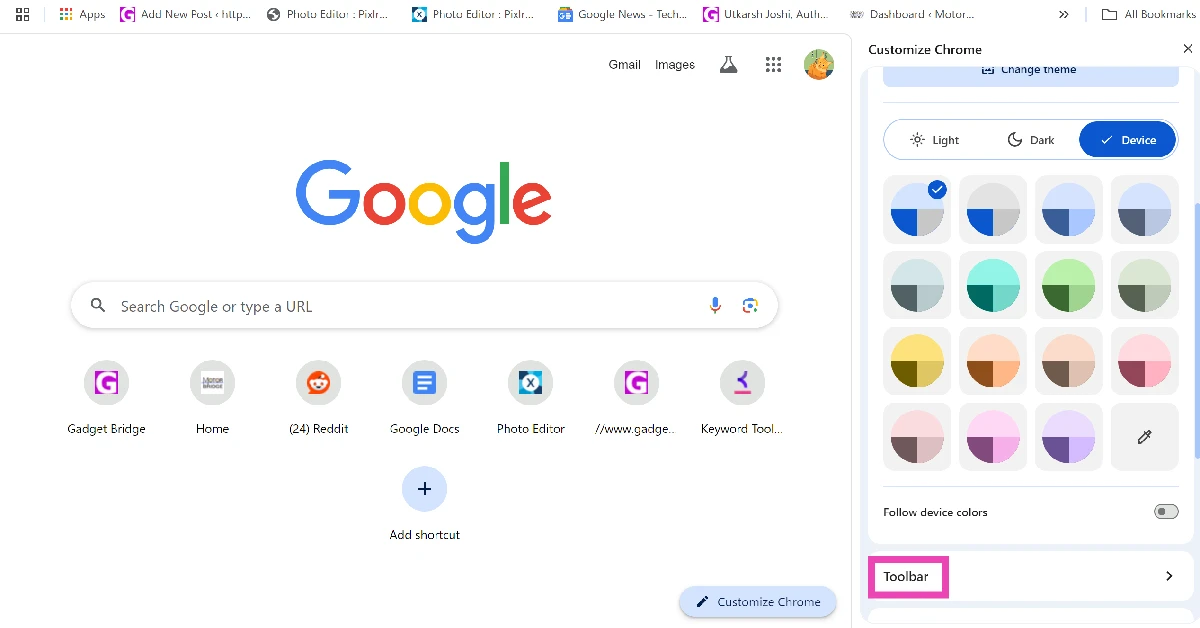
 Step 3: Scroll down and click on Toolbar.
 Step 4: Turn on the toggle switch next to Search with Google Lens.
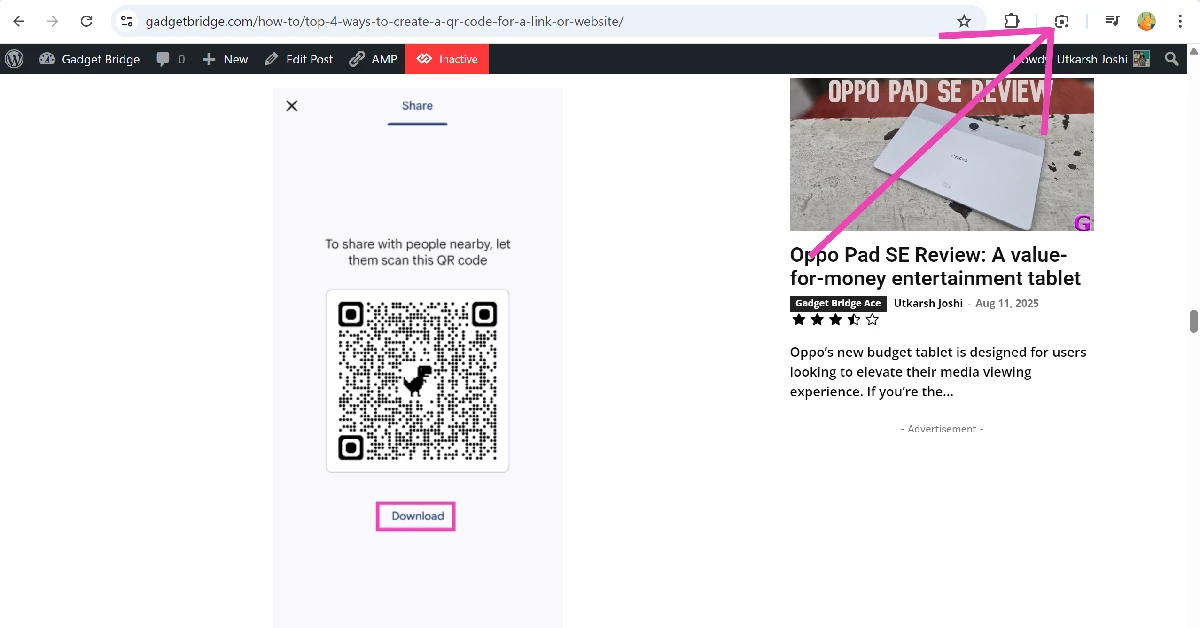
 Step 5: Go the web page containing the QR code.
Step 6: Click the Google Lens icon next to the address bar.
Step 5: Go the web page containing the QR code.
Step 6: Click the Google Lens icon next to the address bar.
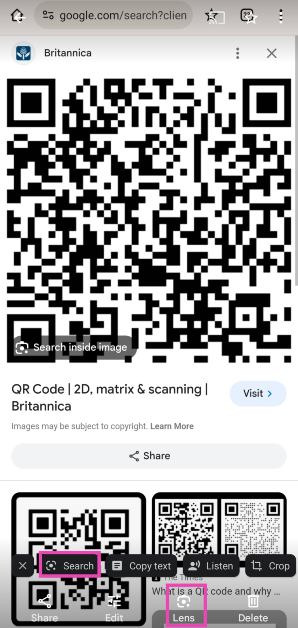
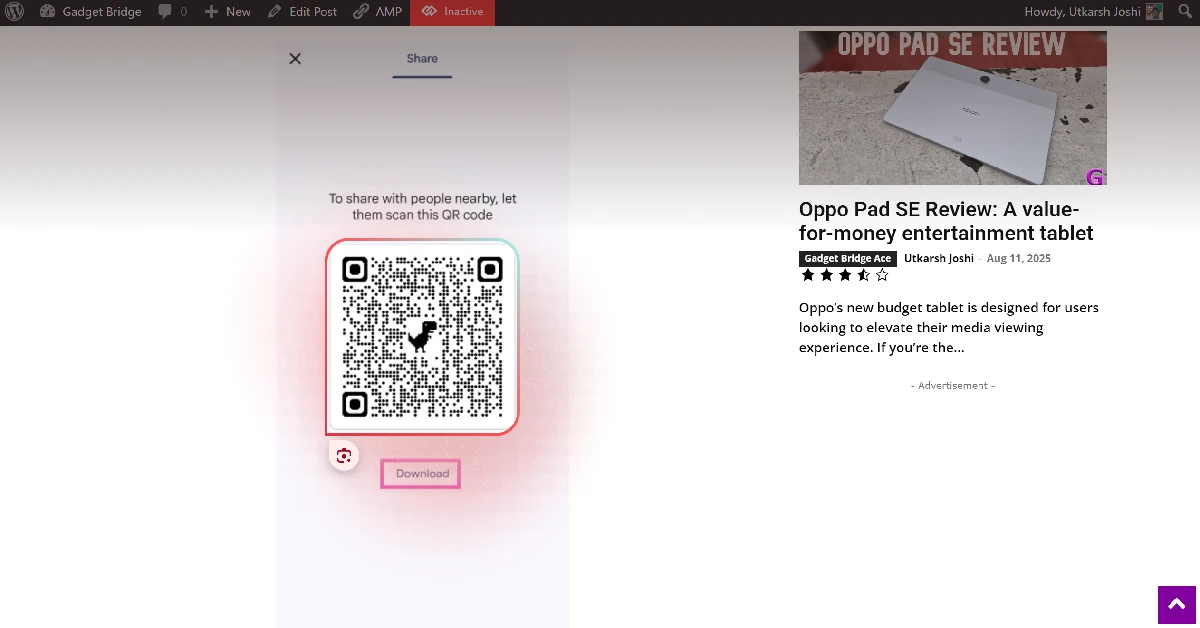
 Step 7: Use the cursor to select the QR code.
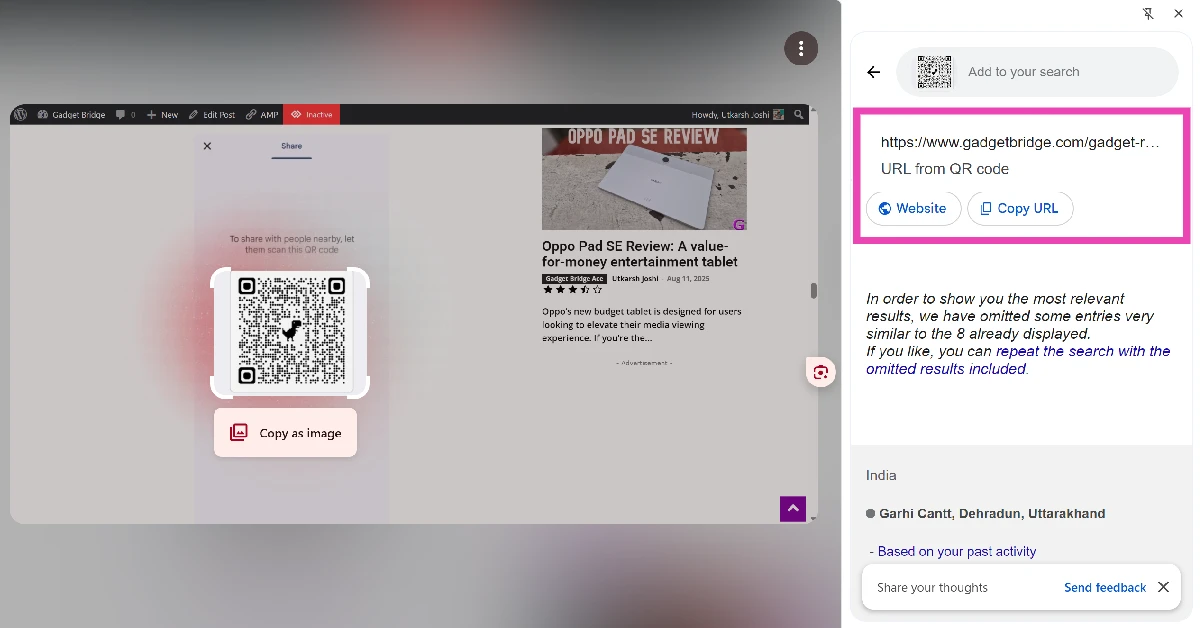
 Step 8: The data encoded in the QR code will be displayed in the sidebar.


")
 Step 4:
 Step 5:
 Step 4:
 Step 5:
 Step 6:
 Step 8:
 Step 2:
 Step 3:
 Step 4:
 Step 6:
 Step 7:
 Step 4:
 Step 5:
 Step 6:
 Step 7:
 Step 8:
 Step 9: