OnePlus Open launched in India last evening. The company is offering its first foldable with flagship-level specs. Therefore it becomes a serious challenger to all the brands offering a foldable phone especially Samsung which has already established its dominance in the market. The company recently launched Galaxy Z Fold 5 in India. Therefore, why not pit these two against each other? Here is our specs-by-specs comparison of the OnePlus Open and Samsung Galaxy Z Fold 5.
Display
OnePlus Open: Inner- 7.82-inch LTPO 3.0 Flexi-fluid AMOLED primary display
Outside- 6.31 inches Super Fluid AMOLED with LTPO 3.0
Samsung Galaxy Z Fold 5: Inner- 7.6-inch QXGA+ Dynamic AMOLED 2X Infinity Flex Display
Outside- 6.2-inch HD+ Dynamic AMOLED 2X Display
Also Read: Samsung Galaxy Z Fold 5 with S Pen Fold Edition launched
Processor
OnePlus Open: Qualcomm Snapdragon 8 Gen 2
Samsung Z Fold 5: Qualcomm Snapdragon 8 Gen 2
Rear camera(s)
OnePlus Open: A triple rear camera setup tuned by Hasselblad includes a 1/1.43” 48MP Sony LYTIA-T808 “Pixel Stacked” CMOS primary sensor with Autofocus (1.12 μm, f/1.7 aperture, 85° FoV and OIS). There is a 1/2” 48MP Ultra-Wide lens (0.8 μm, 114° FoV, f/2.2 and EIS) and OmniVision OV64B 64MP Telephoto with OIS, 3X optical (0.7 μm, f/2.6, Up to 120X digital zoom).
Samsung Z Fold 5: Rear: A 50MP Wide-angle Camera (Dual Pixel AF, OIS, F1.8, Pixel size: 1.0μm, FOV: 85˚), 10MP Telephoto Camera (PDAF, F2.4, OIS, Pixel size: 1.0μm, FOV: 36˚, 3X optical zoom), 12MP Ultra Wide Camera (F2.2, Pixel size: 1.12μm, FOV: 123˚), 12MP Ultra Wide Camera (F2.2, Pixel size: 1.12μm, FOV: 123˚).
Selfie camera
OnePlus Open: The company has provided two cameras for selfies 20MP primary (inner) and 32MP secondary (outer).
Samsung Z Fold 5: There is a 10MP Selfie Camera (F2.2, Pixel size: 1.22μm, FOV: 85˚) on the cover, and a 4MP Under Display Camera (F1.8, Pixel size: 2.0μm, FOV: 80˚).
RAM and storage
OnePlus Open: 16GB RAM with 512GB storage
Samsung Z Fold 5: 12GB RAM with 256GB storage, 12GB RAM with 512GB storage, 12GB RAM with 1TB storage
Battery
OnePlus Open: 4,805mAh battery
Samsung Z Fold 5: 4,400mAh battery
Also Read: OnePlus Open powered by Snapdragon 8 Gen 2 SoC and Hasselblad branded triple rear cameras launched in India
Operating system
OnePlus Open: OxygenOS 13.2 based on Android 13
Samsung Z Fold 5: One UI 5.1.1, which is based on Android 13
Price
OnePlus Open: Rs 1,39,999
Samsung Z Fold 5: Rs 154,999
Our Take
With impressive specifications, the
OnePlus Open appears to be an intimidating rival for the Galaxy Z Fold 5. The most recent
Snapdragon 8 Gen 2 Mobile CPUs are in both phones. However, the Samsung Fold is available in three distinct configurations while the OnePlus Phablet just has one RAM and storage choice. The designs of both phones were influenced by the respective business flagships.
Compared to the Fold 5, the OnePlus Open is more compact and slender. The OnePlus phone’s display is also brighter than the Galaxy phone’s. They both ship pre-installed with Android 13 devices.
When it comes to photography, OnePlus does better than Samsung. On paper, the OnePlus Open cameras appear to be reliable, but the performance of the camera on the Fold 5 doesn’t fall short (
Samsung Galaxy Z Fold 5 Review).
Although the
Samsung Fold 5 is available in a variety of configurations, its basic model costs even more than the OnePlus Open 16GB RAM with a 512GB storage option. We are aware that Samsung has a sizable and loyal fan base for its reliable and proven handsets. However, the OnePlus Open definitely beats the OnePlus Fold 5 in terms of specs and cost.
For the latest
gadget and tech news, and
gadget reviews, follow us on
Twitter,
Facebook and
Instagram. For newest
tech & gadget videos subscribe to our
YouTube Channel. You can also stay up to date using the
Gadget Bridge Android App. You can find the latest
car and bike news here.


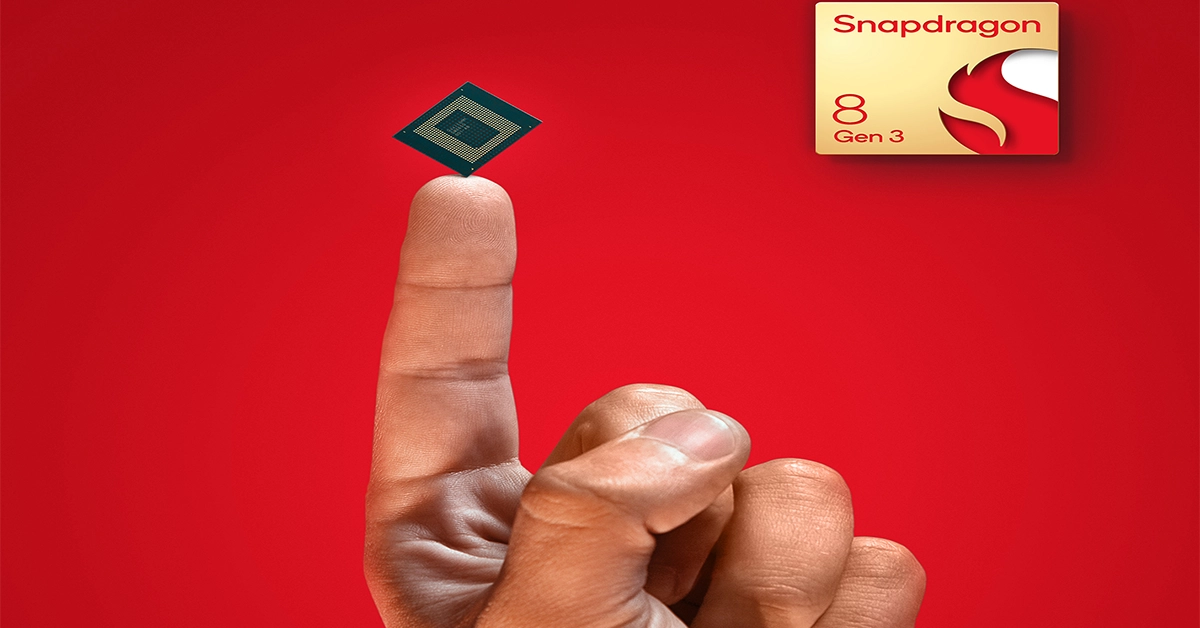 It comes with Hexagon process NPU which is claimed with 98% faster and 40% more efficient performance. Moreover, the chipset is said to come integrated with Qualcomm Adreno GPU with 25% faster performance. The mobile processor will support 240 fps gaming on 240 Hz displays along with hardware-accelerated ray tracing in addition to global illumination.
For photography, the Qualcomm Snapdragon 8 Gen 3 SOC will powered by Samsung’s 200-megapixel image sensor. In addition to 2X and 4X zoom, all in 4K with object tracking the chip will also allow multiple video capture with support for Dolby HDR. According to Qualcomm, the AI will help in filling up photos using the Photo Expansion feature while the Video Object Eraser by Arcsoft will remove items in a video.
“Thanks to our leading Cognitive ISP, you can intelligently snap one-of-a-kind content with generative AI voice-activated photo and video editing. Plus, individually optimize different components of your shots in real-time in up to 12 layers for more detail, vibrancy, and authenticity with Semantic Segmentation— available on front and back cameras. Even in the darkest of dark, Night Vision video capture powered by AI lets you achieve incredible content, ” Qualcomm said.
Two always-sensing cameras in the front and back allow for easy QR code scanning, face unlock, and more. Whereas Two always-sensing cameras in the front and back allow for easy QR code scanning, face unlock, and more. It will also include Vlogger’s View will also allow you to share both your selfie camera and rear camera video simultaneously, putting you in the action as you share and narrate.
On the connectivity front, the Qualcomm Snapdragon 8 Gen 3 processor will include Qualcomm FastConnect 7800 that will provide support for Bluetooth 5.4, Wi-Fi 7 802.11be, 802.11ax, 802.11ac, 802.11a/b/g/n. It will also have a Snapdragon X75 5G Modem-RF System with AI tensor accelerator that achieves better speeds, coverage, mobility, link robustness, and location accuracy.
It comes with Hexagon process NPU which is claimed with 98% faster and 40% more efficient performance. Moreover, the chipset is said to come integrated with Qualcomm Adreno GPU with 25% faster performance. The mobile processor will support 240 fps gaming on 240 Hz displays along with hardware-accelerated ray tracing in addition to global illumination.
For photography, the Qualcomm Snapdragon 8 Gen 3 SOC will powered by Samsung’s 200-megapixel image sensor. In addition to 2X and 4X zoom, all in 4K with object tracking the chip will also allow multiple video capture with support for Dolby HDR. According to Qualcomm, the AI will help in filling up photos using the Photo Expansion feature while the Video Object Eraser by Arcsoft will remove items in a video.
“Thanks to our leading Cognitive ISP, you can intelligently snap one-of-a-kind content with generative AI voice-activated photo and video editing. Plus, individually optimize different components of your shots in real-time in up to 12 layers for more detail, vibrancy, and authenticity with Semantic Segmentation— available on front and back cameras. Even in the darkest of dark, Night Vision video capture powered by AI lets you achieve incredible content, ” Qualcomm said.
Two always-sensing cameras in the front and back allow for easy QR code scanning, face unlock, and more. Whereas Two always-sensing cameras in the front and back allow for easy QR code scanning, face unlock, and more. It will also include Vlogger’s View will also allow you to share both your selfie camera and rear camera video simultaneously, putting you in the action as you share and narrate.
On the connectivity front, the Qualcomm Snapdragon 8 Gen 3 processor will include Qualcomm FastConnect 7800 that will provide support for Bluetooth 5.4, Wi-Fi 7 802.11be, 802.11ax, 802.11ac, 802.11a/b/g/n. It will also have a Snapdragon X75 5G Modem-RF System with AI tensor accelerator that achieves better speeds, coverage, mobility, link robustness, and location accuracy. 
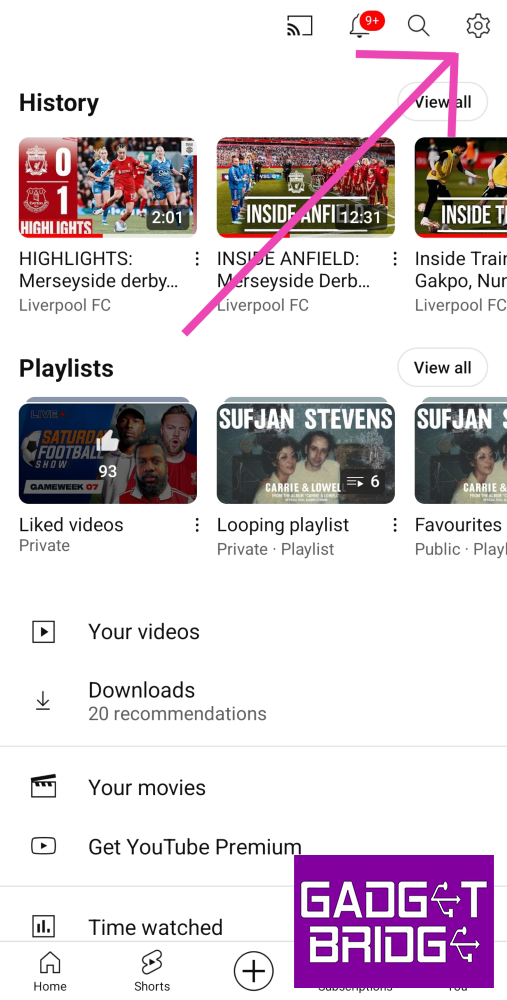
 Step 3:
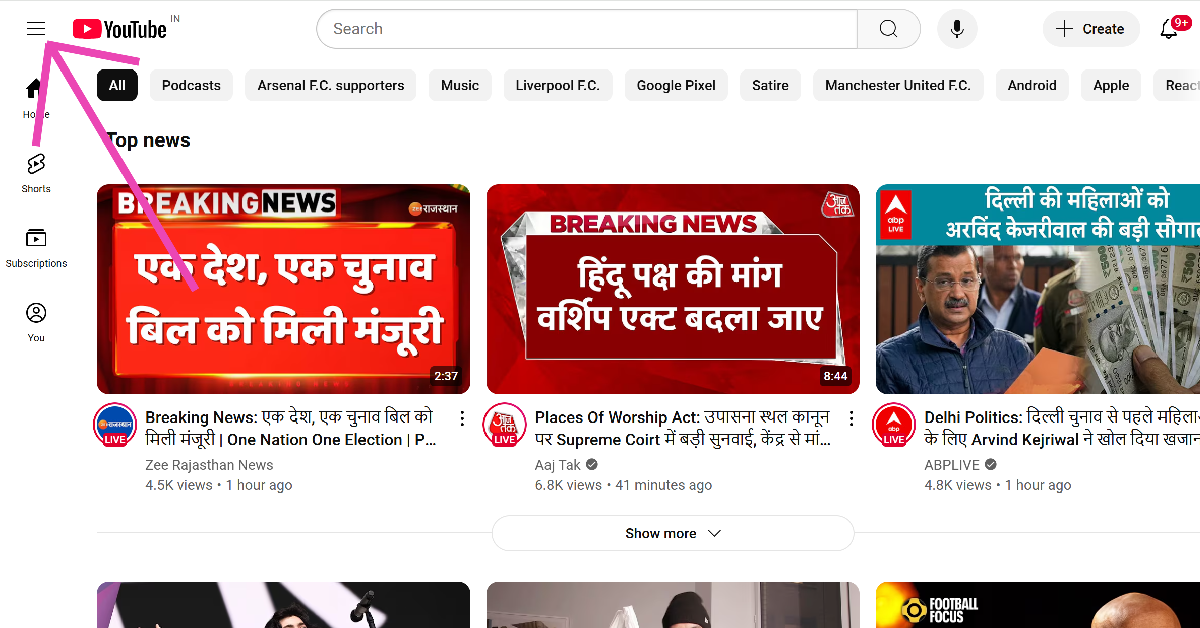 Step 3: Click on History.
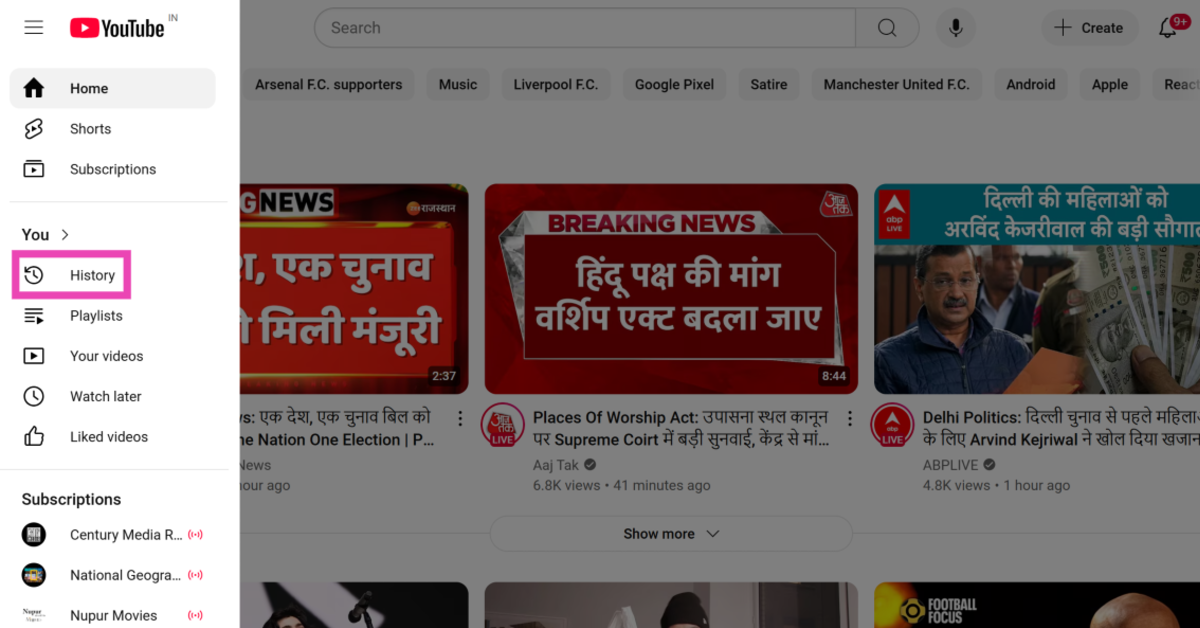 Step 4: Click on Pause watch history.
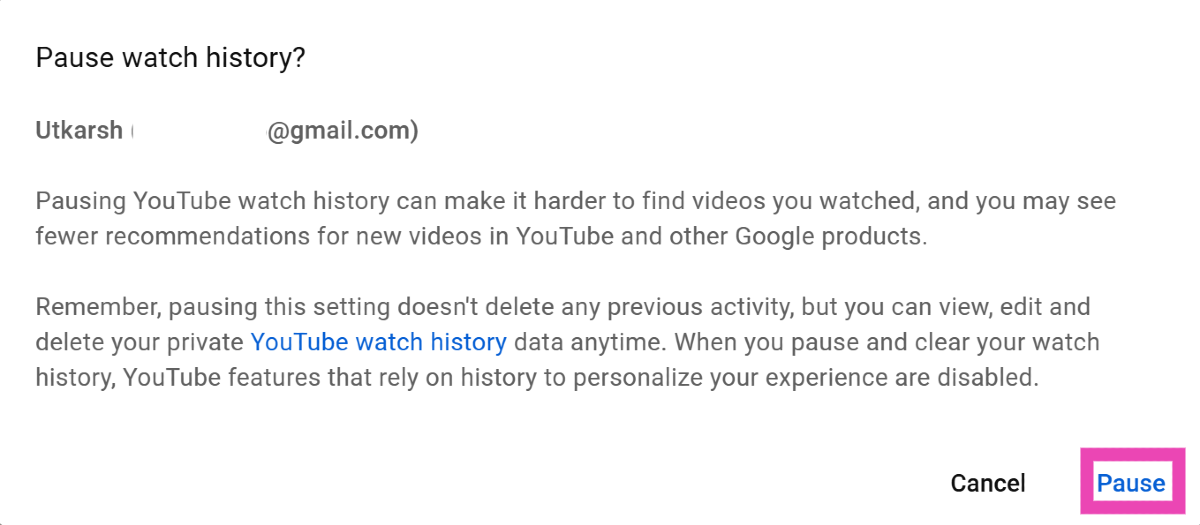
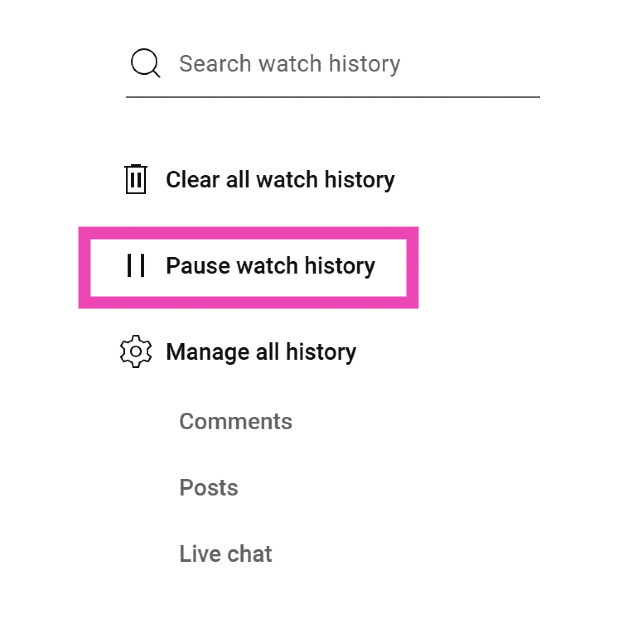 Step 5: Confirm your selection in the popup box.
 Step 3:
 Step 5:
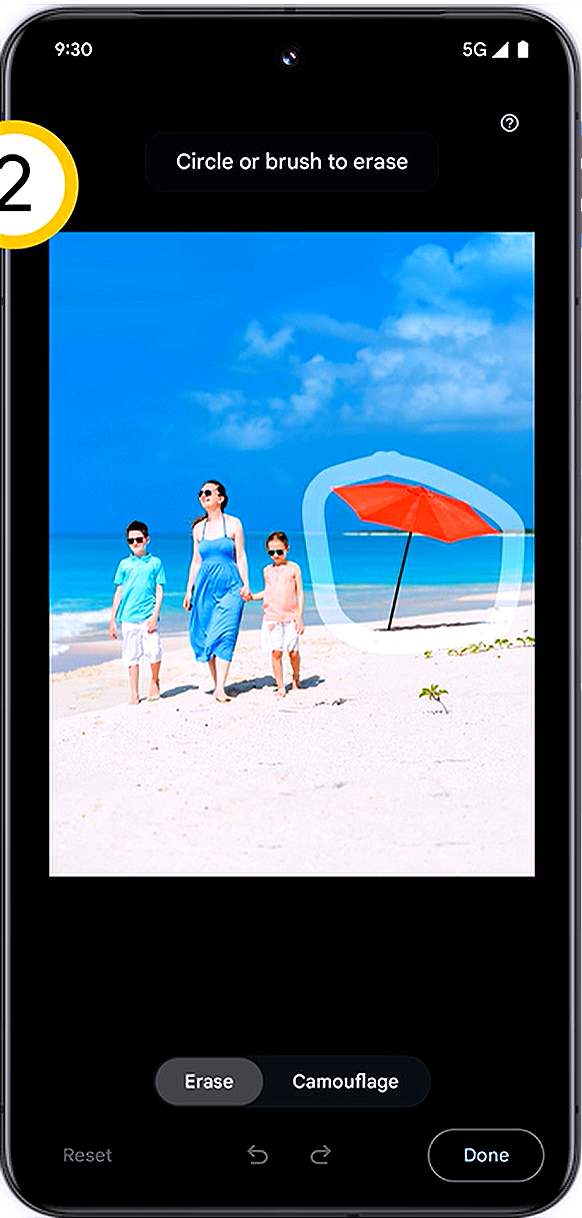 Step 6:
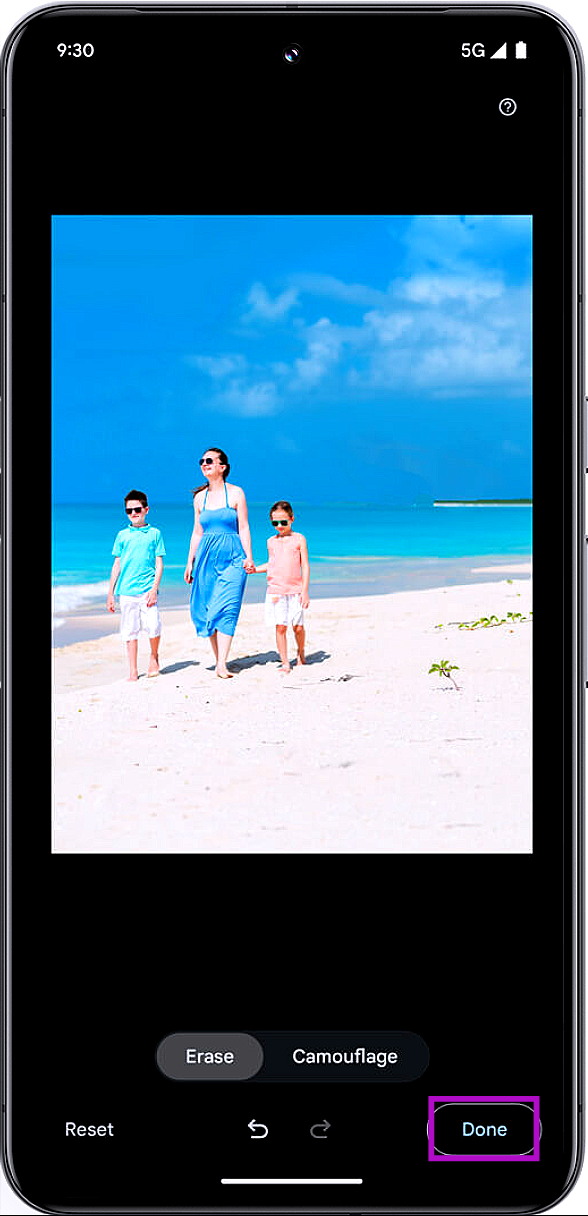 Step 7:
 Step 1: Launch


 Step 2:
 Step 3:
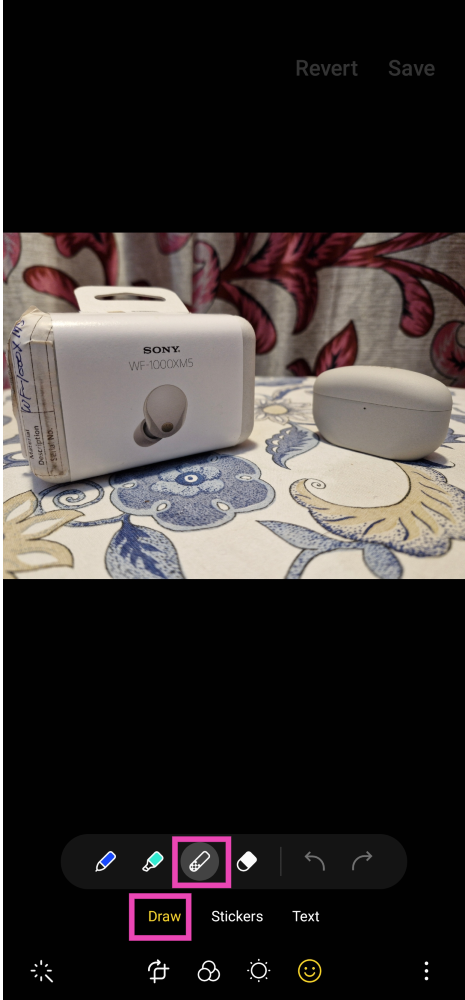 Step 4:
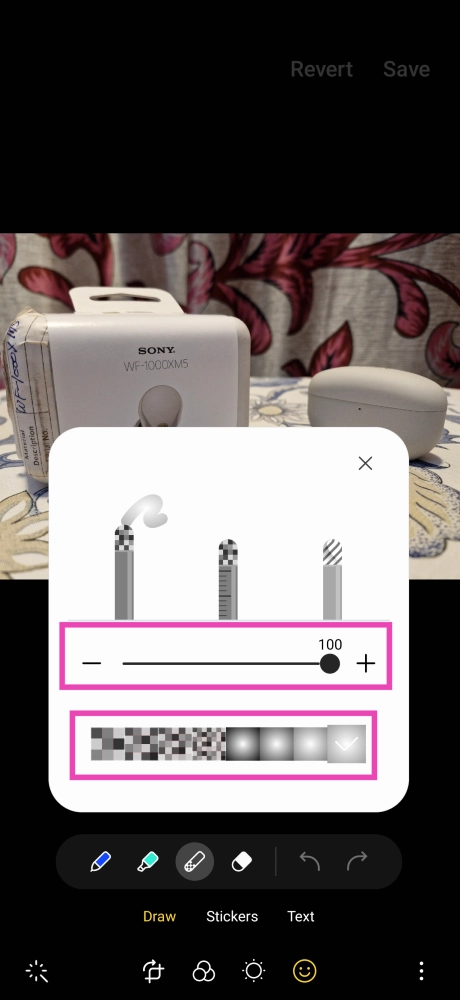 Step 5:
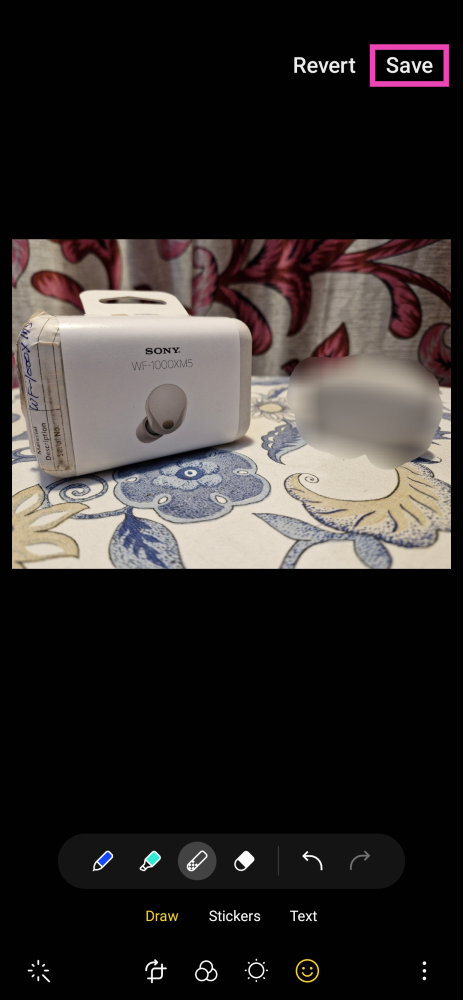 Step 6:
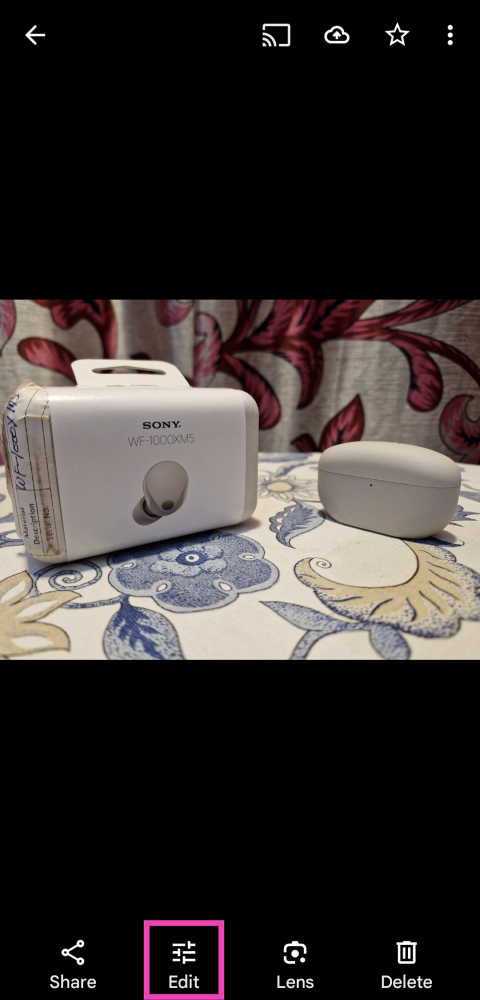 Step 3:
 Step 4: Move
 Step 5:
 Step 6:
 Step 3:
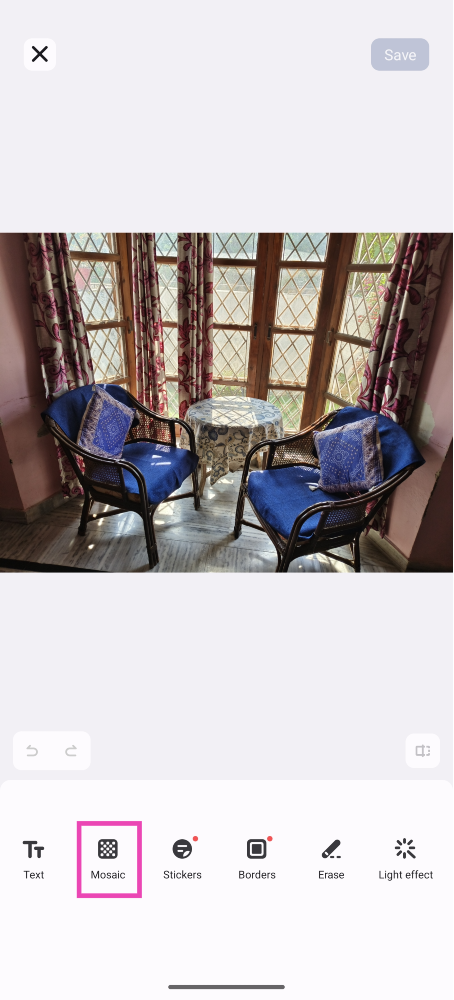 Step 4:
 Step 5: Brush
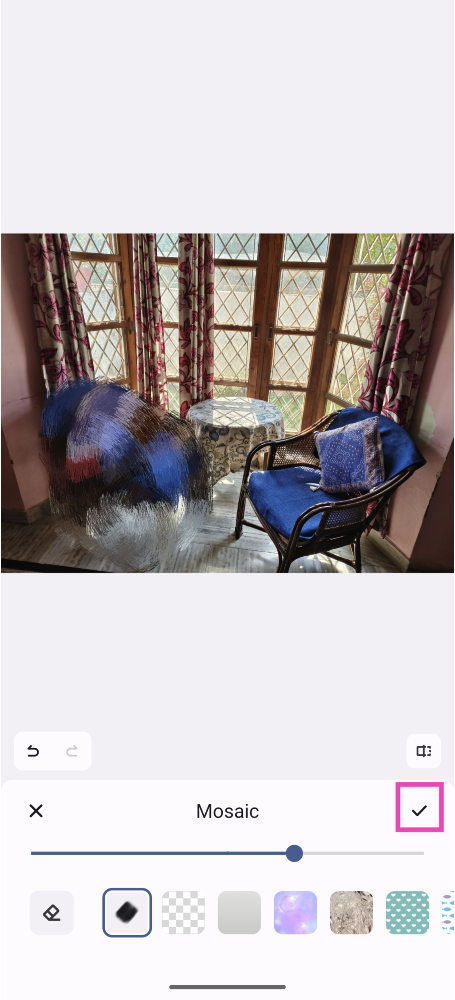 Step 6:
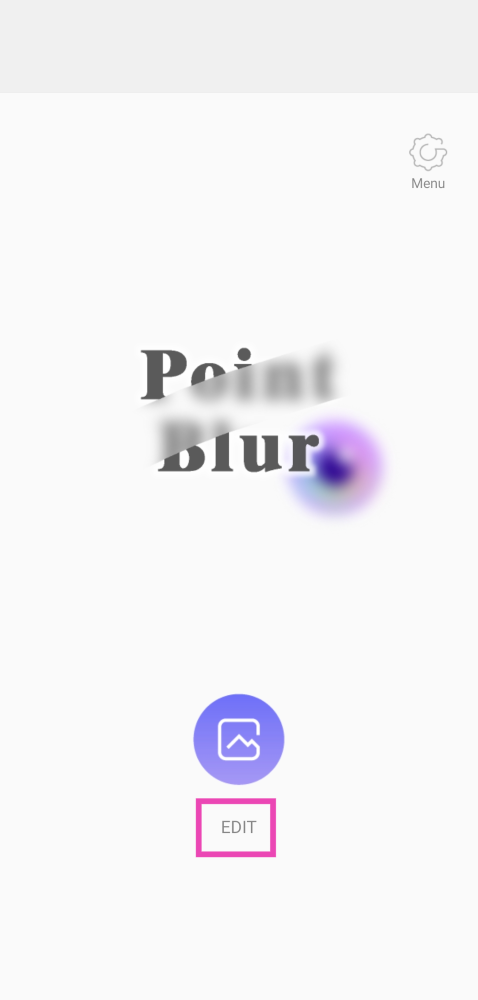 Step 3: Select
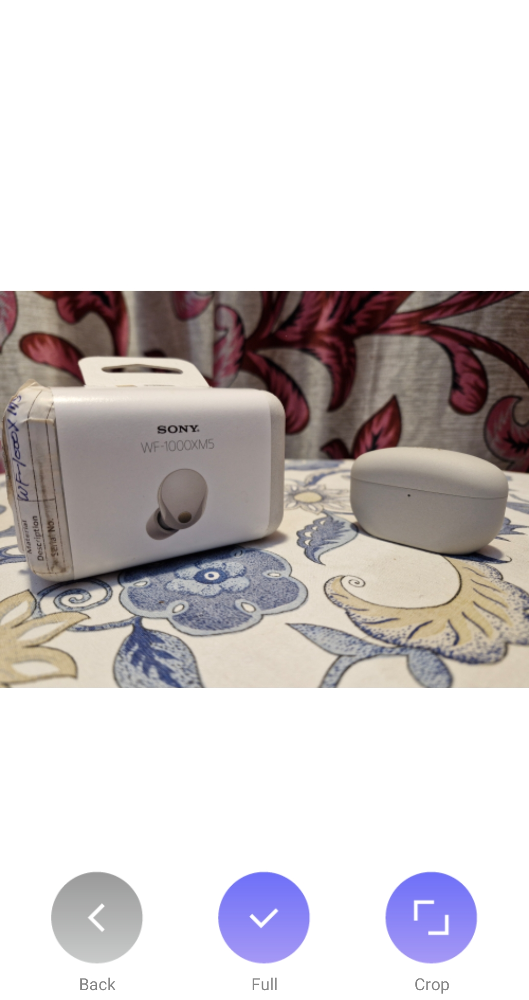 Step 5:
 Step 6: Draw


 Step 3:
 Step 4:
 Step 2:
 Step 3:
 Step 4: Install
 Step 5:
 Step 6:
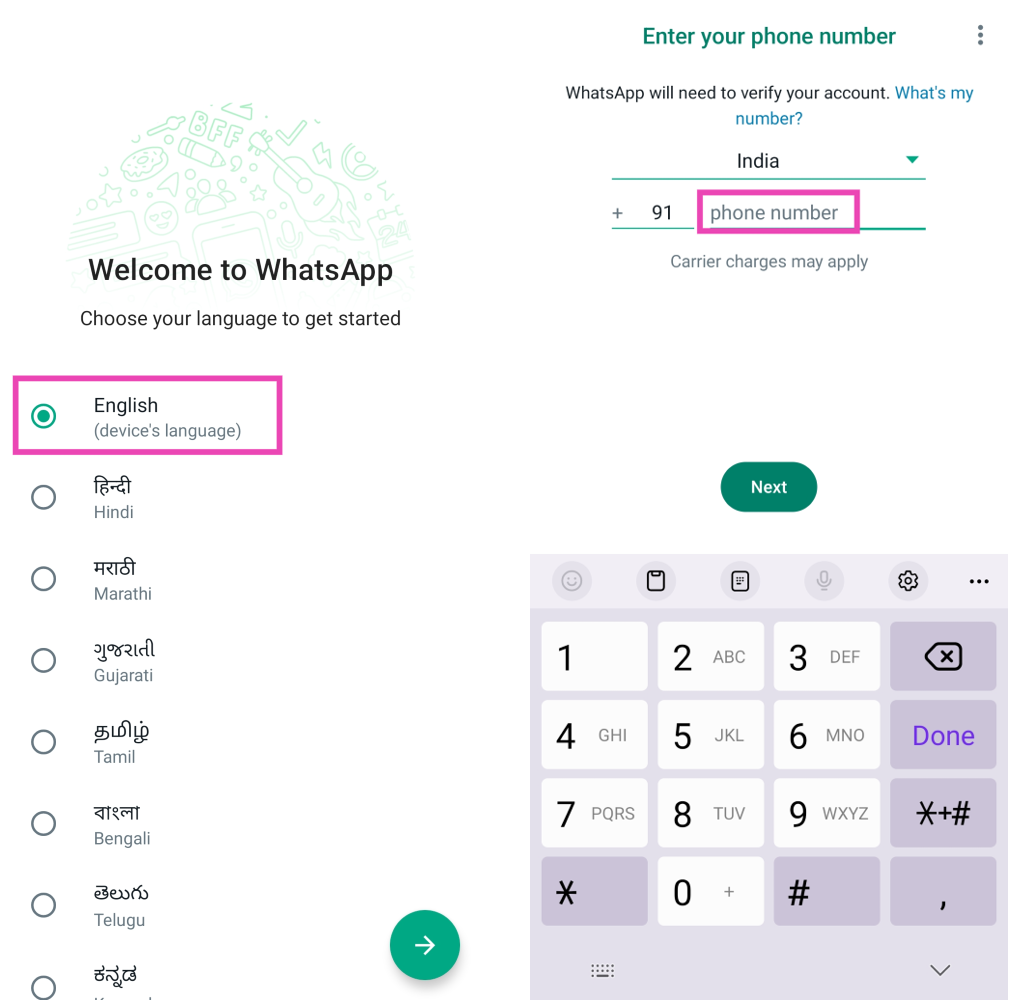 Step 7:


 Also Read:


 Step 2:
 Step 3:
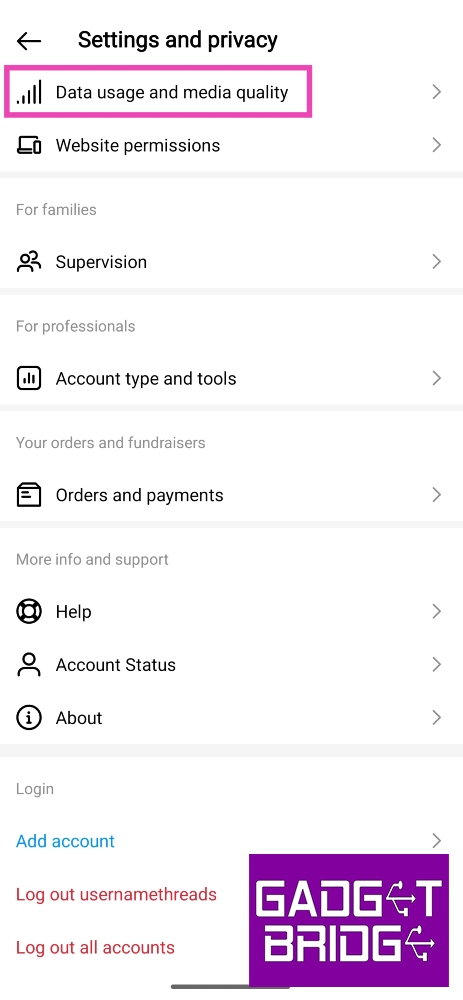 Step 4:
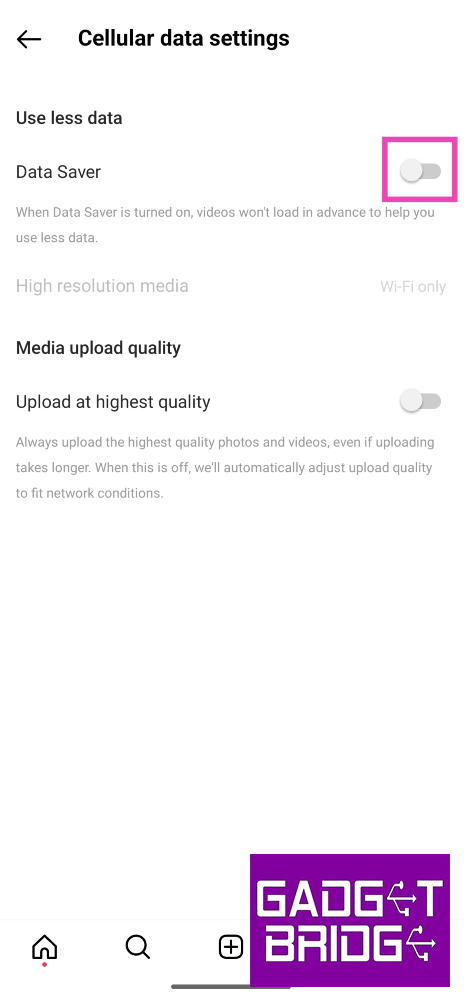
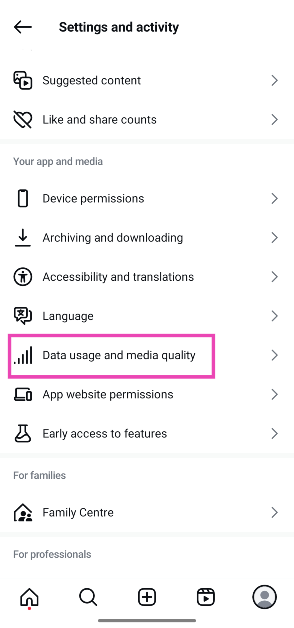
 Step 2: Tap on Data usage and media quality.
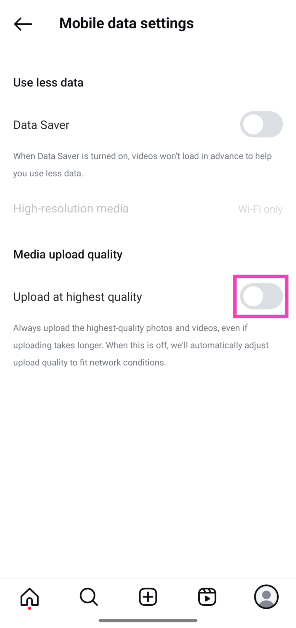
 Step 3: Turn on the toggle switch next to Upload at highest quality.
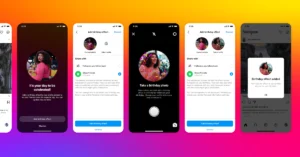
 Instead of uploading a picture from your phone’s gallery, use Instagram’s in-app camera to take a picture and then upload it as your story. Instagram’s in-app camera is optimised for the platform and the loss in quality is minimal compared to uploading a picture or video from your phone’s gallery. Of course, this method only works when you’re present in the scene you want to capture. If you want to upload an old picture to your story, this method is irrelevant.
 Adding music or stickers to your stories makes them bulkier. This dials down their quality during the upload process. To maintain the quality of your image or video, do not apply any add-ons available on the story creation page. Keep your media the focus of your story. This will ensure that it is uploaded at the highest possible quality.
 While uploading a picture or video on your Instagram story, make sure it adheres to the platform’s guidelines for resolution, size, and aspect ratio. If your media is too high-quality or large in size, Instagram will compress it, thereby making it blurry. The aspect ratio should be 9:16 and the resolution should be 1,920 x 1,080p. Images should not be larger than 30MP while the video size should not exceed 4GB.
 Step 2:
 Step 3:
  Step 4:
 Step 2:
 Step 3:
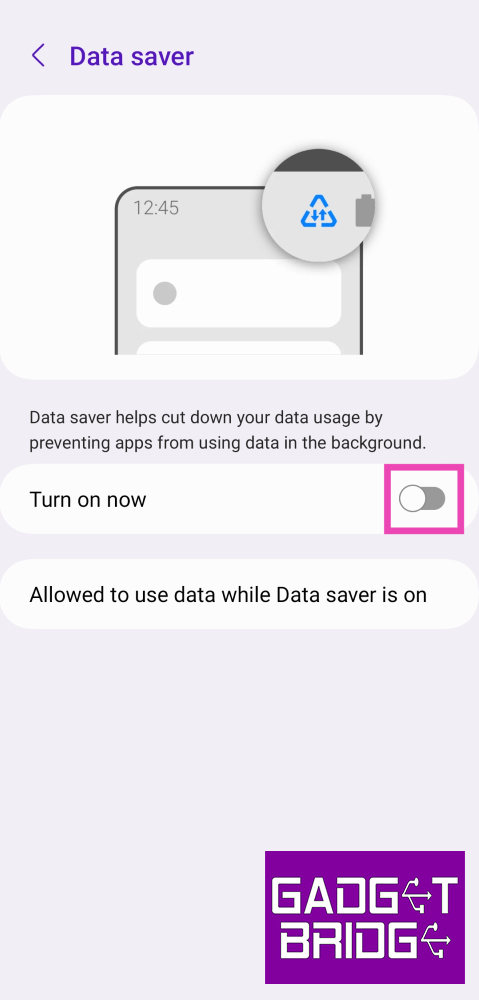
 Step 4: Turn off the toggle switch for Turn on now.

 Step 3:
  Step 4:
 Step 2:
 Step 3:
 Step 4:
 Step 3:
  Step 4:
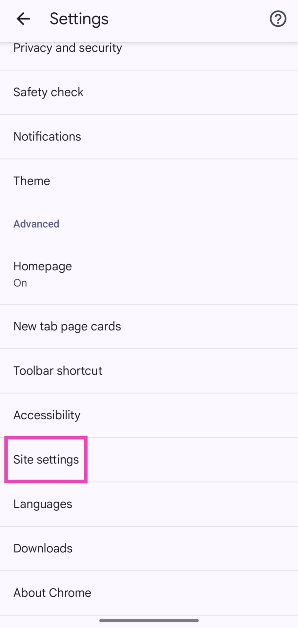
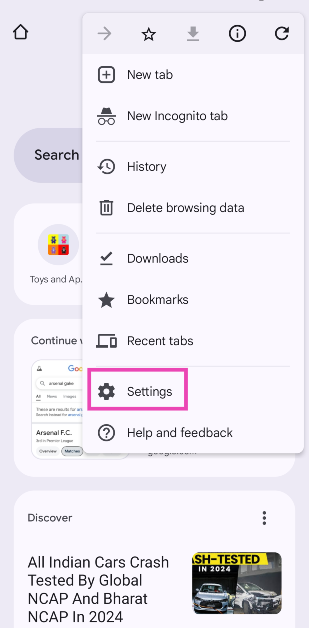 Step 3: Tap on Site settings.
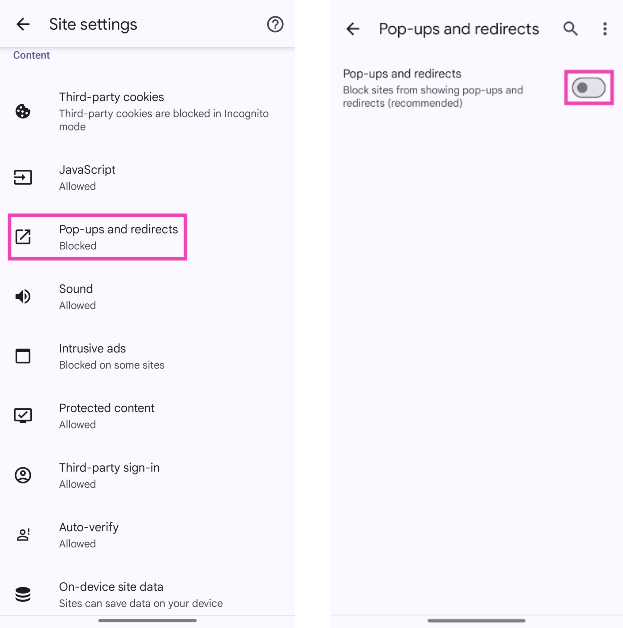
 Step 4: Select Pop-ups and redirects and turn off its toggle switch.
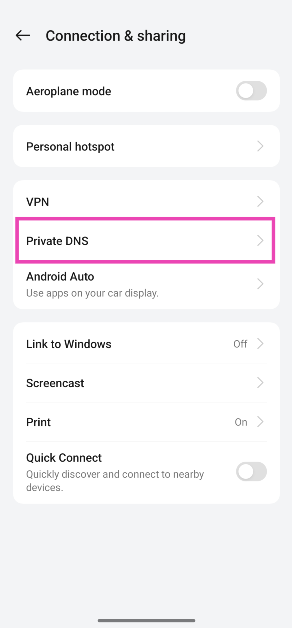
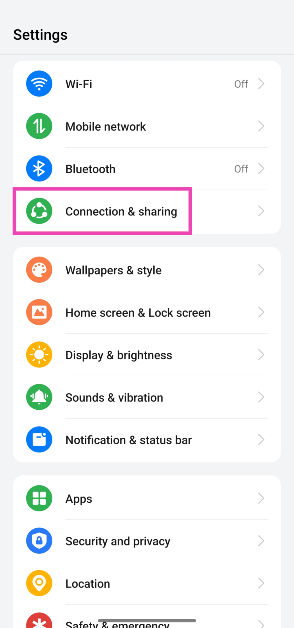 Step 2: Tap on Private DNS.
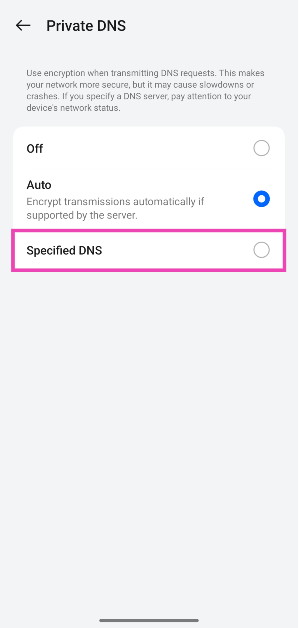
 Step 3: Select Specified DNS.
 Step 4: Enter the hostname of the DNS provider. For example, dns.adguard-dns.com or family.adguard-dns.com.
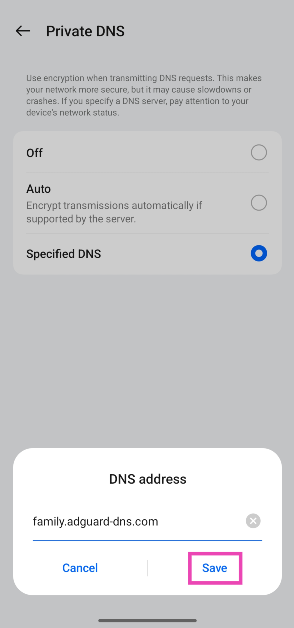 Step 5: Hit Save.
 Step 3:
 Step 4:

 WhatsApp official