

In This Article
Make a collage using the Photos app
Step 1: Open the Google Photos app on your phone. Step 2: Select ‘Library’ from the bottom menu. Step 3: Tap on ‘Utilities’. Step 4: Select ‘Collage’ under the Create New section.
 Step 5: Select the images you want to put in your collage.
 Step 6: Google Photos will create a collage for you.
 While this may be the easiest way to make a collage, Google Photos doesn’t let you select the layout or make any further edits. To get more control over the collage you’re creating, use one of the specialised collage apps.
Make a collage using Collage Maker by Inshot
 Collage Maker by Inshot gives you greater control over the collage you’re making. You can combine up to 20 photos to make a collage and choose from more than 300 layouts, photo frames, and grids. On top of that, you can even customise the background and add text and other animations over the collage.
Collage Maker by Inshot saves your pictures in high resolution and also gives you the option to share your freshly made collage directly to Facebook and other social media.
Collage Maker by Inshot gives you greater control over the collage you’re making. You can combine up to 20 photos to make a collage and choose from more than 300 layouts, photo frames, and grids. On top of that, you can even customise the background and add text and other animations over the collage.
Collage Maker by Inshot saves your pictures in high resolution and also gives you the option to share your freshly made collage directly to Facebook and other social media.
Make a collage using Layout from Instagram: Collage
 Layout from Instagram: Collage is an app developed by Instagram for users to make exciting collages. This intuitive app lets you select up to 9 images at once to make fun, personalised collages. Layout from Instagram saves the collages in your phone gallery. You do not need to sign in to use it.
Read Also: Instagram Tips & Tricks – Making an Account for Your Pet
These are the best ways to make a collage on Android. While Google Photos is the easiest way to make a collage without downloading any app, it does not offer any creative control to the user. You can find a ton of apps on the Play Store, apart from the ones listed above, that have their own unique features which make the process of collage-making fun and exciting. If you have a favourite app to make collages, let us know in the comments!
For the latest gadget and tech news, and gadget reviews, follow us on Twitter, Facebook and Instagram. For newest tech & gadget videos subscribe to our YouTube Channel. You can also stay up to date using the Gadget Bridge Android App. You can find the latest car and bike news here.
Layout from Instagram: Collage is an app developed by Instagram for users to make exciting collages. This intuitive app lets you select up to 9 images at once to make fun, personalised collages. Layout from Instagram saves the collages in your phone gallery. You do not need to sign in to use it.
Read Also: Instagram Tips & Tricks – Making an Account for Your Pet
These are the best ways to make a collage on Android. While Google Photos is the easiest way to make a collage without downloading any app, it does not offer any creative control to the user. You can find a ton of apps on the Play Store, apart from the ones listed above, that have their own unique features which make the process of collage-making fun and exciting. If you have a favourite app to make collages, let us know in the comments!
For the latest gadget and tech news, and gadget reviews, follow us on Twitter, Facebook and Instagram. For newest tech & gadget videos subscribe to our YouTube Channel. You can also stay up to date using the Gadget Bridge Android App. You can find the latest car and bike news here. 


 Step 3:
 Step 3:
 Step 3:
 Step 4:


")


 At just Rs 349, this table stand for your laptop is a must-buy. Portable and lightweight, the body of this adjustable stand is made entirely out of plastic but is capable of bearing up to 25kg of load. With several adjustable positions and convenient cutouts, the stand provides proper ventilation for your laptop. There are 7 adjustable height options to choose from, so you’re never out of viewing angles. There’s also an added accessory that lets you mount your phone next to your laptop. This affordable laptop stand will change your work-from-home experience immediately.
 If your work requires you to check your phone at all times, you’re gonna love this accessory. This side mount clip attaches itself to the lid of your laptop and uses magnets to hold your smartphone on the other end. It goes without saying, but your smartphone must have MagSafe to use this accessory. Once you fix your smartphone on the stand, you can use it side by side with your laptop.
 Wireless charging may not be for everyone but there’s no denying that everything is better with fewer cables. If your phone is mostly lying around your desk while you work, you might as well get a wireless charger to keep it juiced at all times. Spigen’s essential wireless charger fits the bill perfectly. This device can charge your phone at 15W, which is as good as it gets for wireless charging. The minimal, neat design makes it a nice fixture on any desk.
 There’s nothing more annoying than a power outage during an important work meeting. While your laptop may not always rely on a power outlet, the same cannot be said for the Wi-Fi router. A reliable Internet connection is crucial if you’re going to be working from home. The solution to this issue is easy and affordable. D-Link’s DPS-FU1211 Portable Mini UPS attaches itself to your home router and provides emergency backup in case of a power outage. The best part about this device is that it seamlessly switches from the main power supply to the emergency backup without letting the router turn off for even a moment. Read our full review
  If your work involves taking several meetings across the day, you should look into investing in a portable


 Here are some evergreen games of yore that we can connect and ruminate over:


 Step 2: Scroll down and select Facebook.
 Step 3: Tap on Storage.
 Step 4: Select ‘Clear cache’ from the toolbar at the bottom of the screen.


 Extensions and add-ons for your web browser may seem innocuous, but the faulty ones can interfere with the most basic tasks on your browser. If you first experienced the Facebook logout problem after downloading a third-party extension, chances are that it is the extension that caused it. To view all your browser extensions, type chrome://extensions in the address bar and hit Enter. Remove any new extensions you may have installed.


")


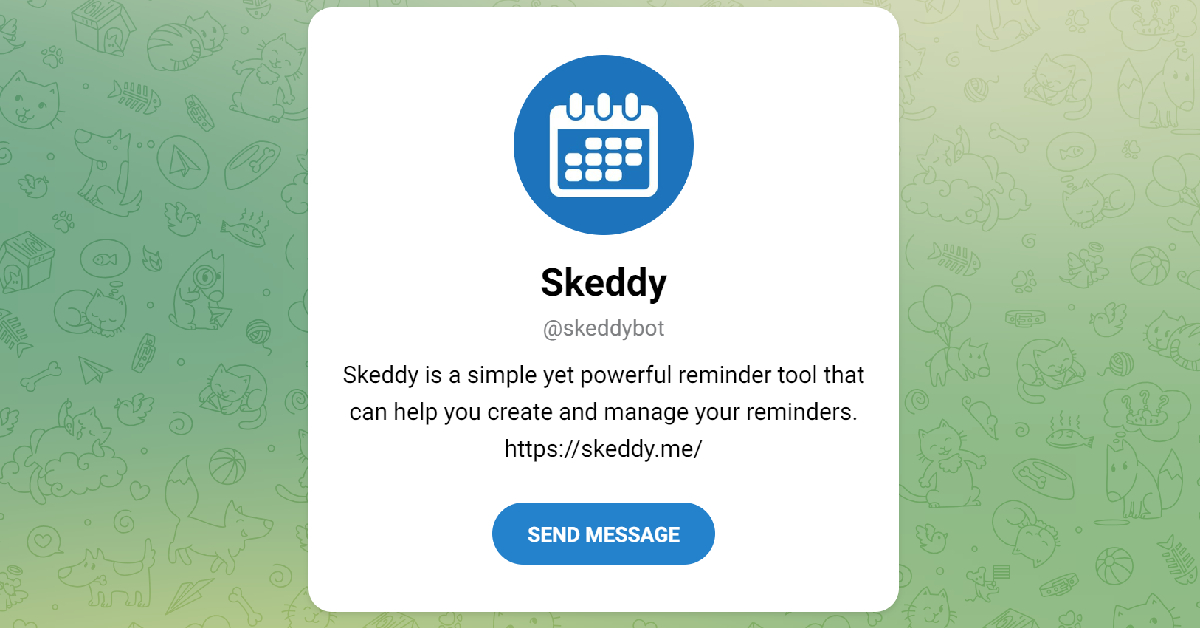 Keep forgetting the important stuff? The
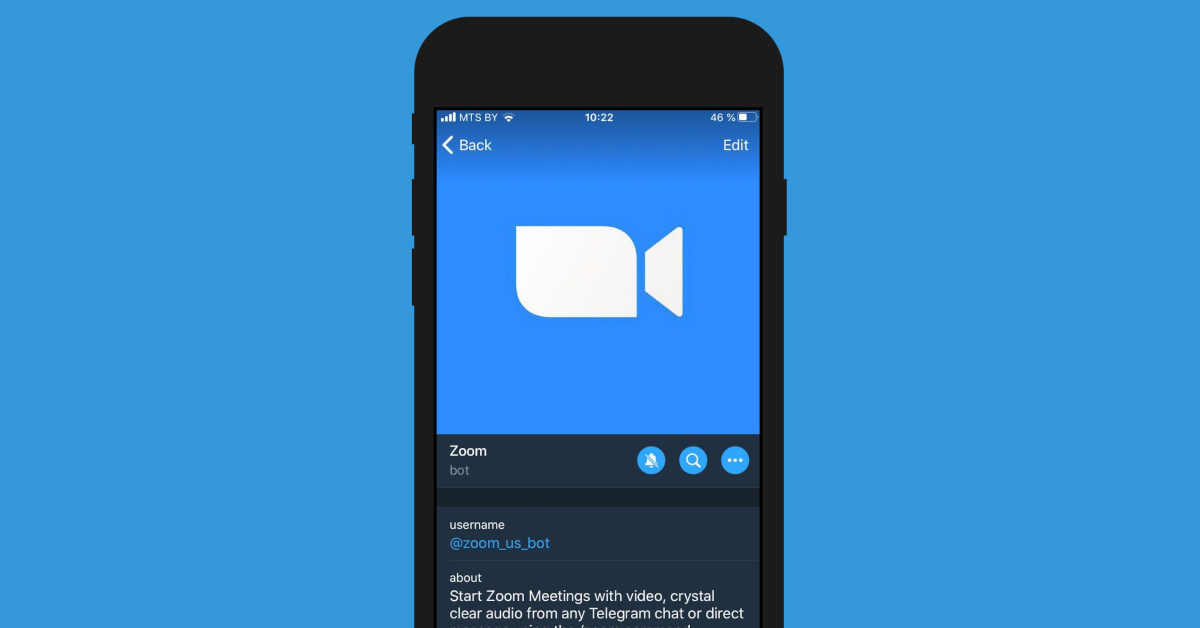
  Smooth and seamless file sharing is the reason why a lot of people prefer Telegram to WhatsApp. Telegram’s incredible 2GB file size limit allows users to share anything from books to high-resolution videos. With so many files flying around, security sometimes takes a backseat.
  If you find yourself spending an unhealthy amount of time on the Internet, you can limit your web activity using the
  As the name suggests,


 Step 2:


 Step 2: Tap the ‘concentric circles’ icon at the bottom to reveal the scroller for the Live Photo.
 Step 3: Use the scroller to pick the frame you like.
Step 4: Tap on ‘Make Key Photo’ and select ‘Done’. This will make the selected frame the new thumbnail for the Live Photo.
Step 3: Use the scroller to pick the frame you like.
Step 4: Tap on ‘Make Key Photo’ and select ‘Done’. This will make the selected frame the new thumbnail for the Live Photo.
 Step 5: Now, tap on the Share icon and select ‘Duplicate’. In the following popup box tap on ‘Duplicate as still photo’.
Your selected frame will be turned into a still photo. You can access it from the Photos app.
Step 5: Now, tap on the Share icon and select ‘Duplicate’. In the following popup box tap on ‘Duplicate as still photo’.
Your selected frame will be turned into a still photo. You can access it from the Photos app.
 If you don’t want to go through the hassle of picking the right frame to screenshot, you can simply take a photo while recording a video on your iPhone. To do this, switch to video recording mode in the Camera and begin shooting a video. You will see a white shutter icon on the screen alongside the red recording button. Tap the white icon to take a quick picture without pausing the video. The picture will be saved in the Camera Roll of your iPhone. The only minor drawback is that the picture won’t be of the same quality as the images taken in Photo mode. However, it is better than taking a screenshot of a still frame from a video.


 Step 2:

 Step 4:


